Introduction
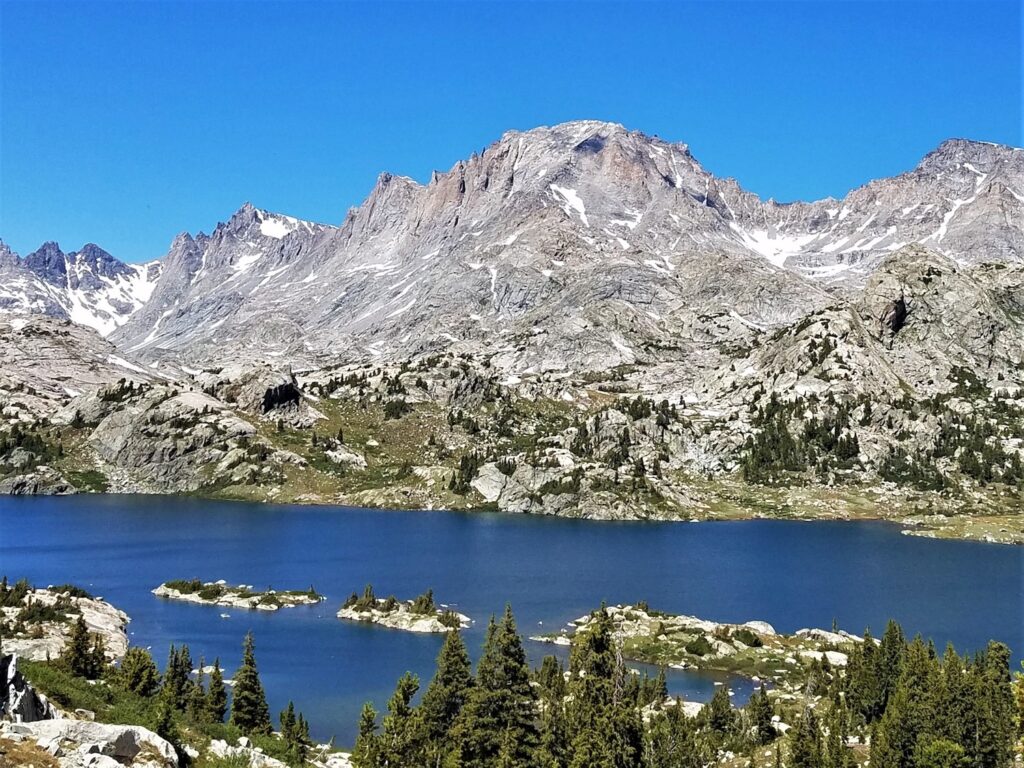
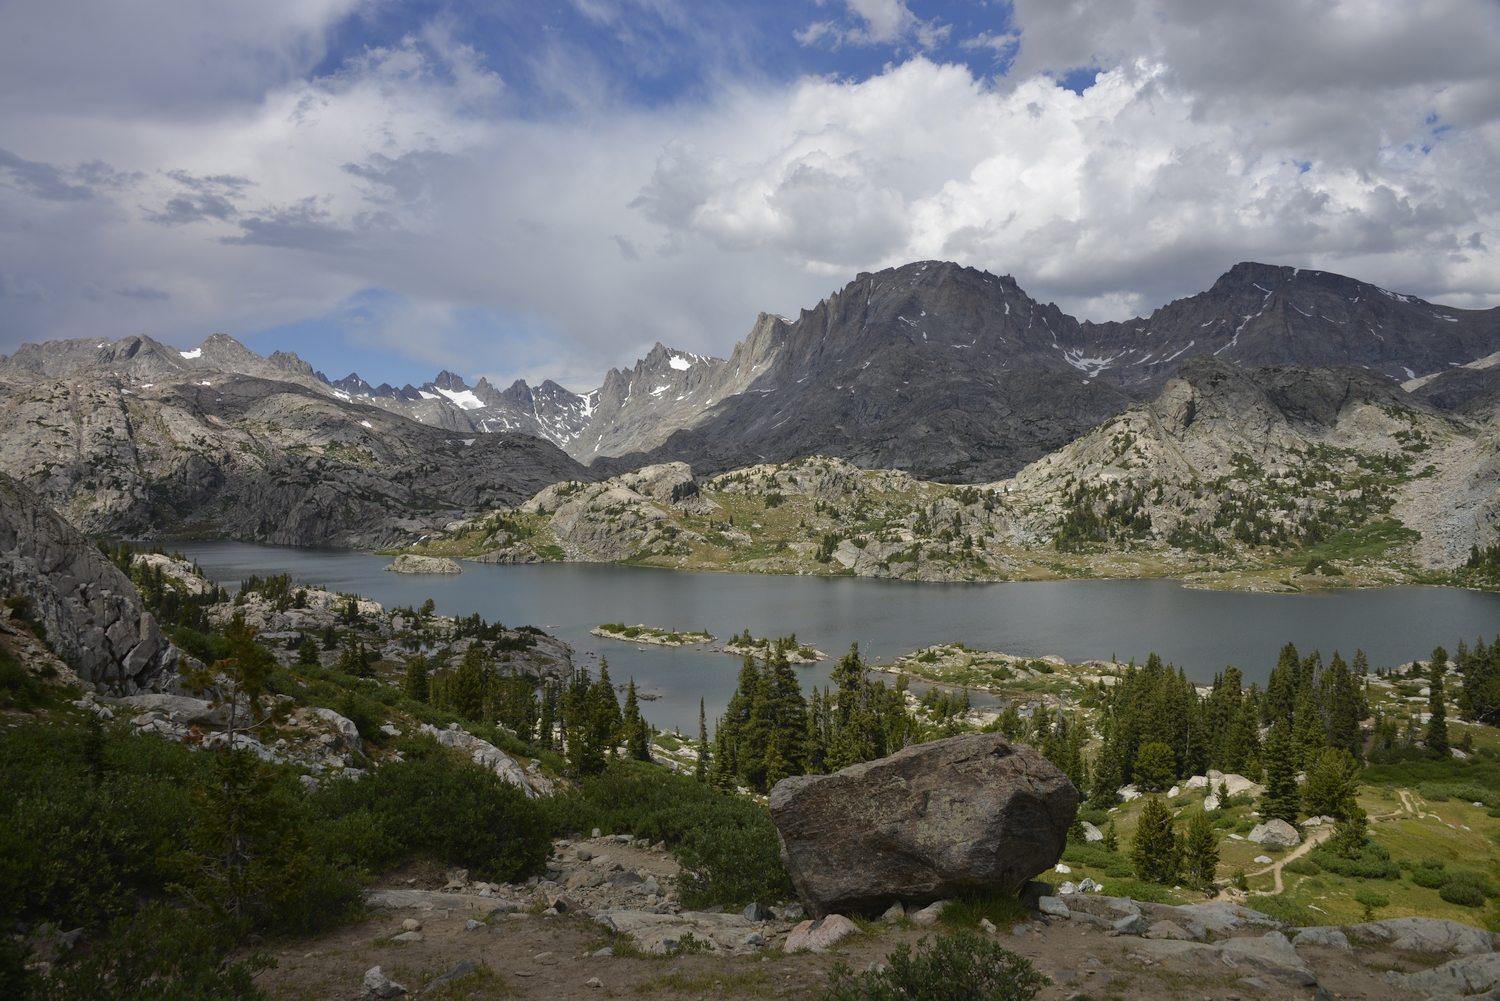
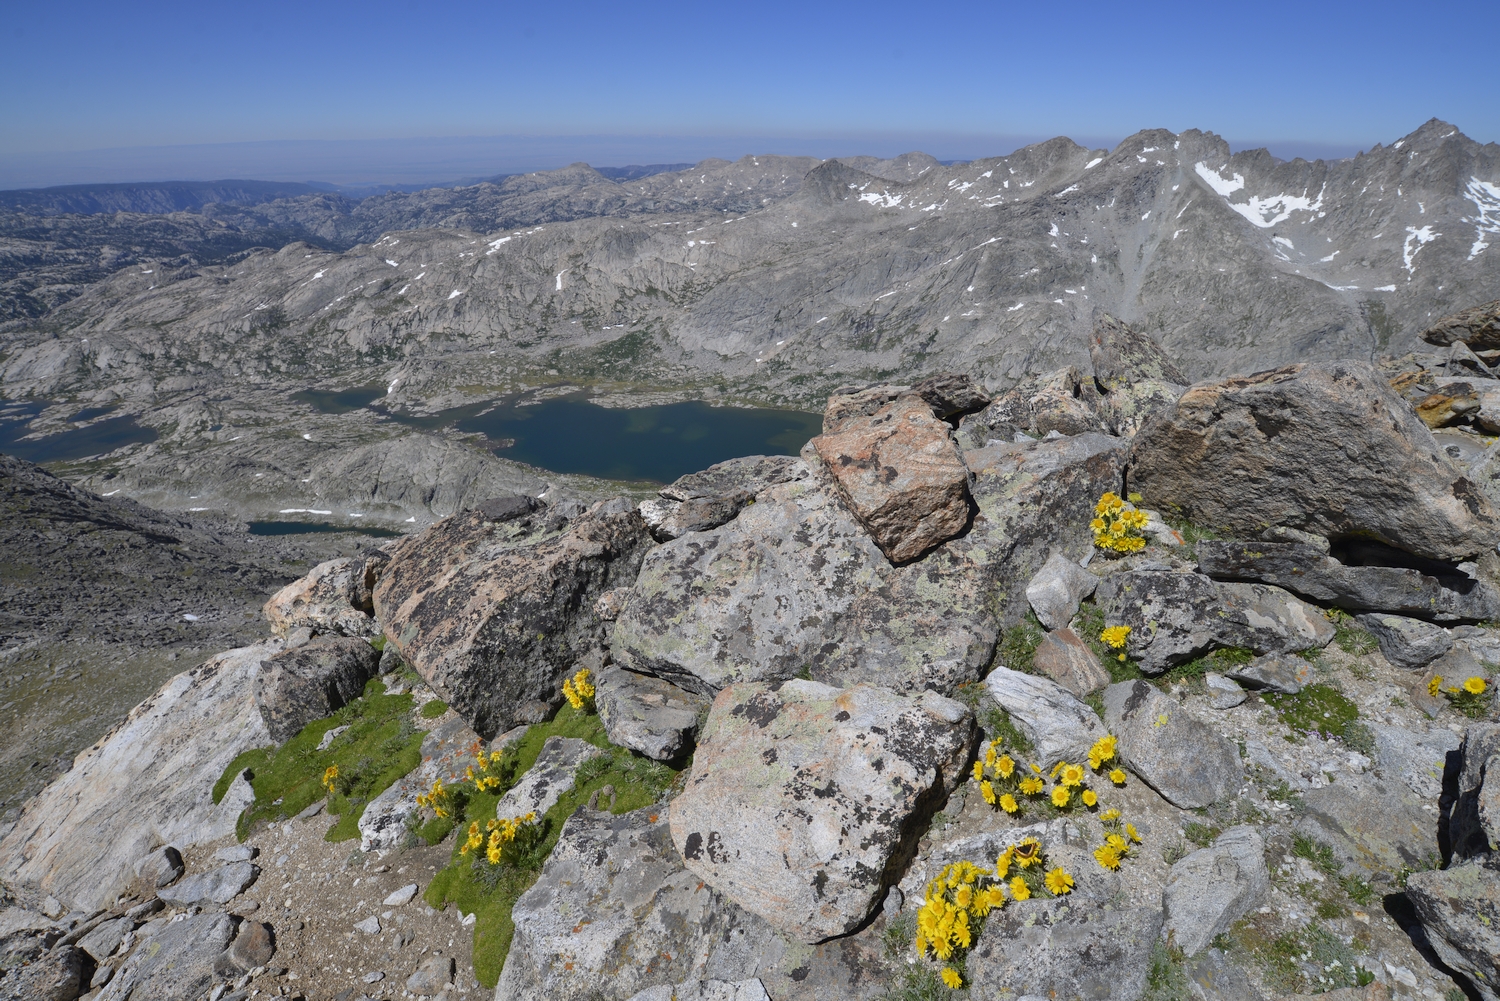
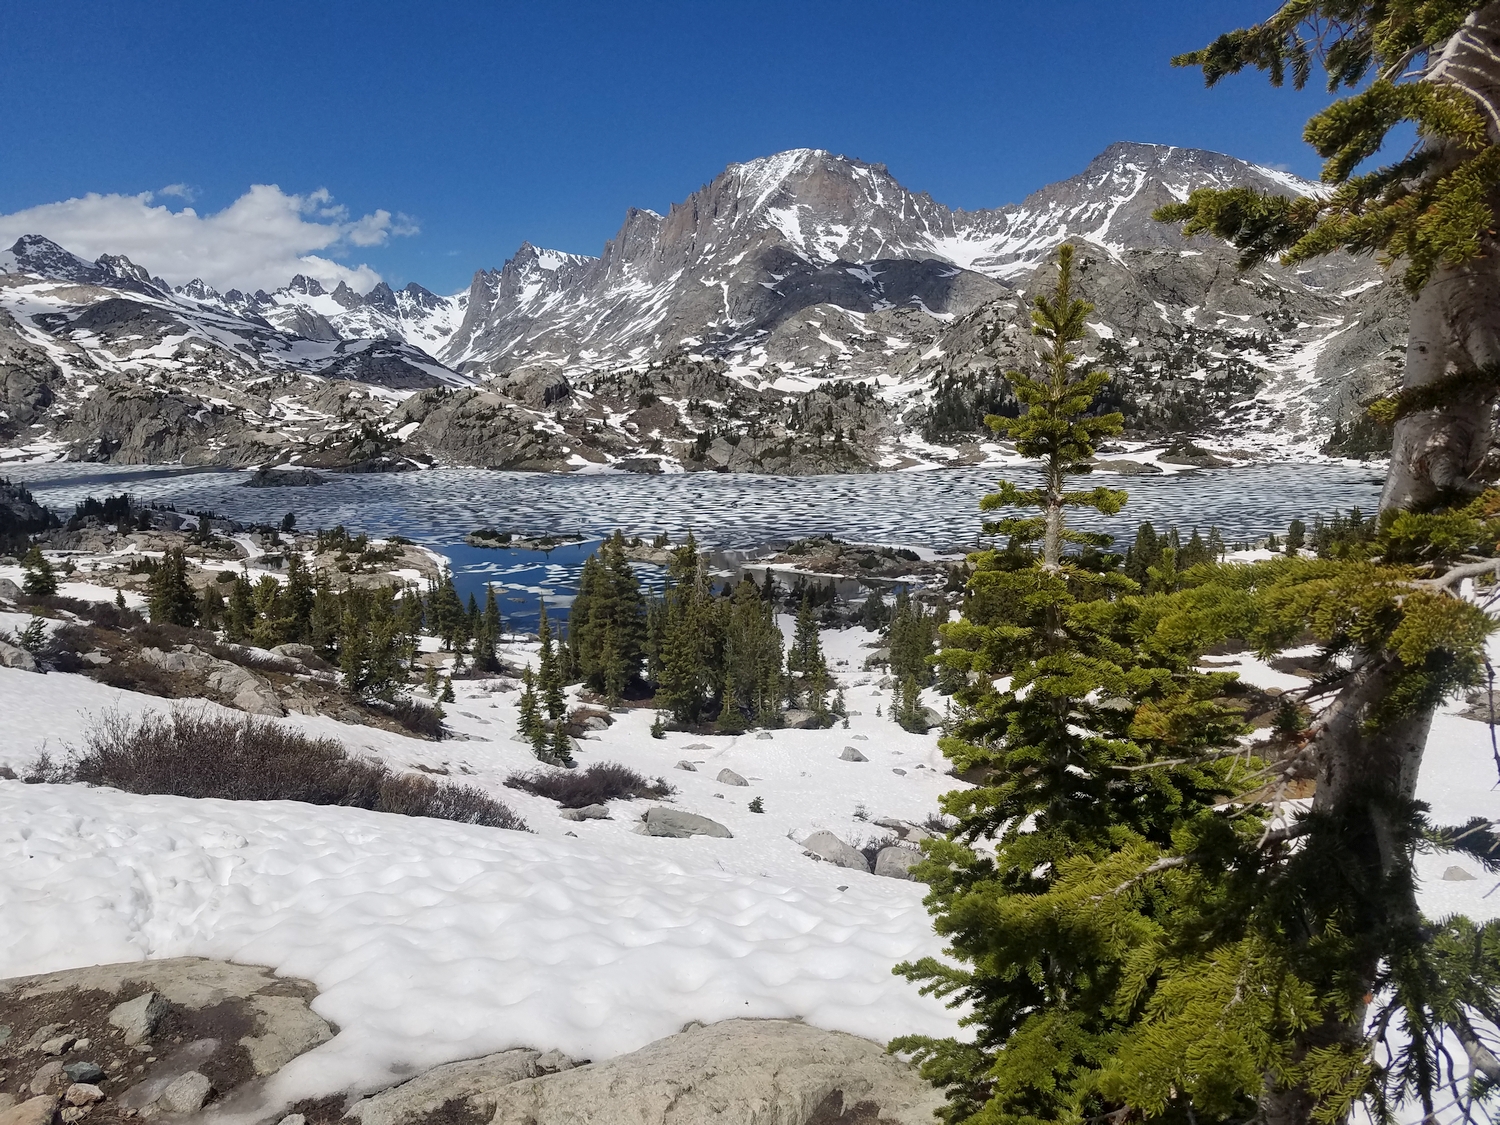
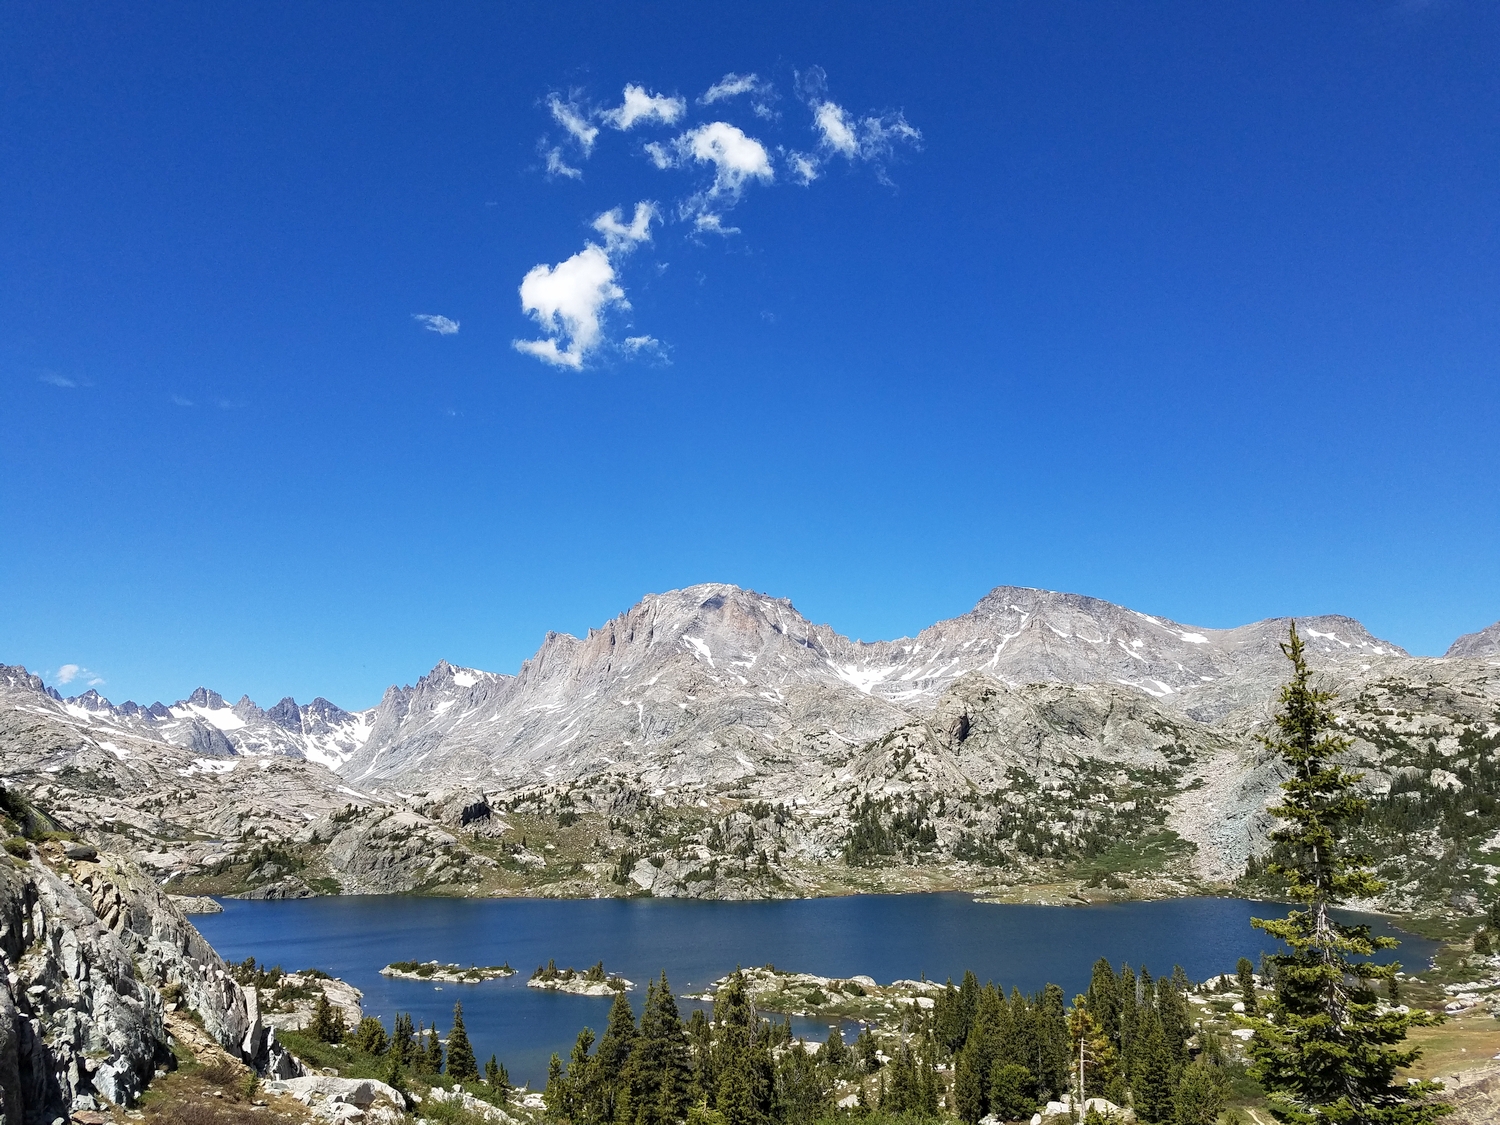
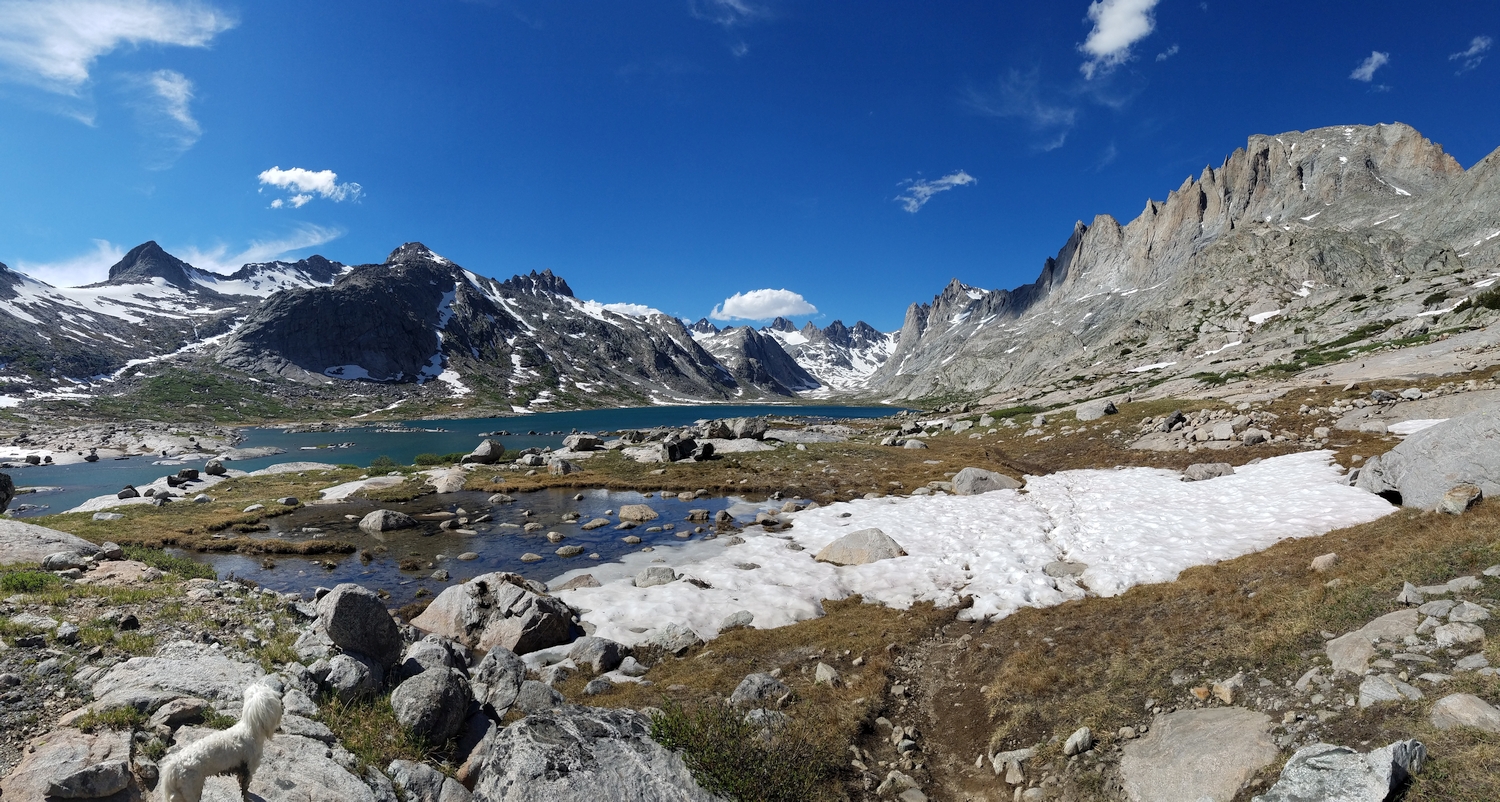
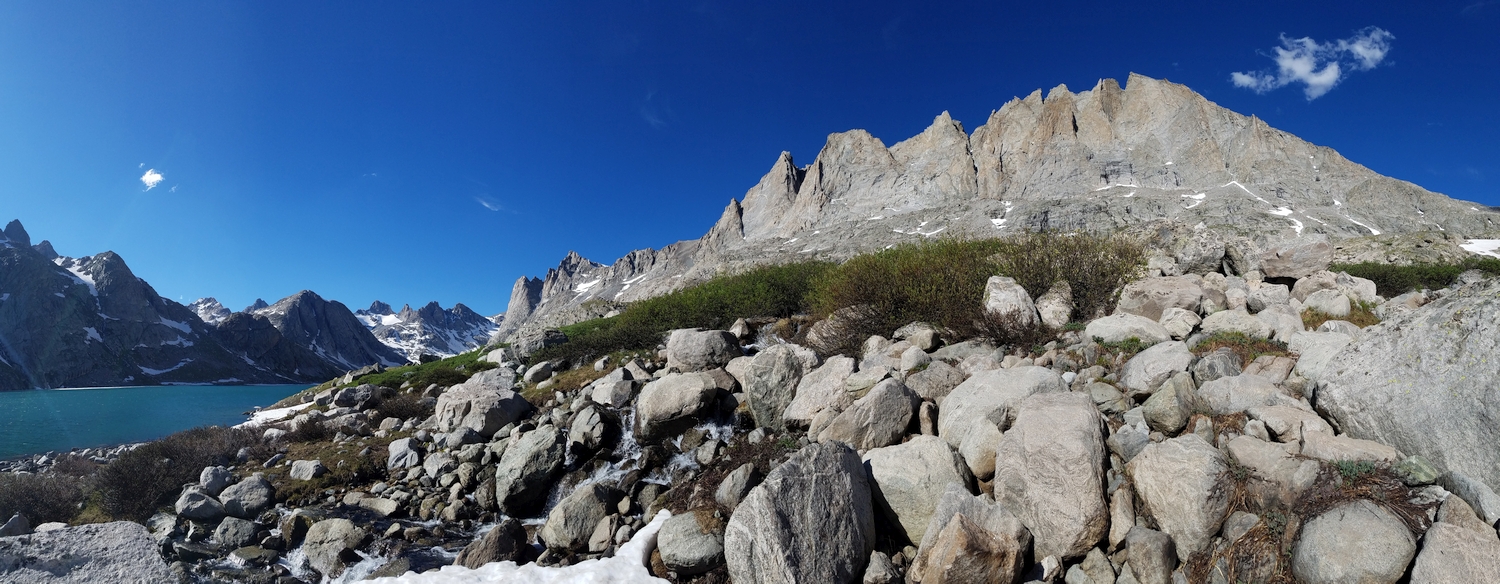
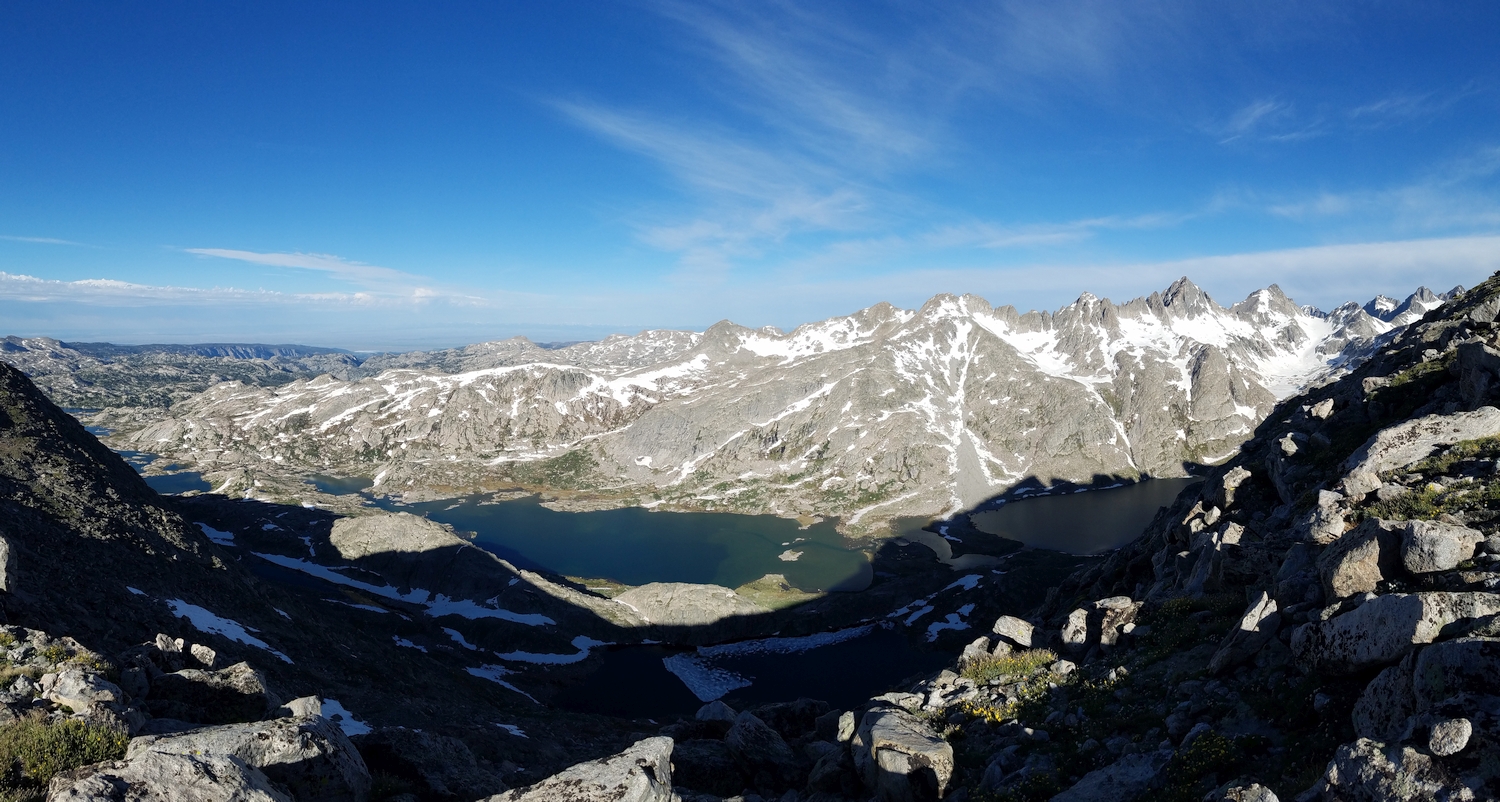
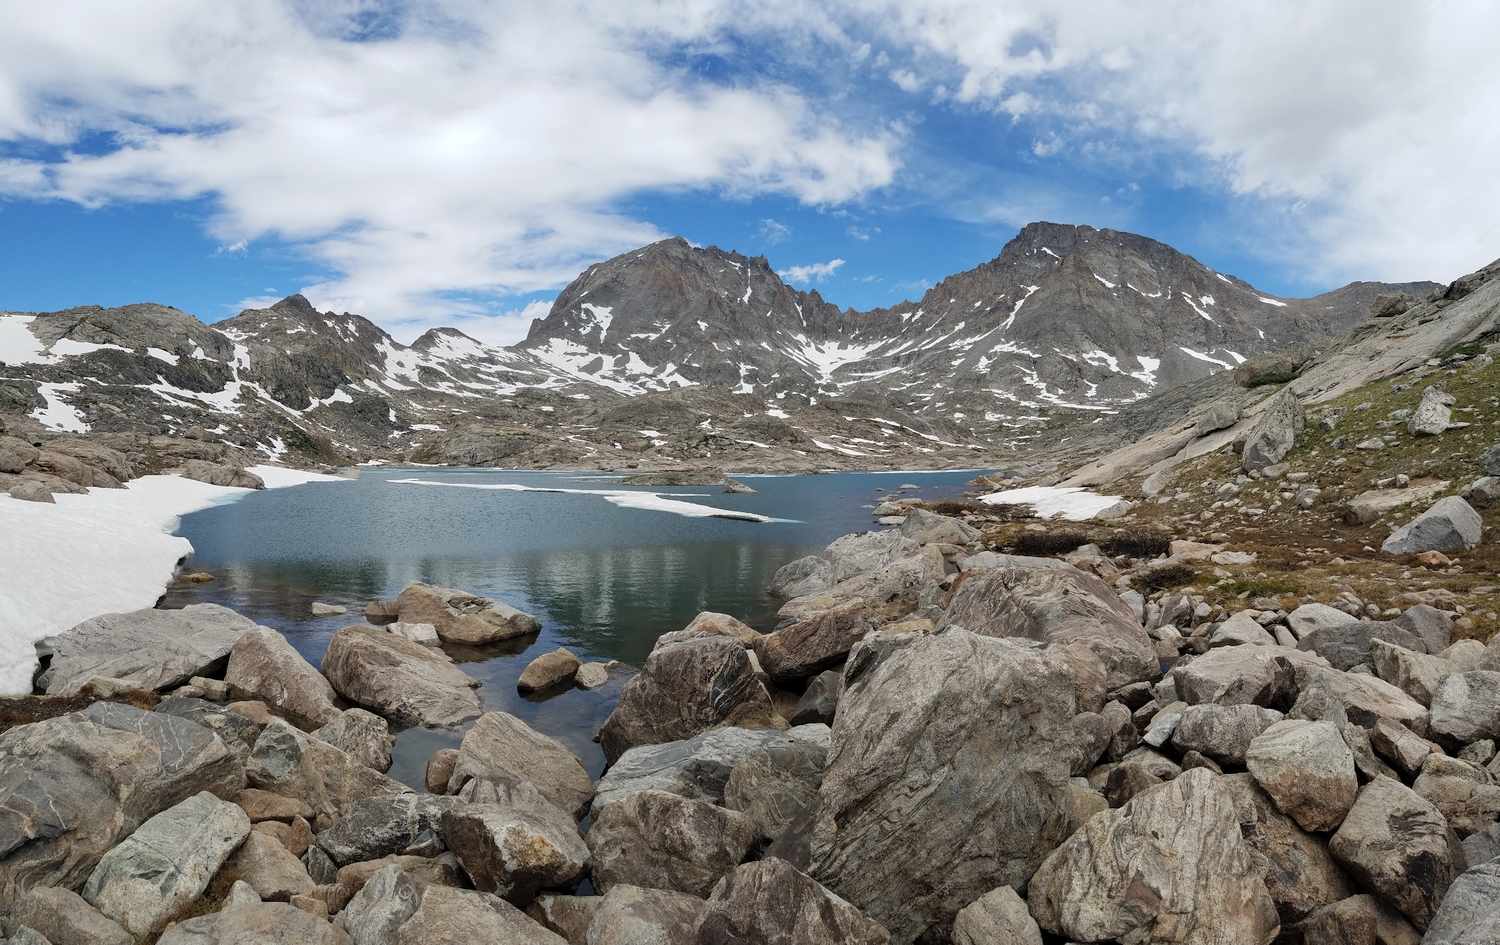
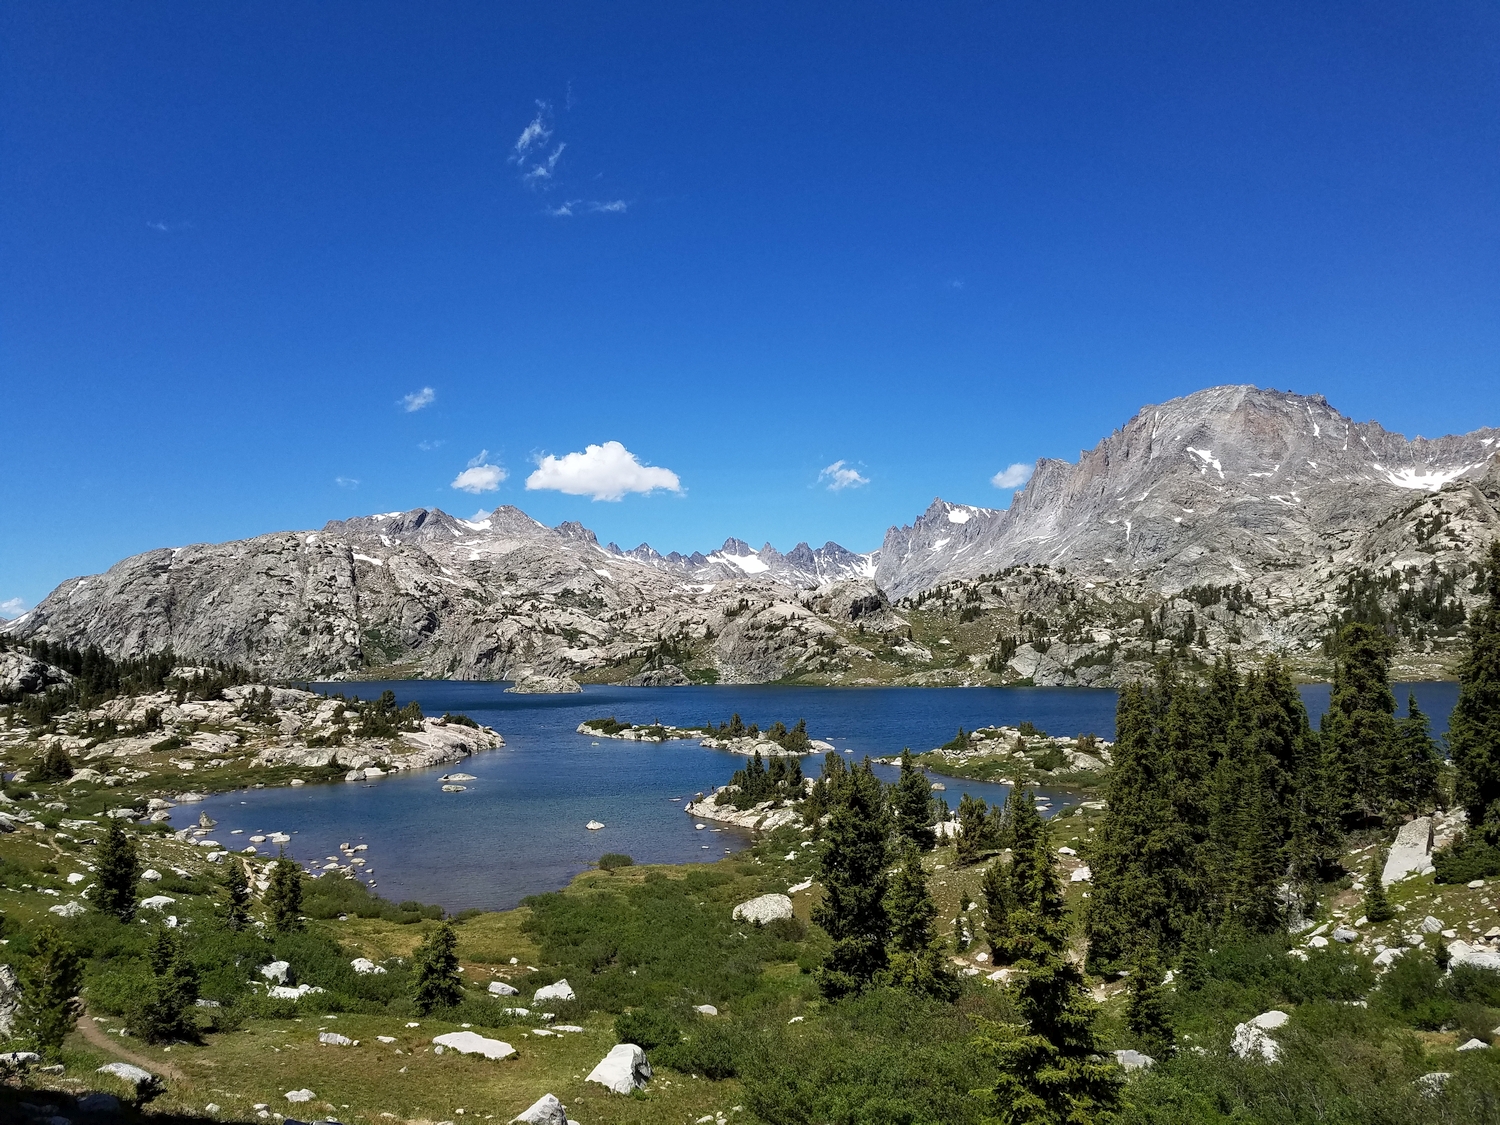
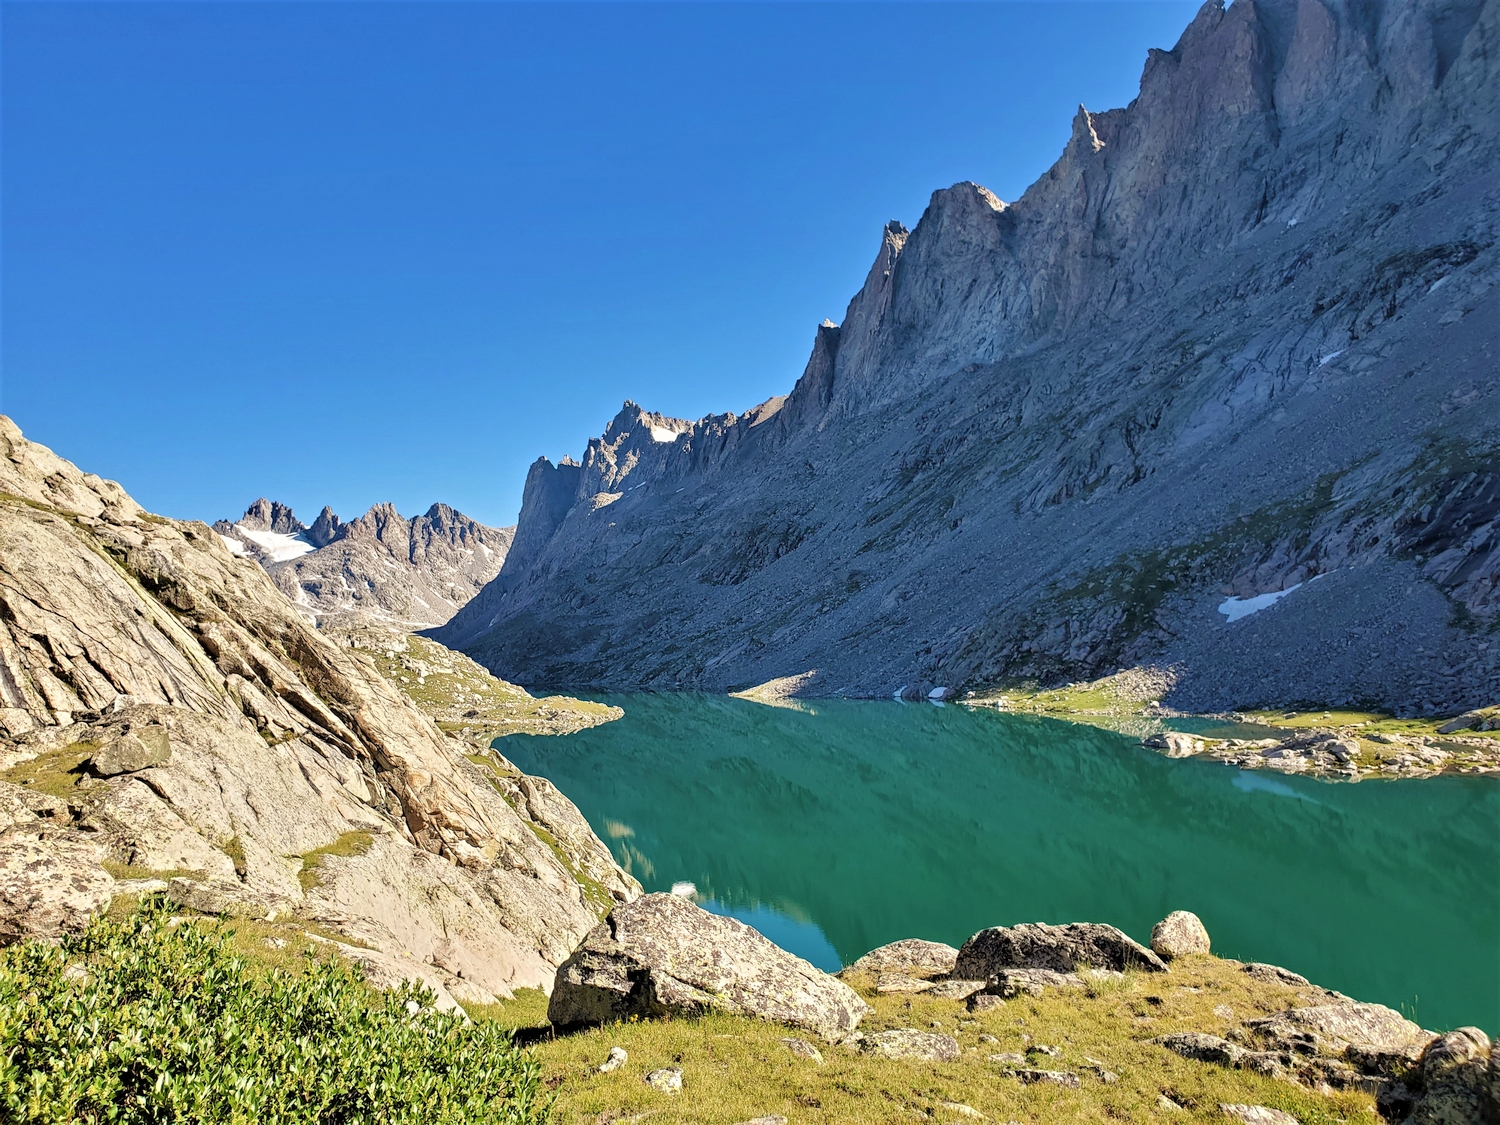
In the hierarchy of northern Wind River summits, Fremont Peak is second only to Gannett in both height and popularity. From west of the range, Fremont can easily be mistaken for the highest summit in the Winds, a mistake most famously made by John C. Fremont in 1842, when he and others climbed his peak and claimed it was the highest in the Rockies. From Island Lake, where Fremont camped, his peak is unquestionably the monarch of all visible summits. Its massive southwest buttress rises thousands of feet to the jagged Continental Divide, dividing Titcomb Basin from Indian Basin and providing climbers with a staircase to alpine heaven
General Considerations
Fremont Peak is THE mountain to climb on a trip to Titcomb Basin, and would make a wonderful introduction to Wyoming for someone who has previous experience with class 3-4 alpine climbing in Colorado or California. While Fremont is the highest peak on the great western wall of Titcomb Basin, it is much easier to climb from Indian Basin.
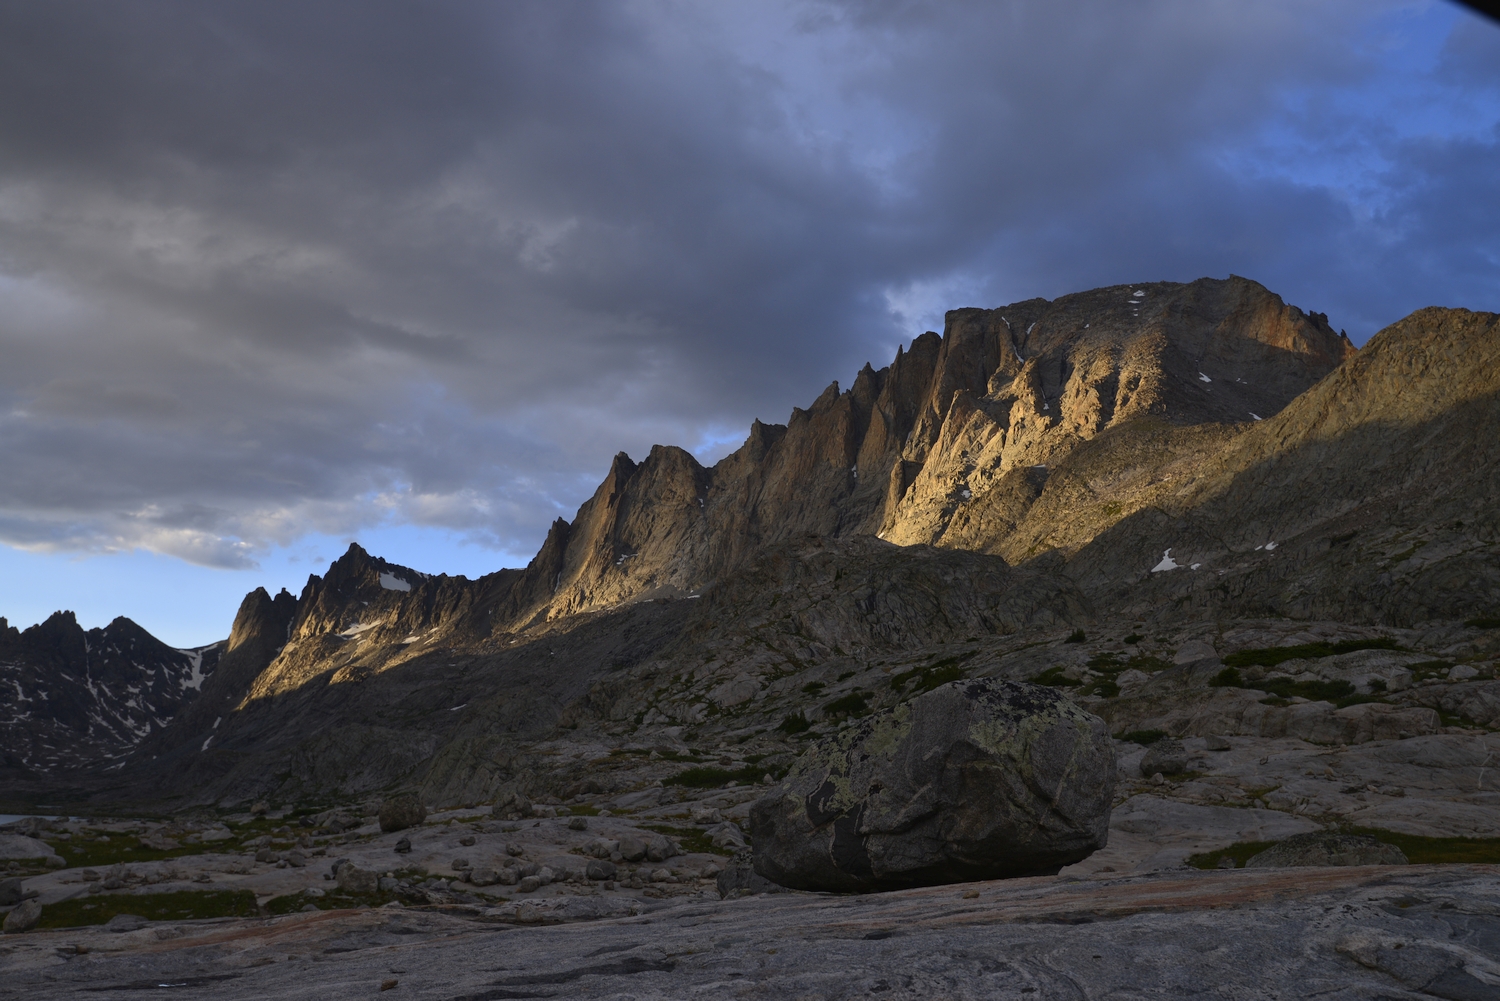
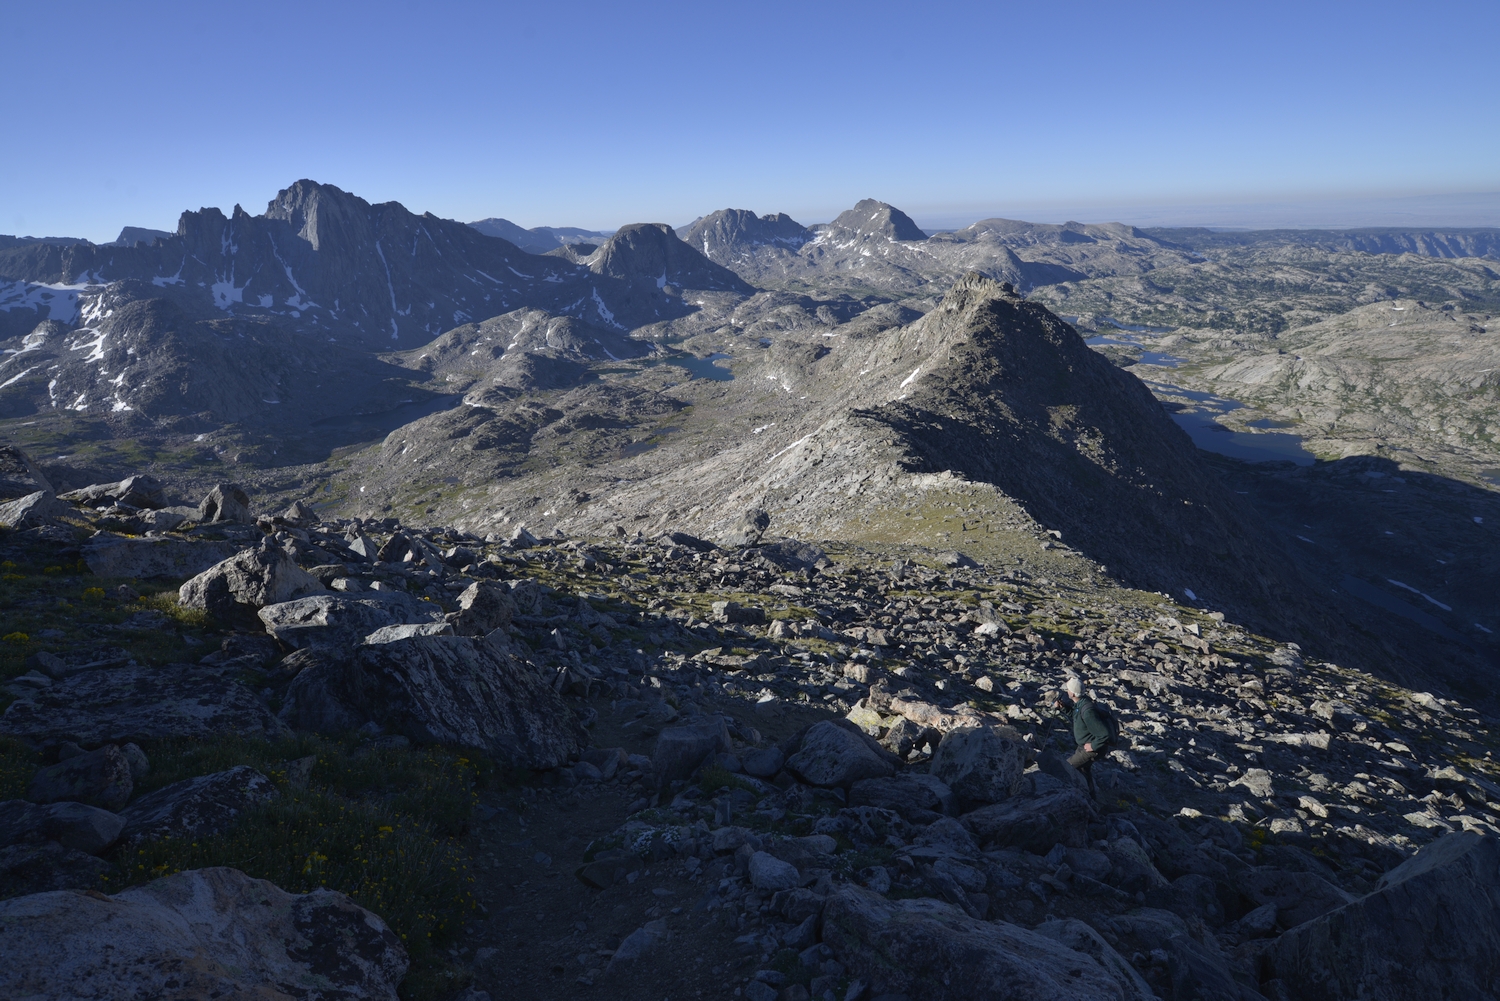
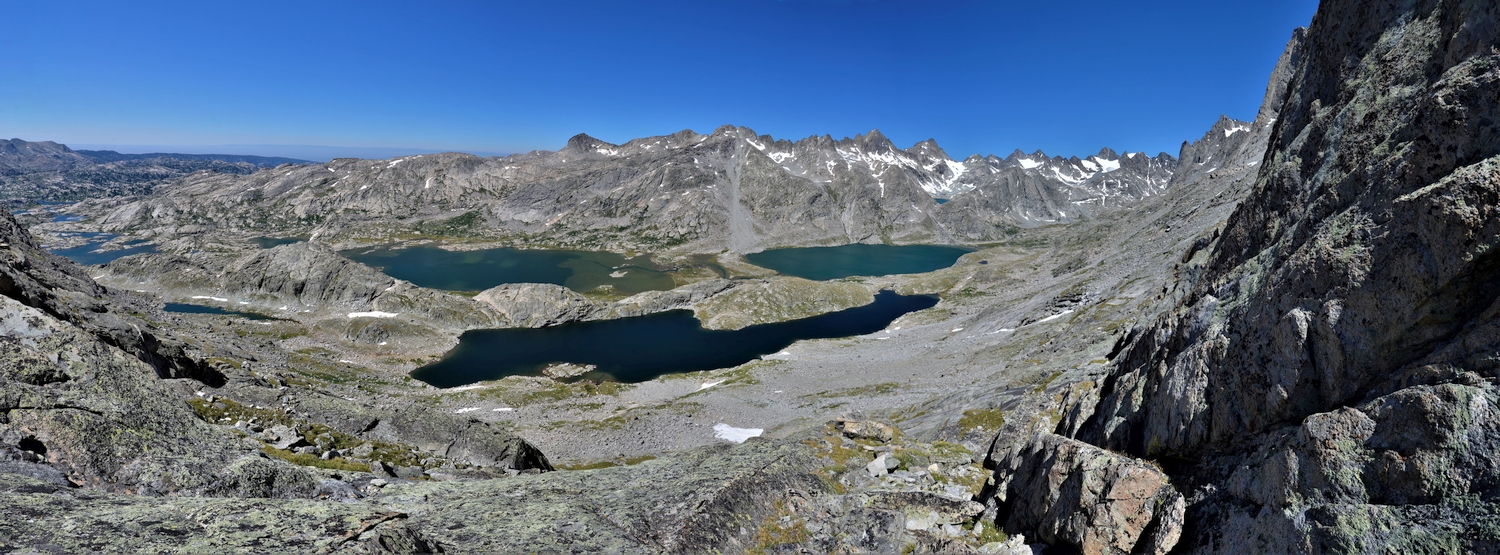
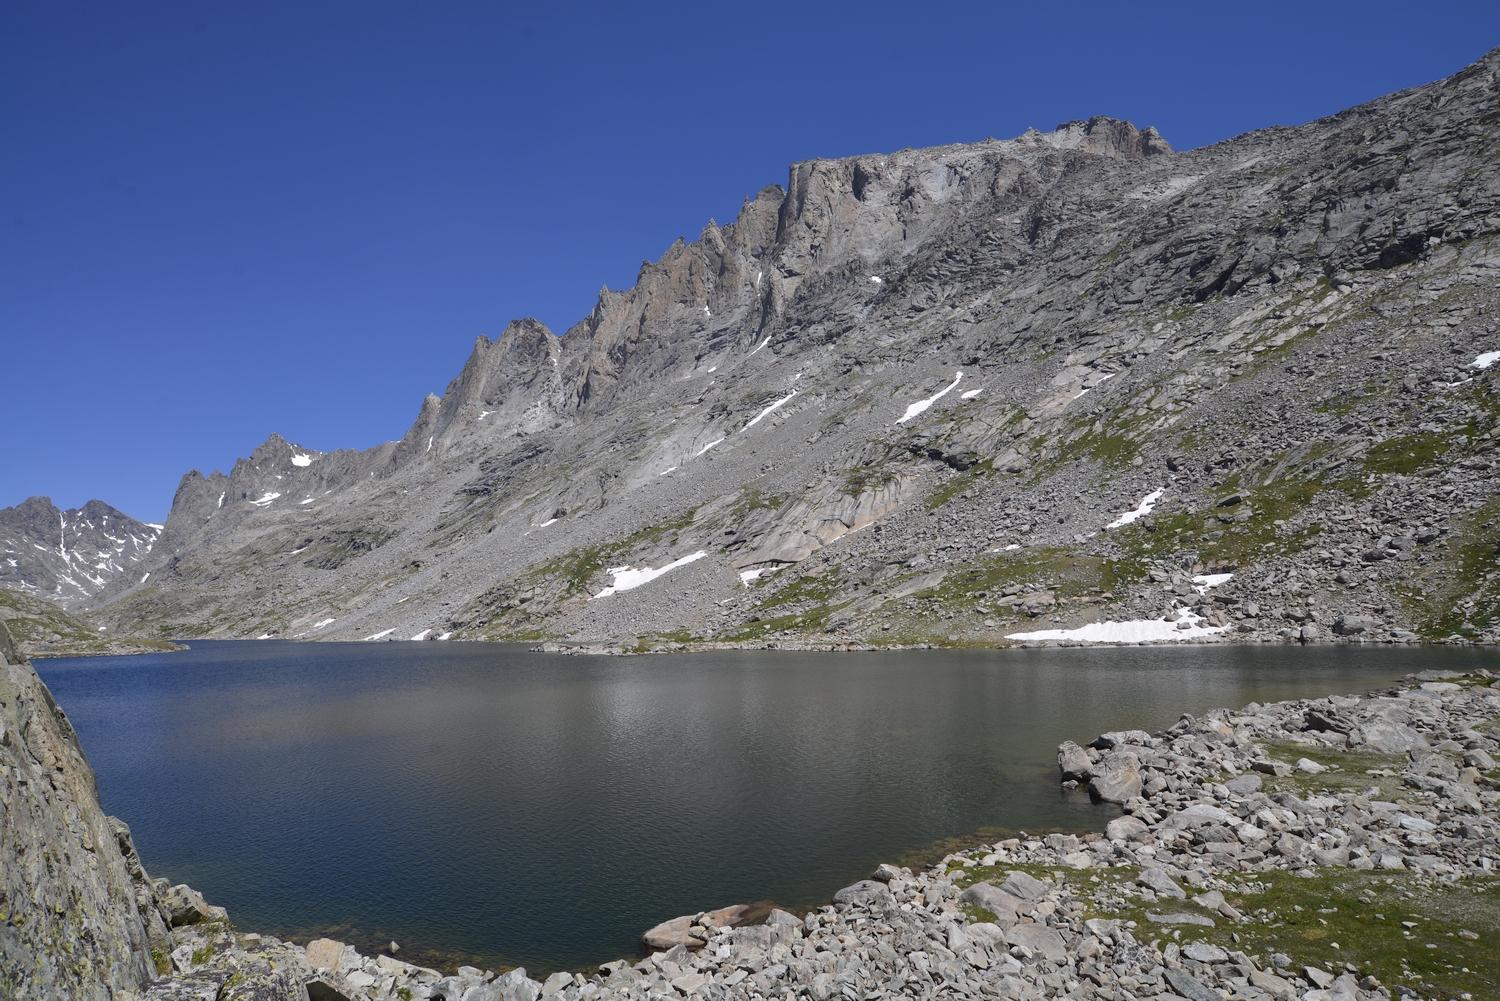
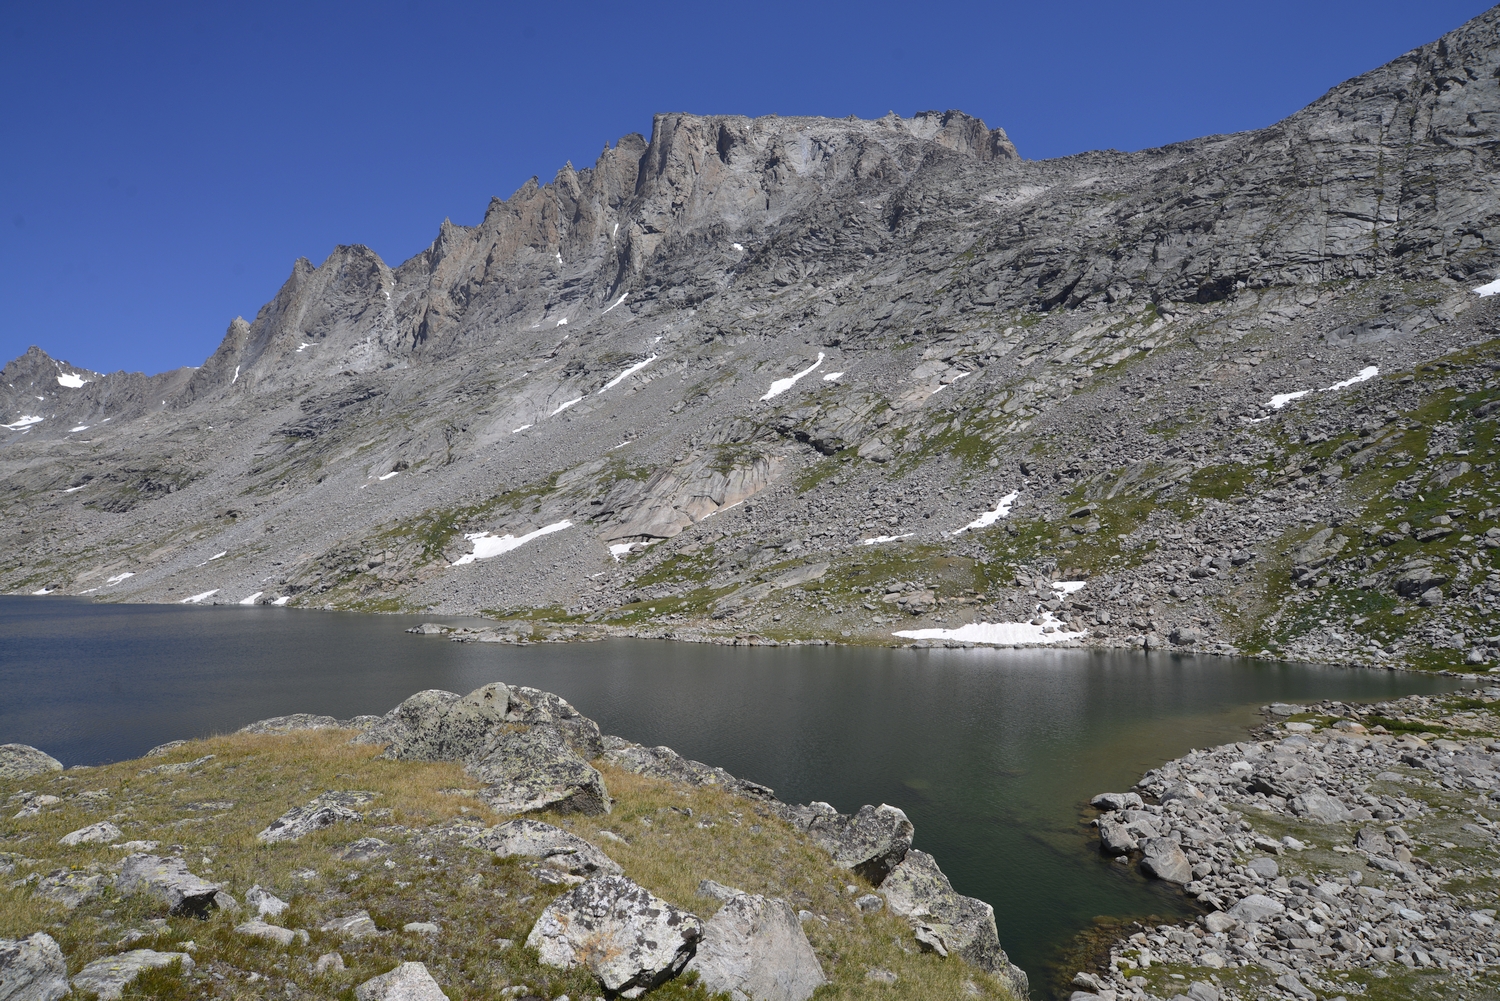
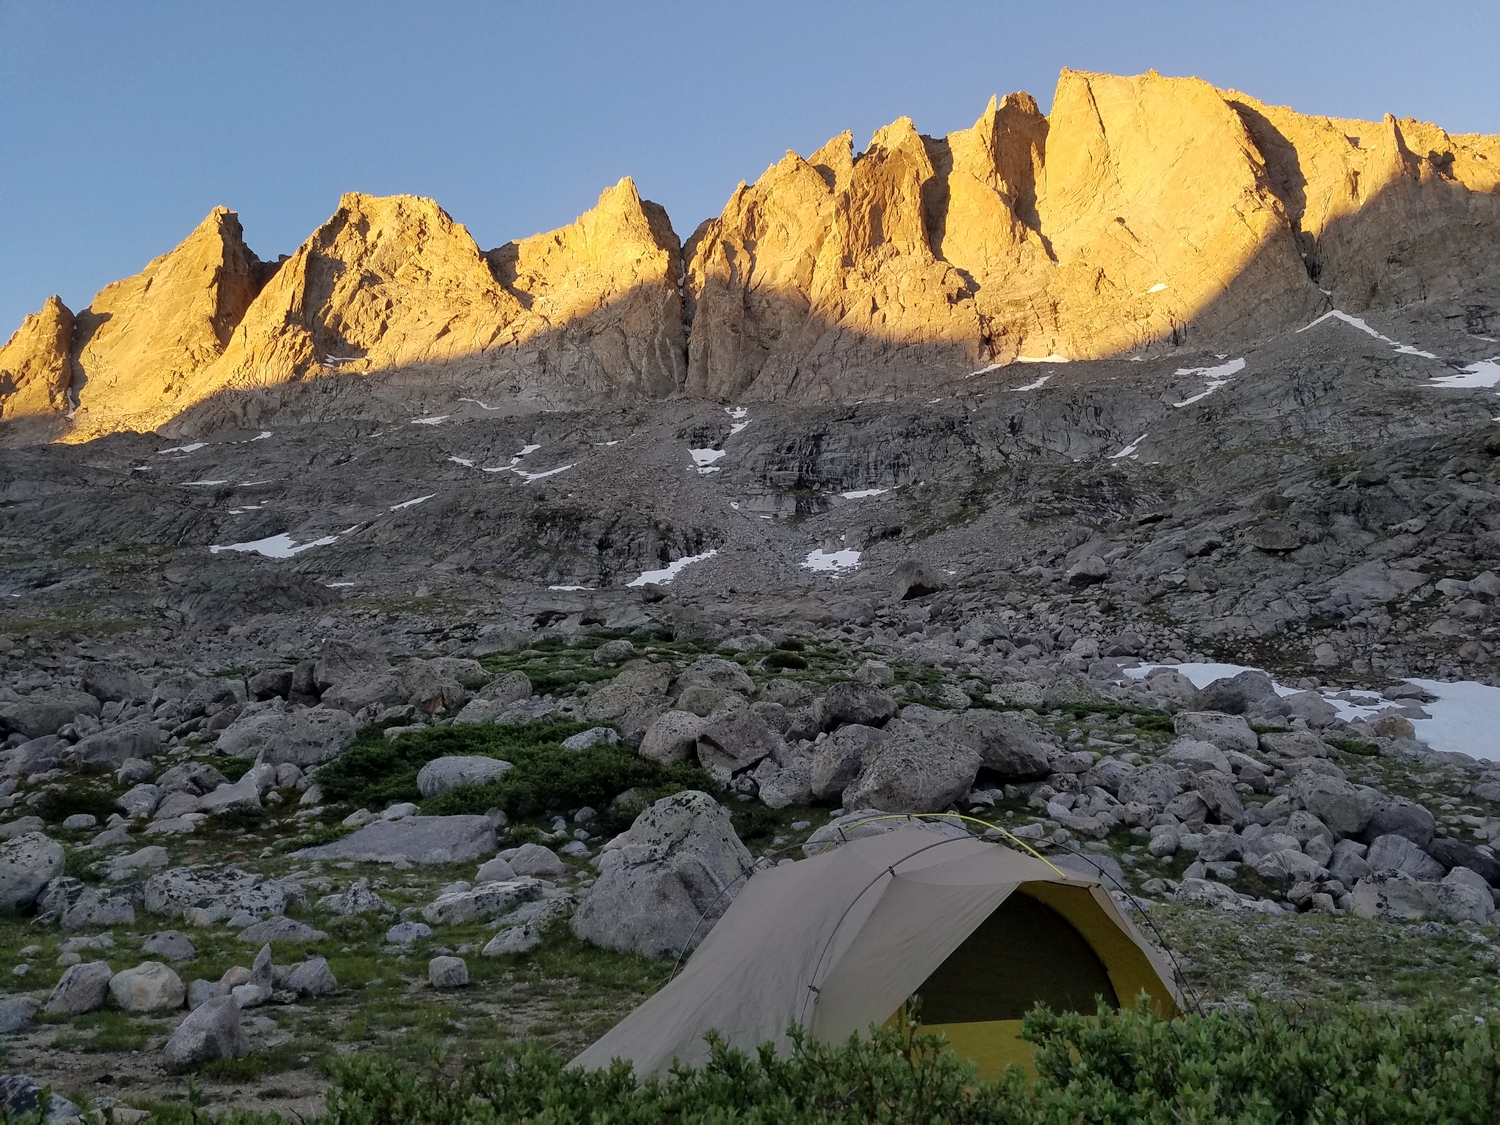
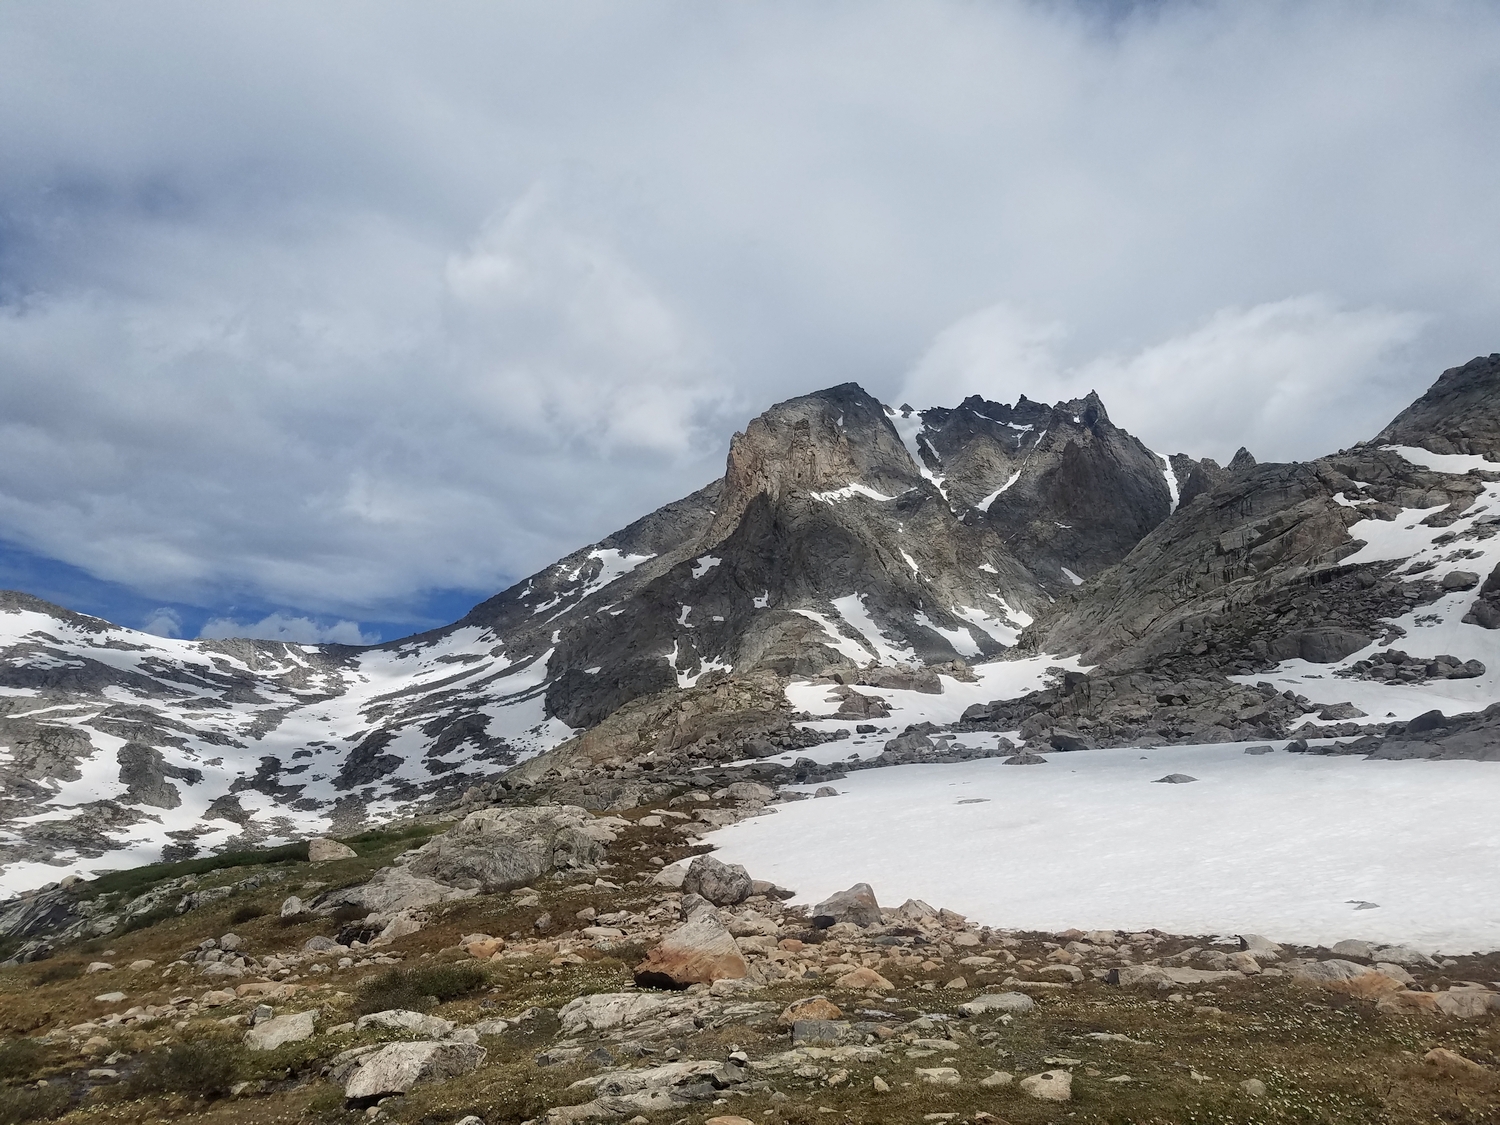
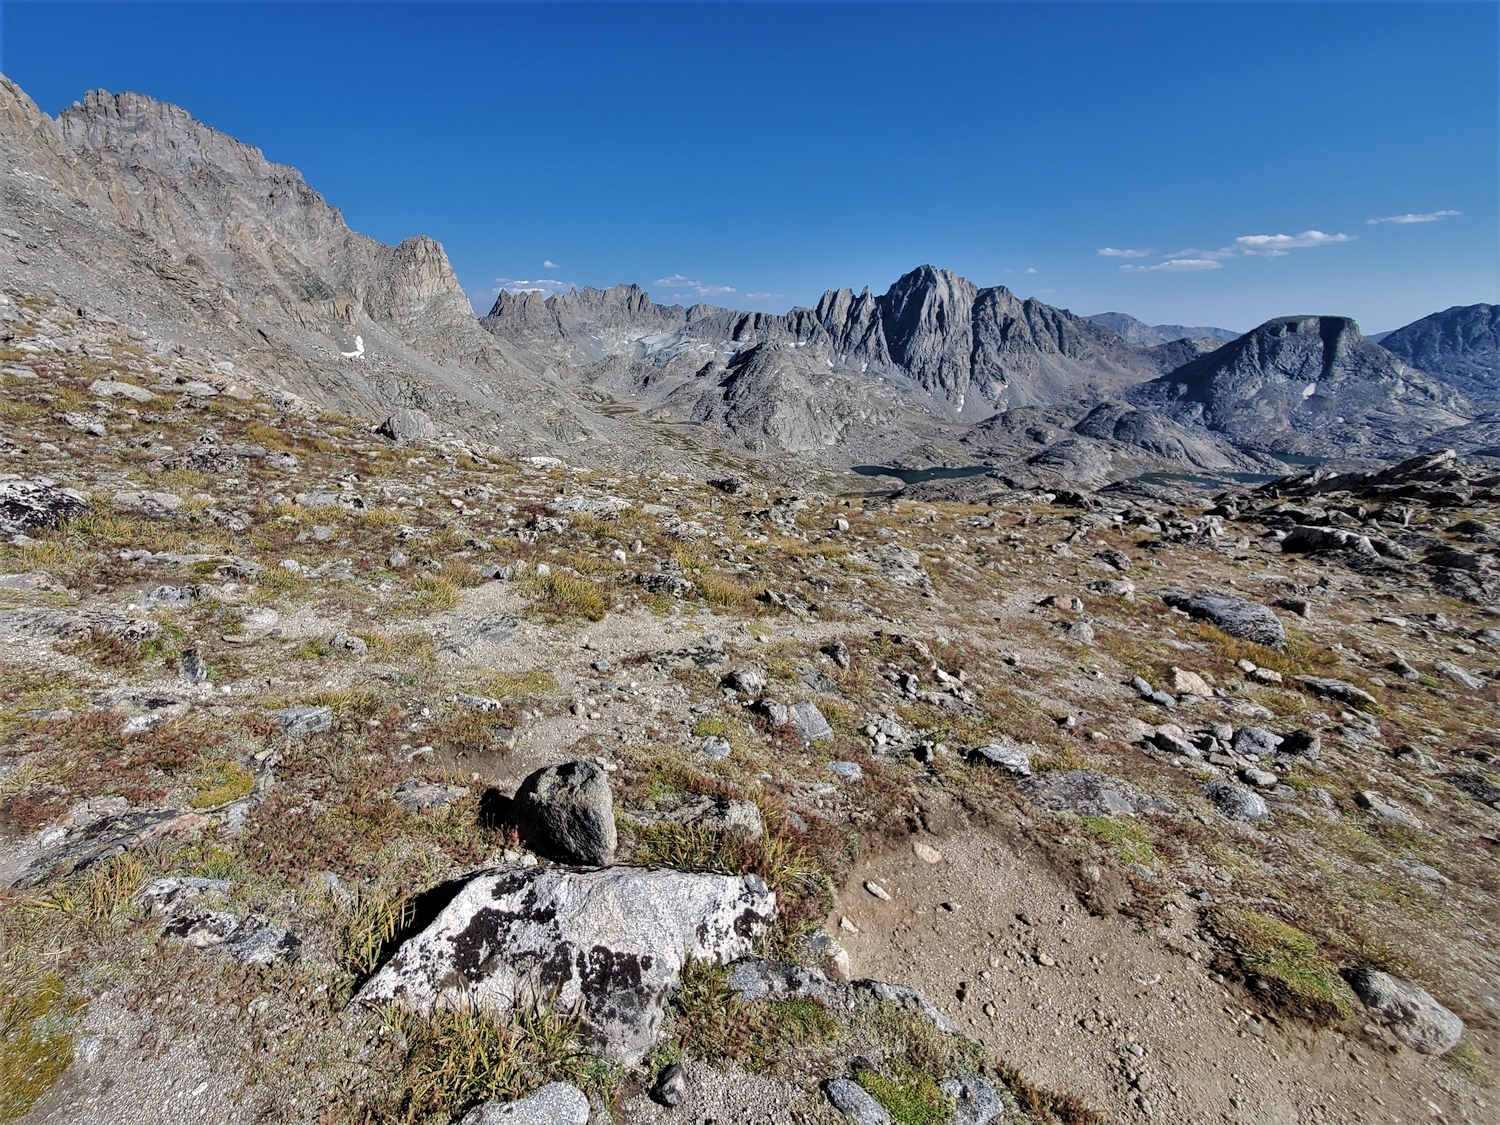
A camp somewhere along the Indian Basin trail or near Island Lake is convenient for approaching Fremont Peak. You can see the southwest ramp route from Pinedale and from nearly everywhere along the approach, which can help you get an idea of the conditions. Depending on your inclinations, the view may be inspiring or intimidating, as the peak appears especially steep from afar.
Route 1: Southwest Ramp – Class 3
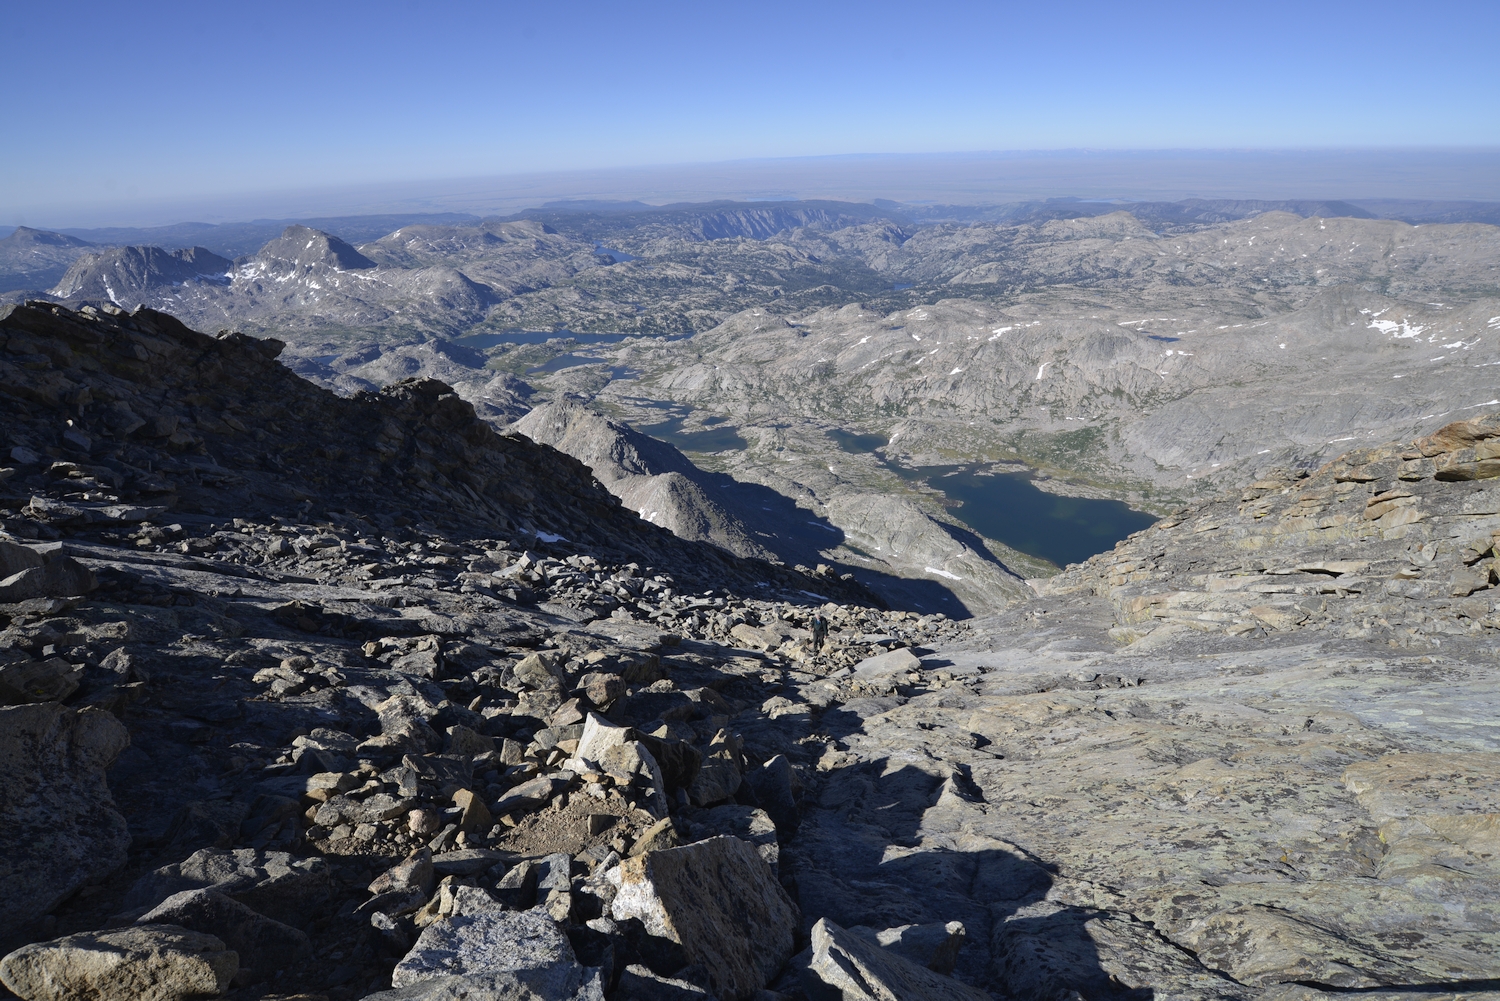
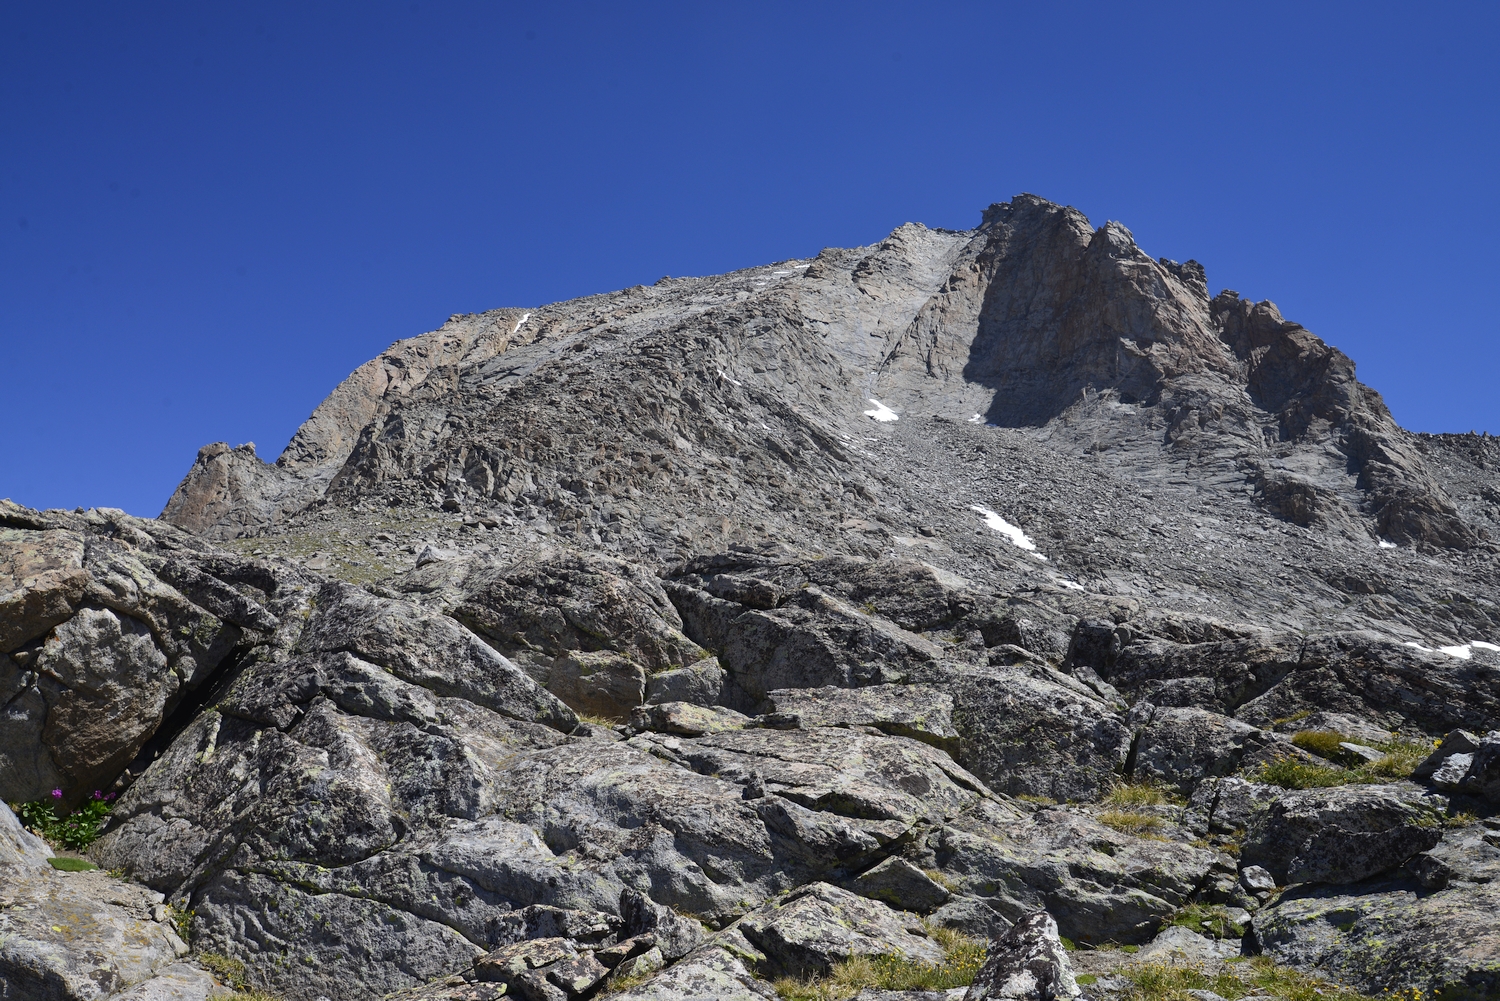
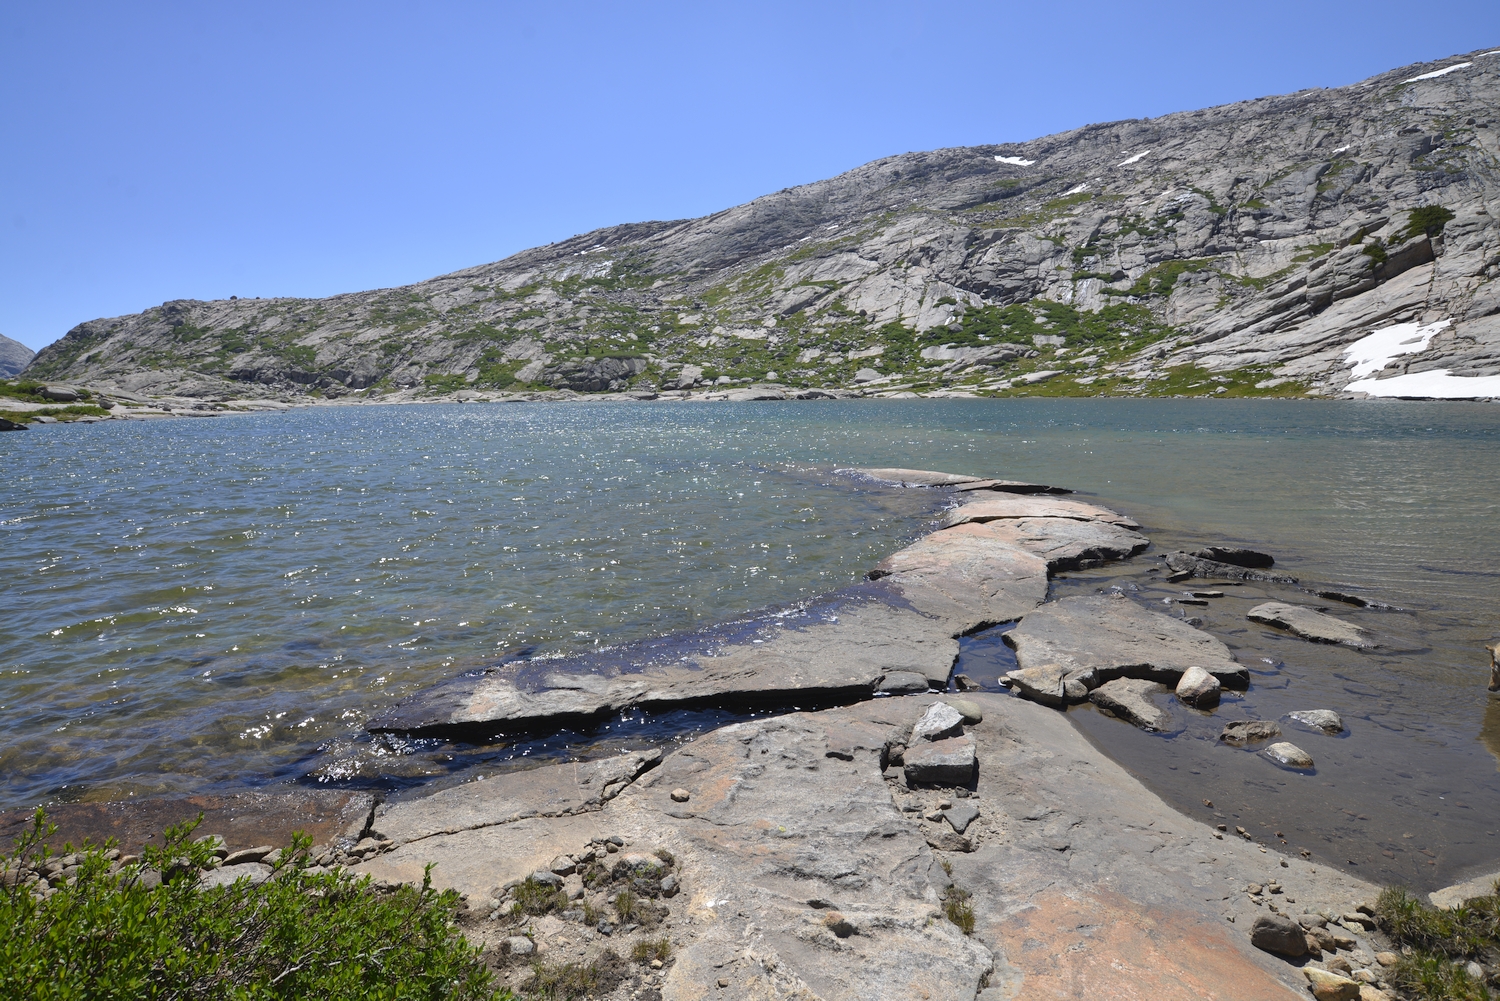
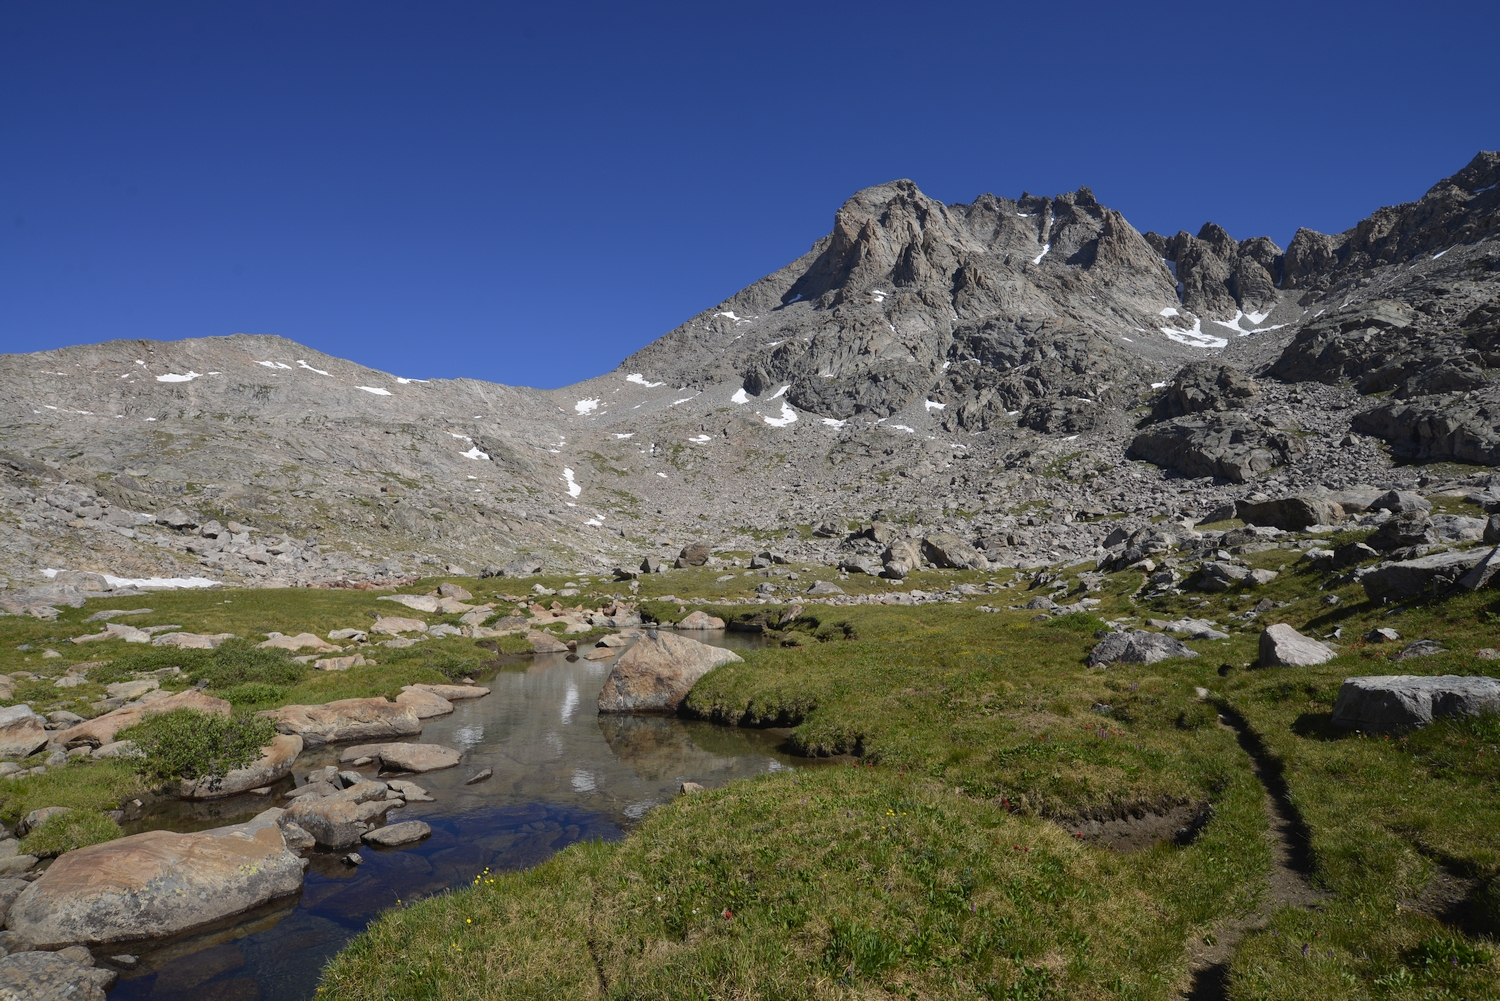
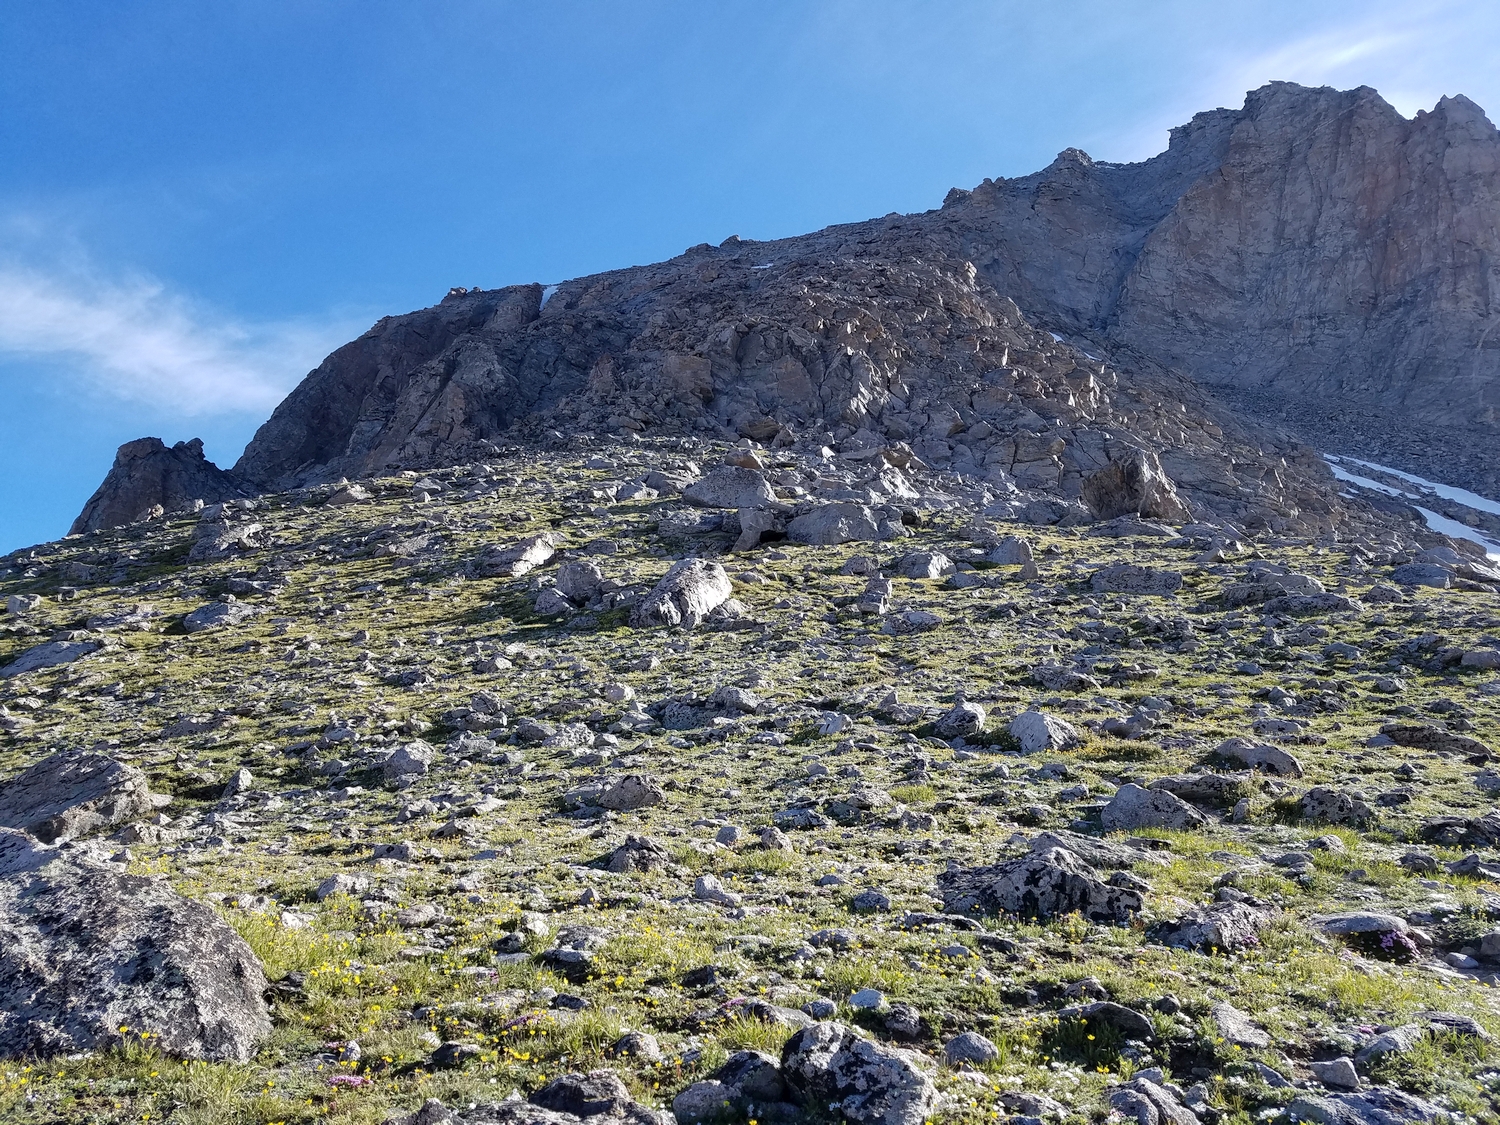
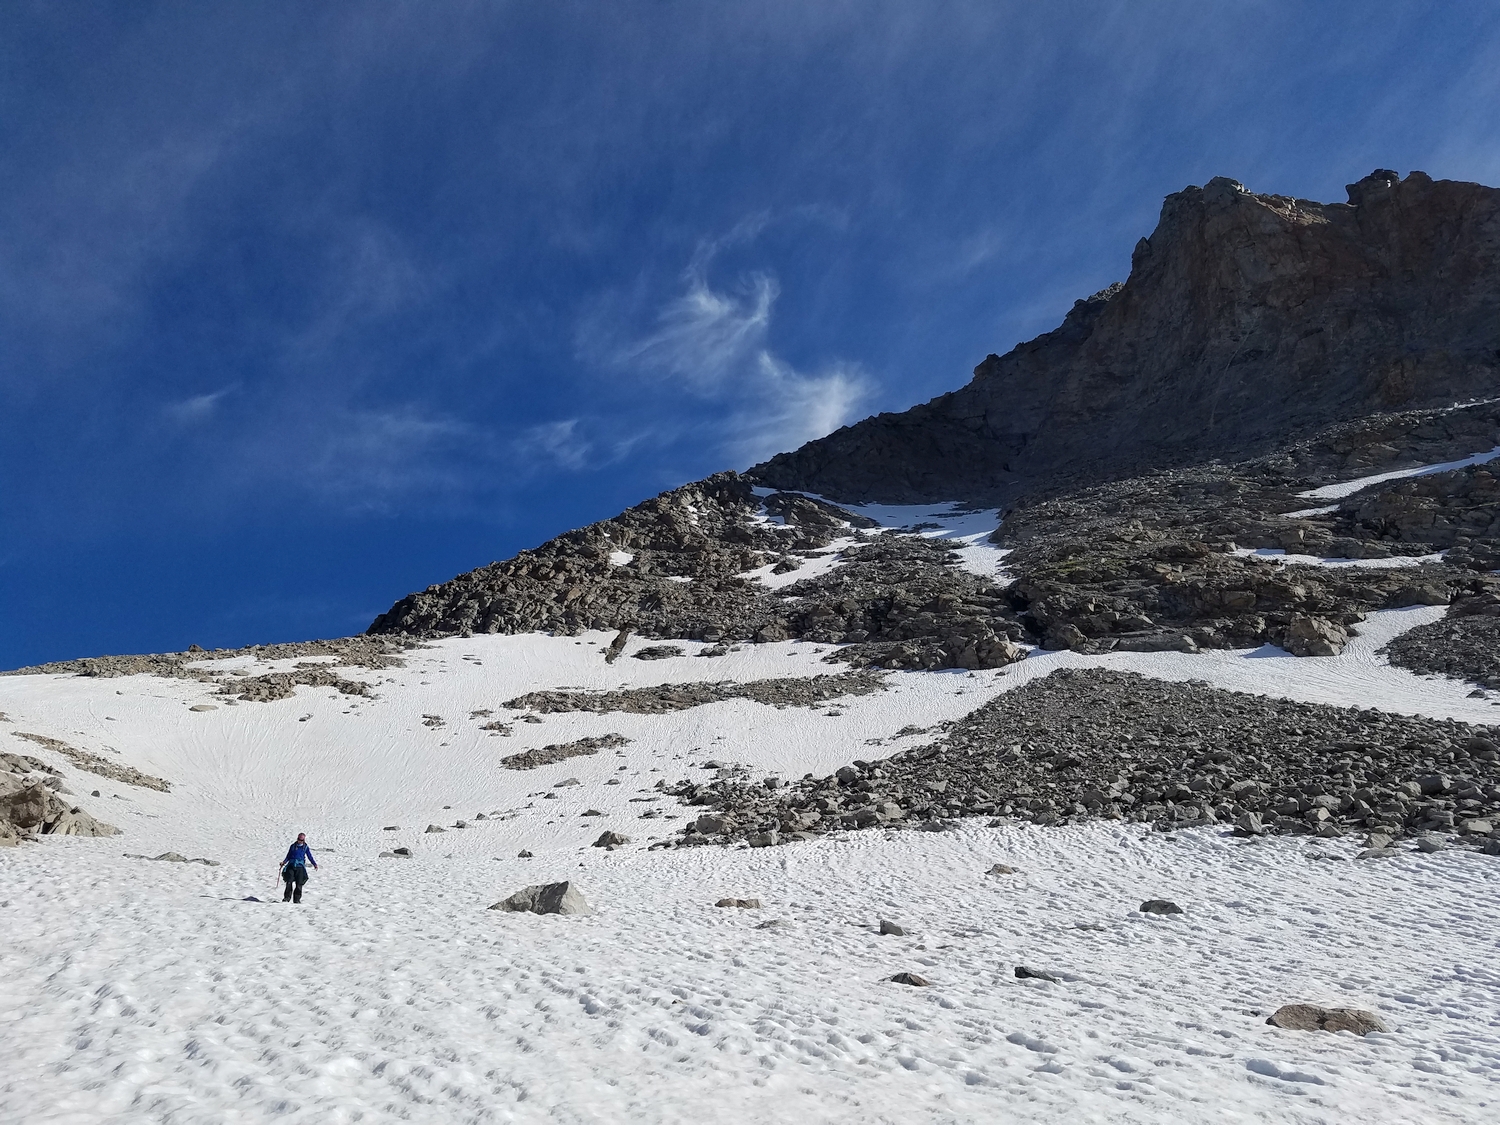
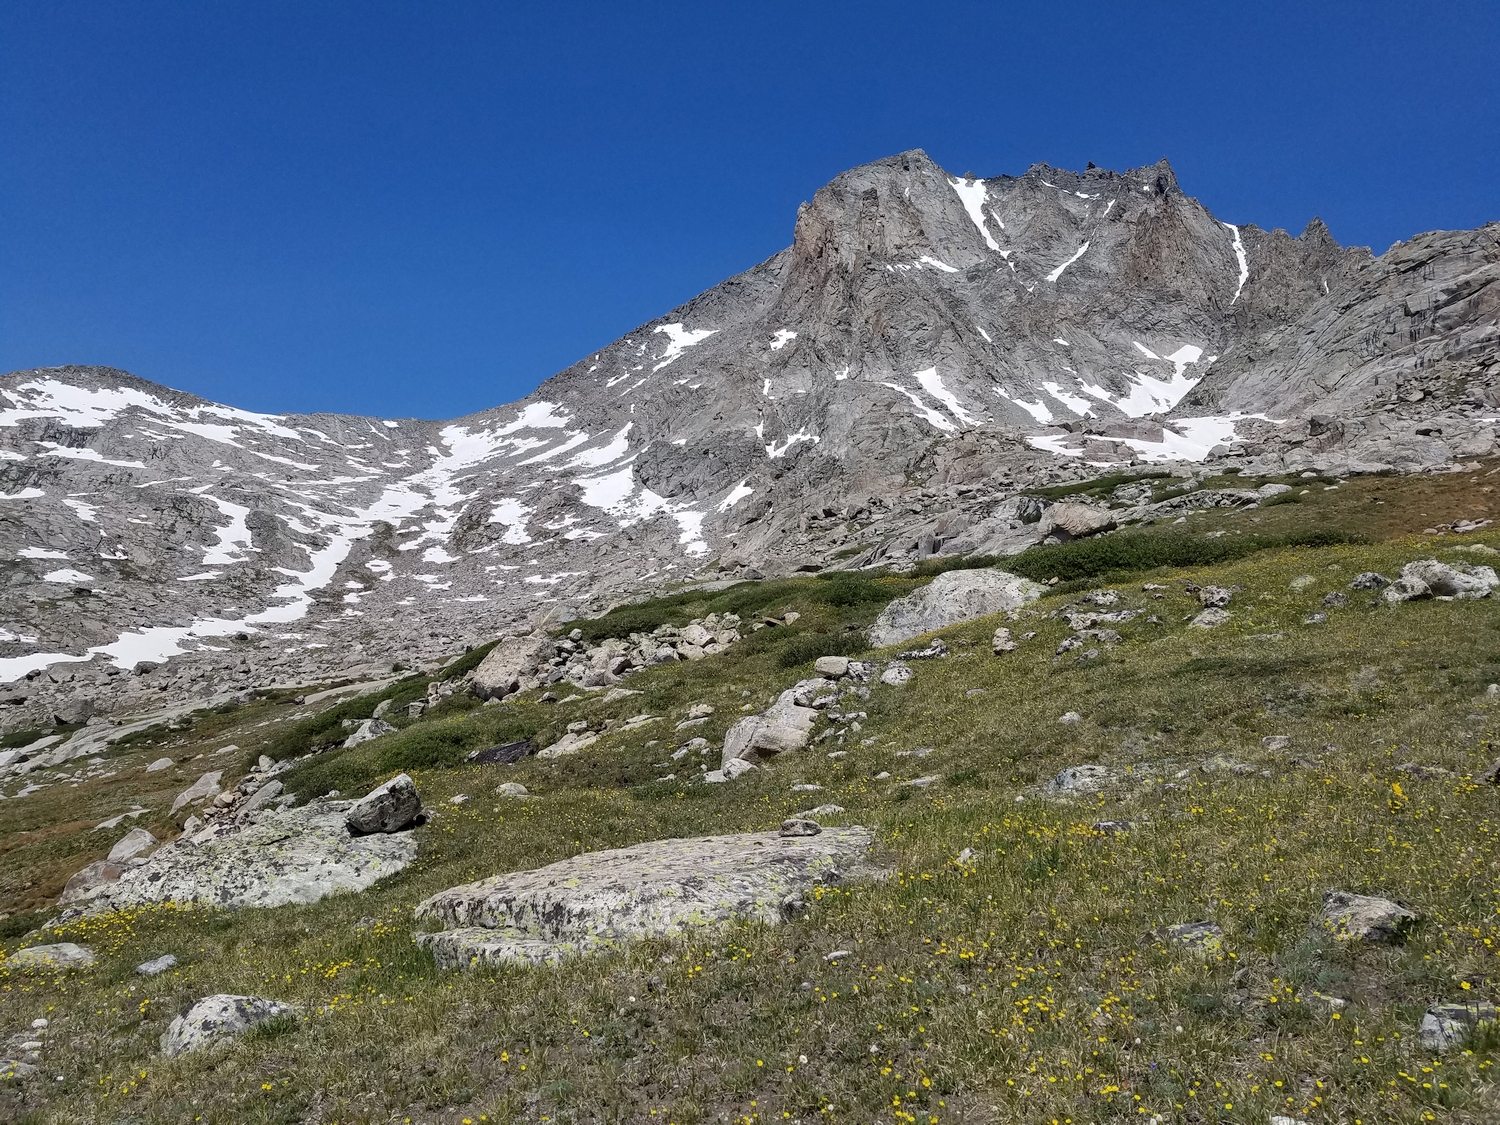
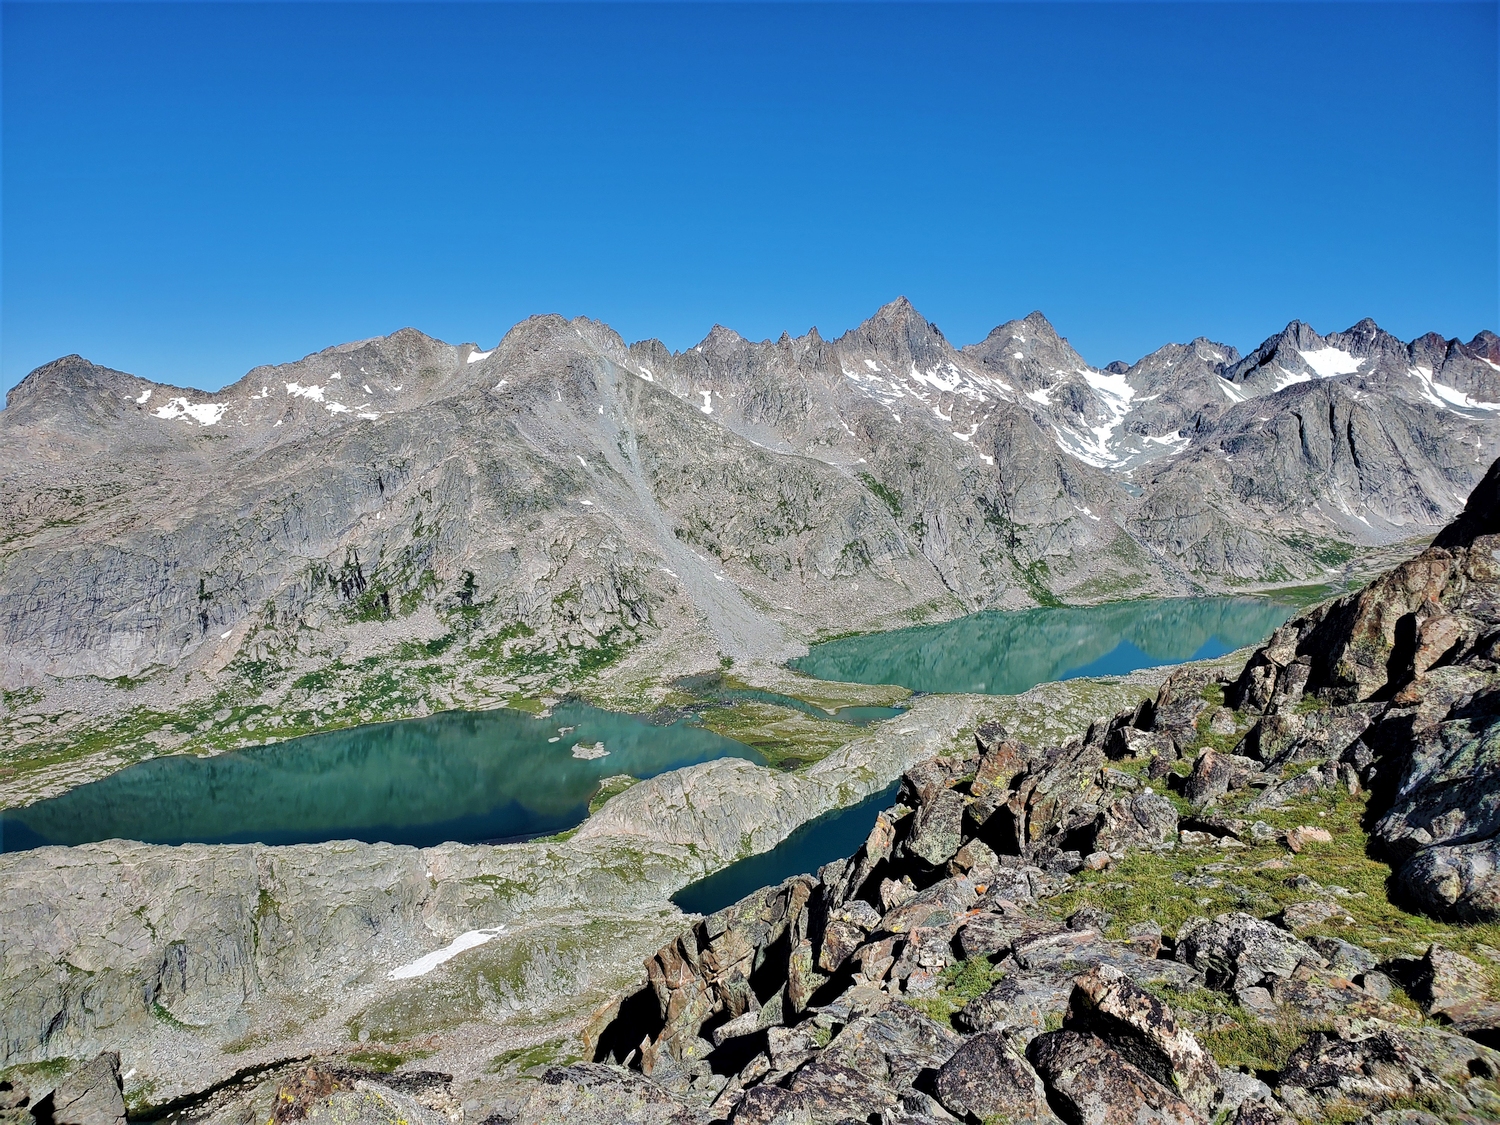
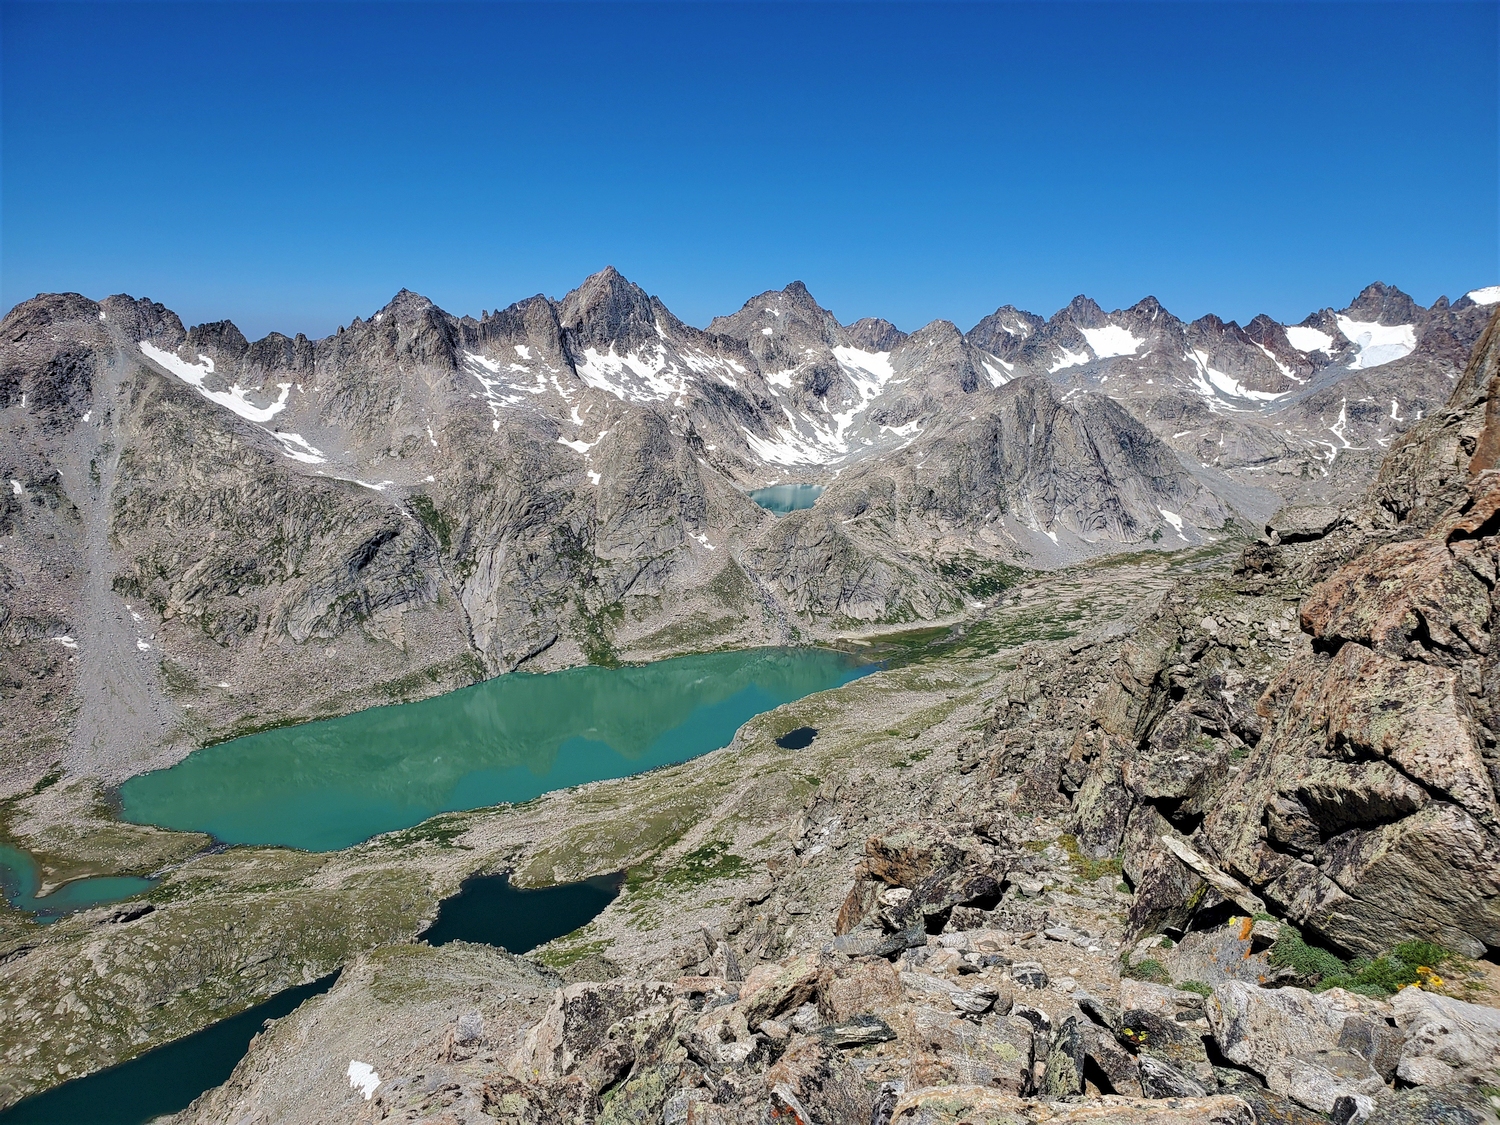
The most direct way to approach Fremont is via the Pole Creek Trail from the Elkhart Park Trailhead, then following the Seneca Lake Trail and Indian Pass Trail to Indian Basin. Where the Indian Pass Trail crosses the small inlet creek to Lake 11008, leave the trail to the left (northwest) and hike up the gently sloping valley to join the southwest ridge of Fremont Peak around 12,200 ft. where the ridge undergoes a change in slope and begins slanting steeply upward.
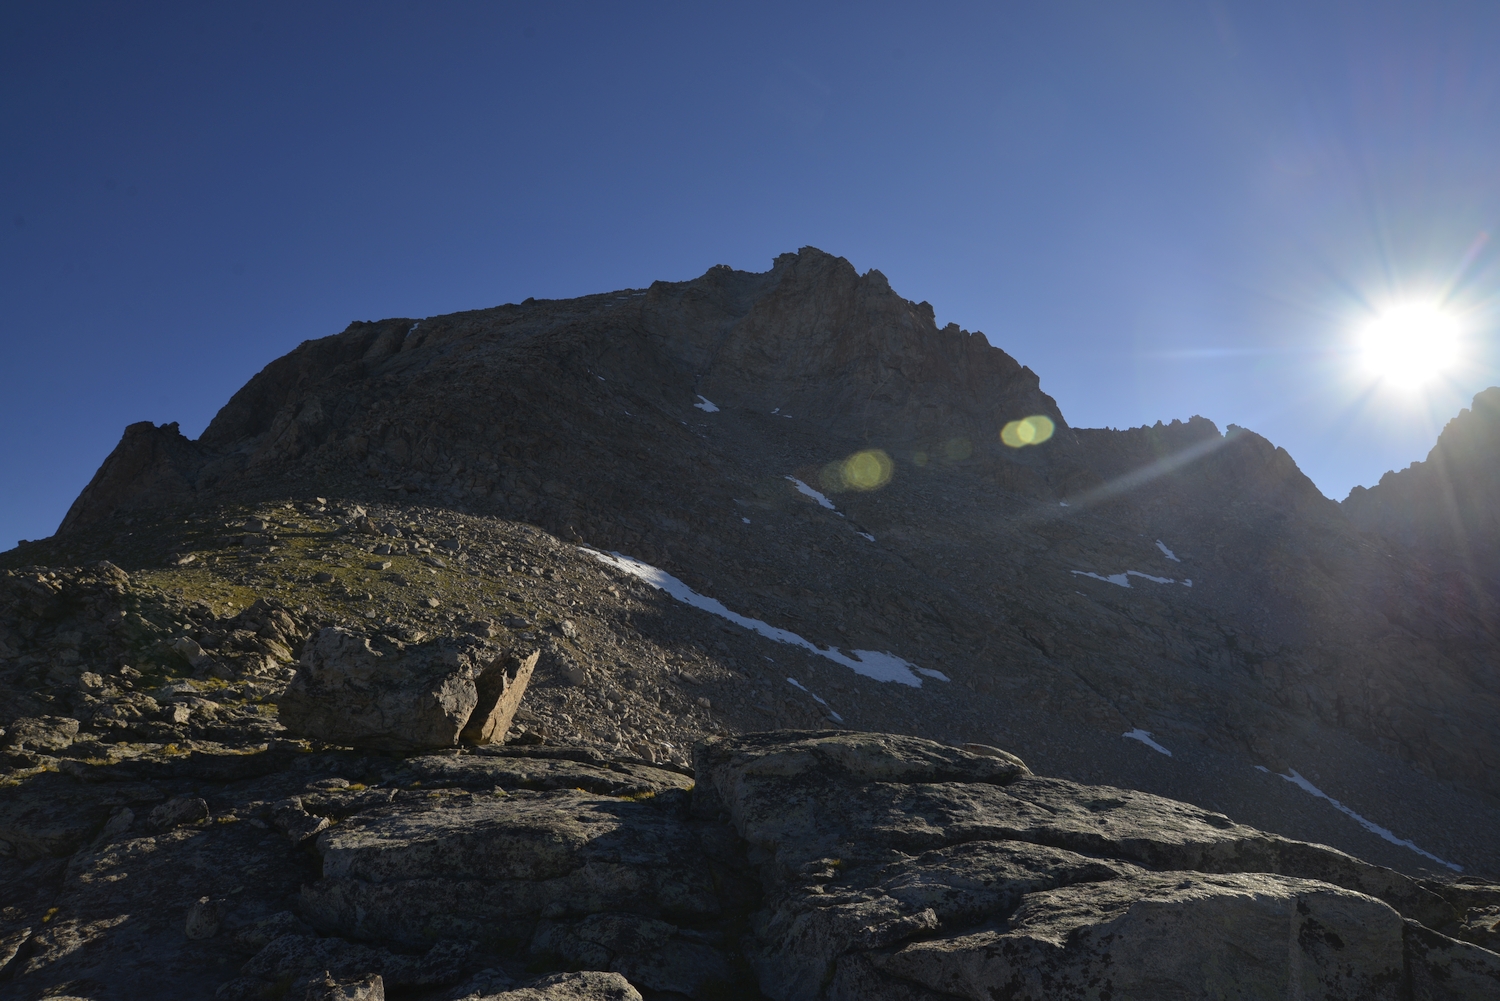
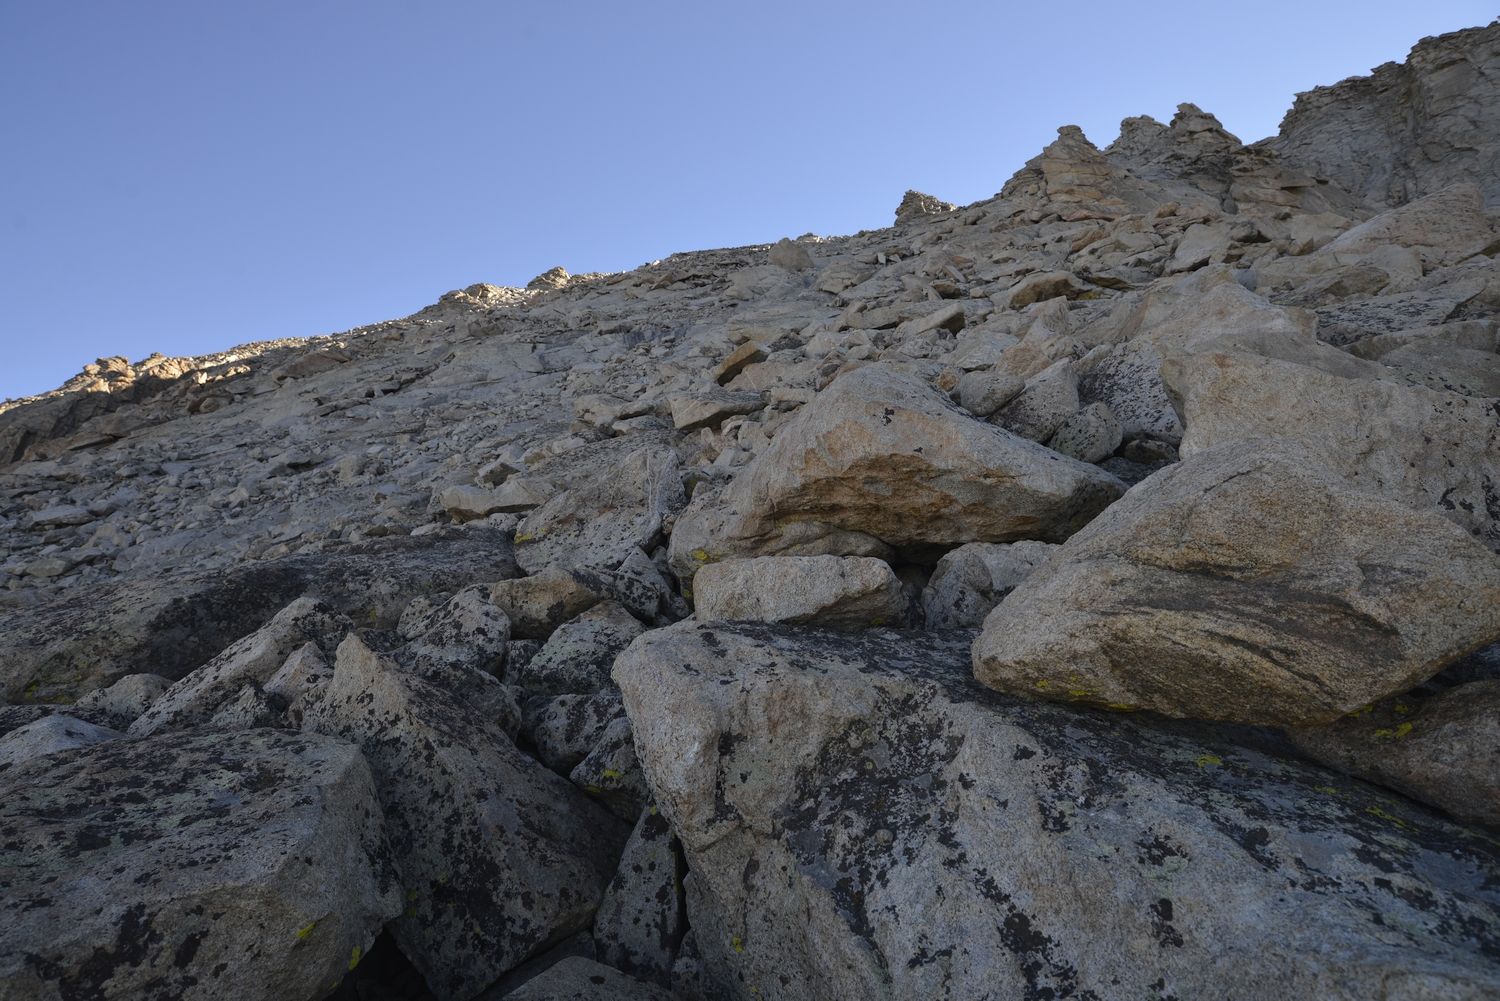
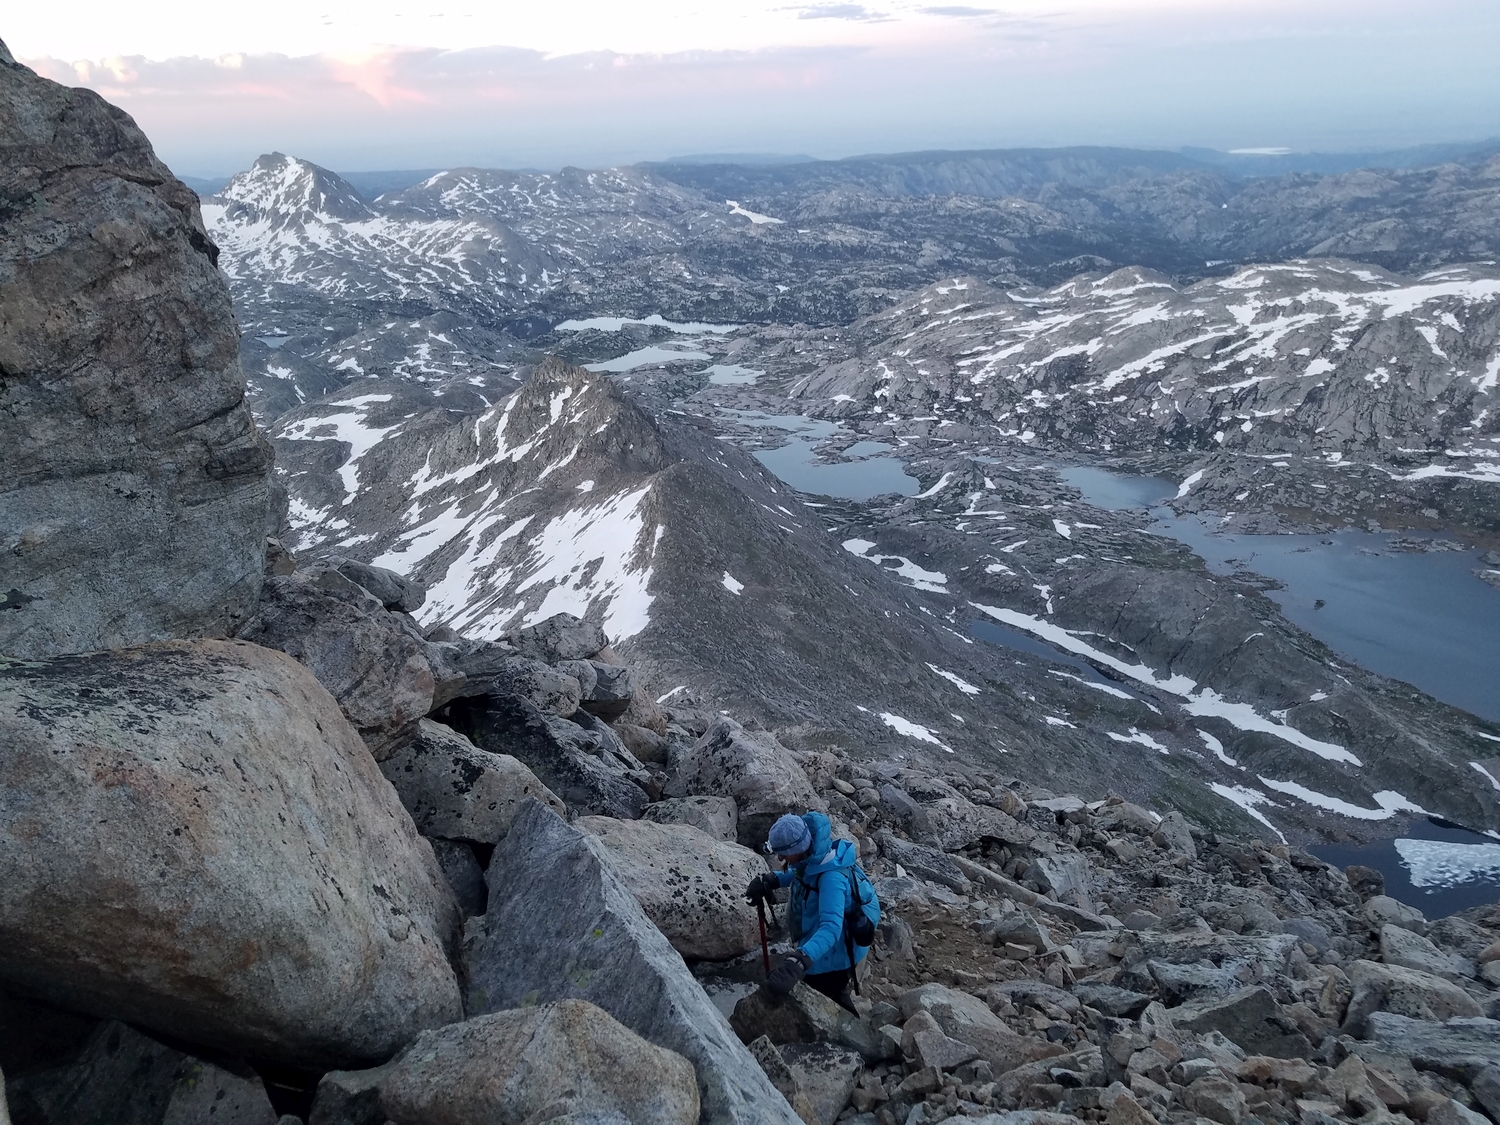
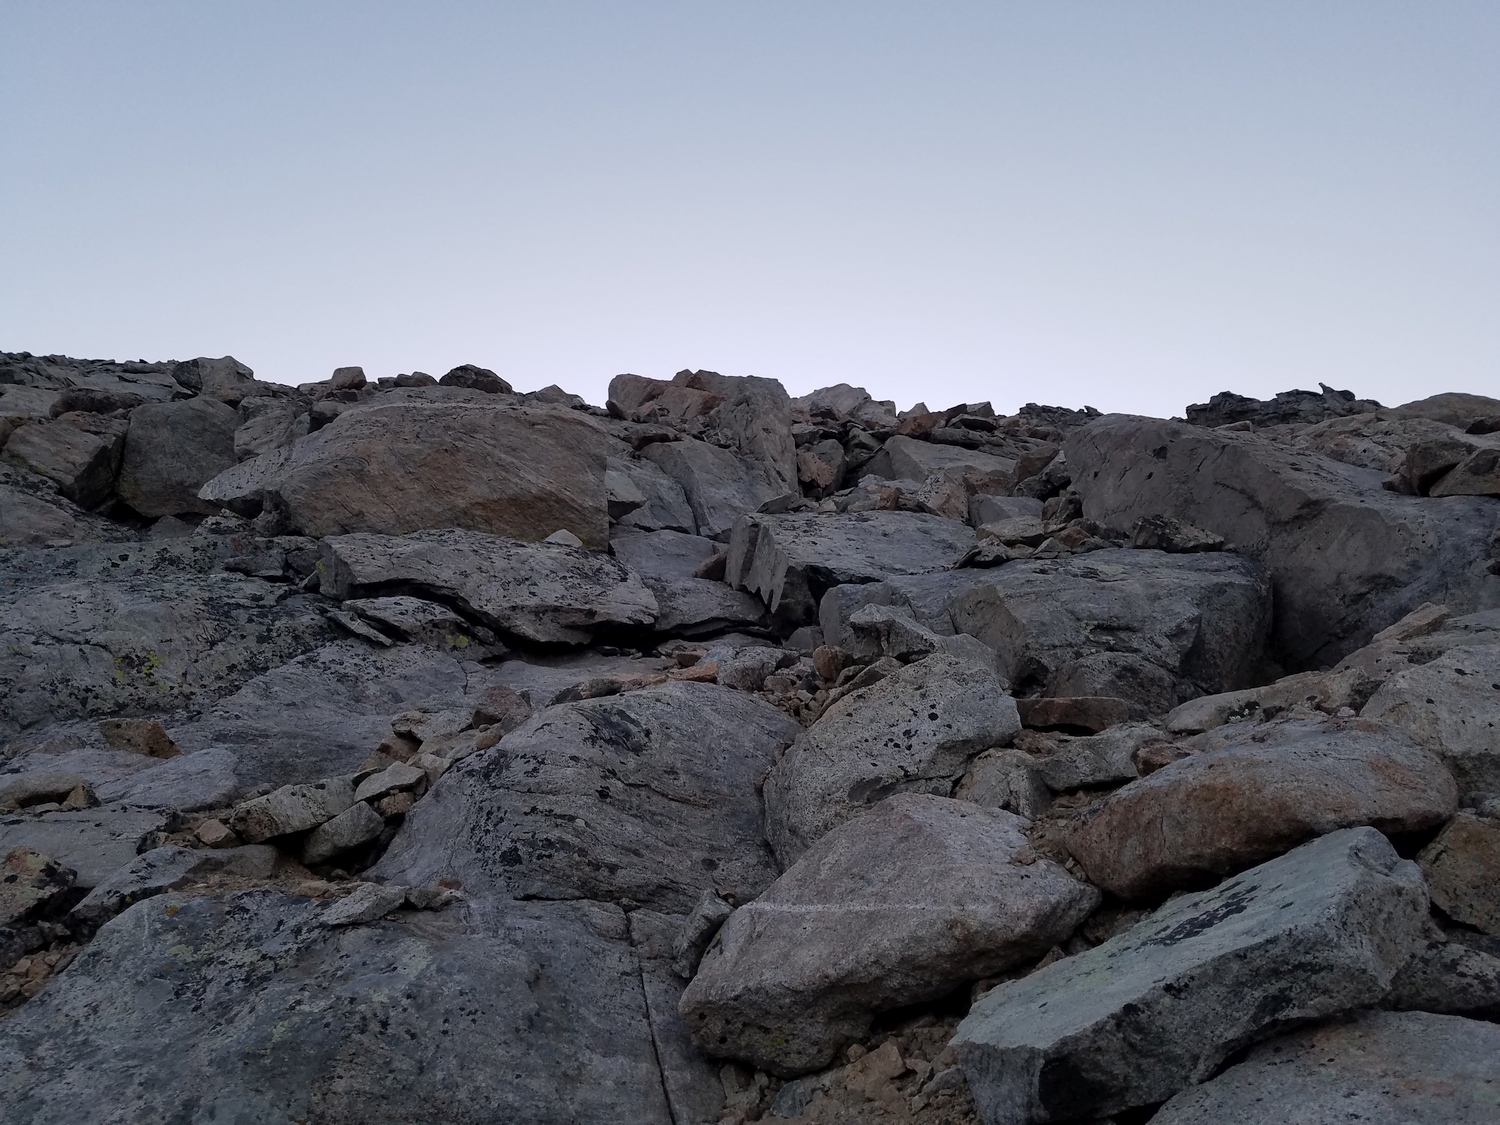
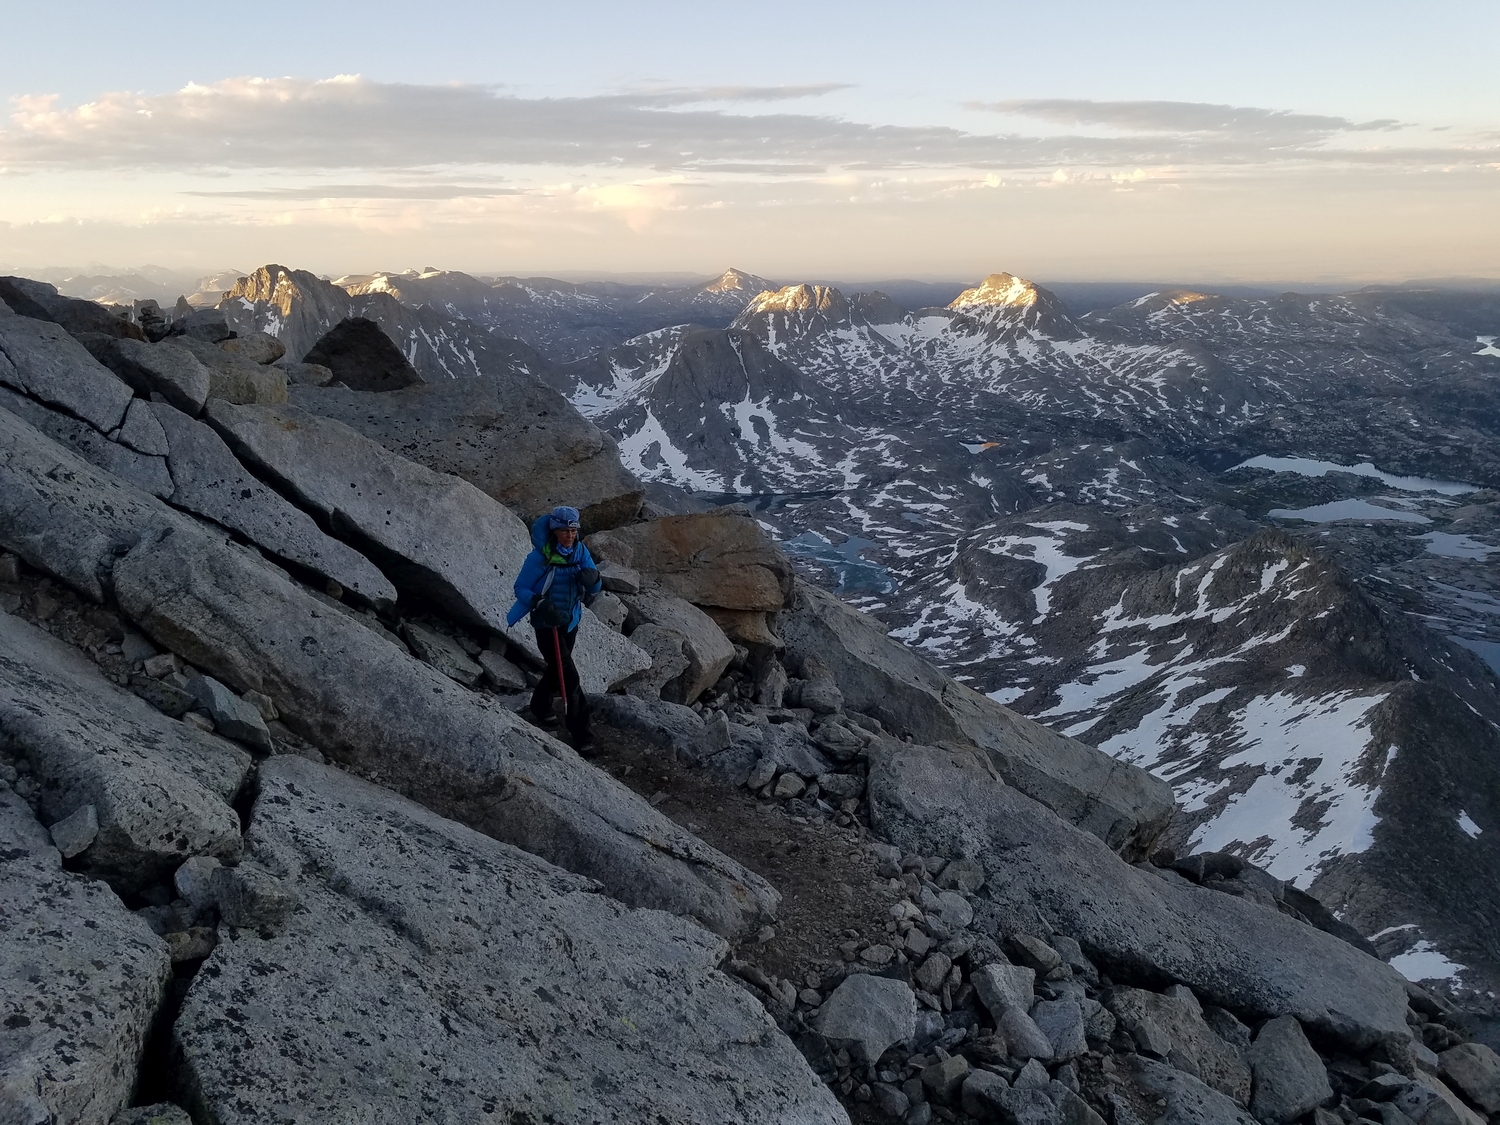
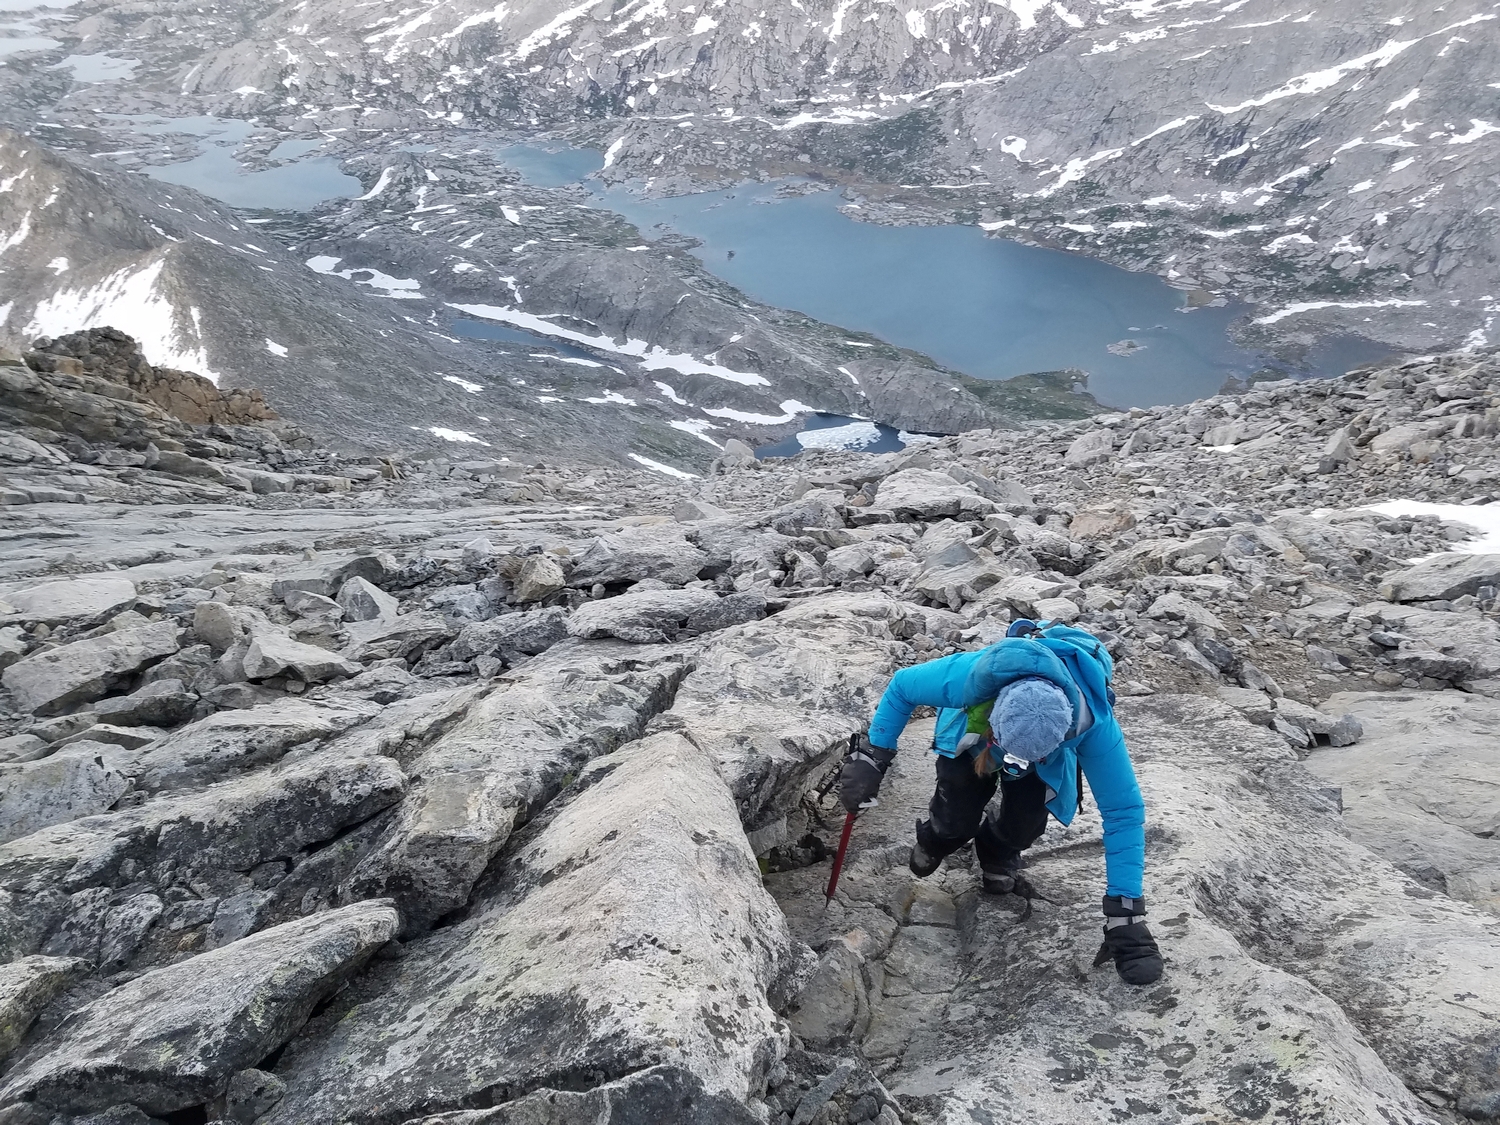
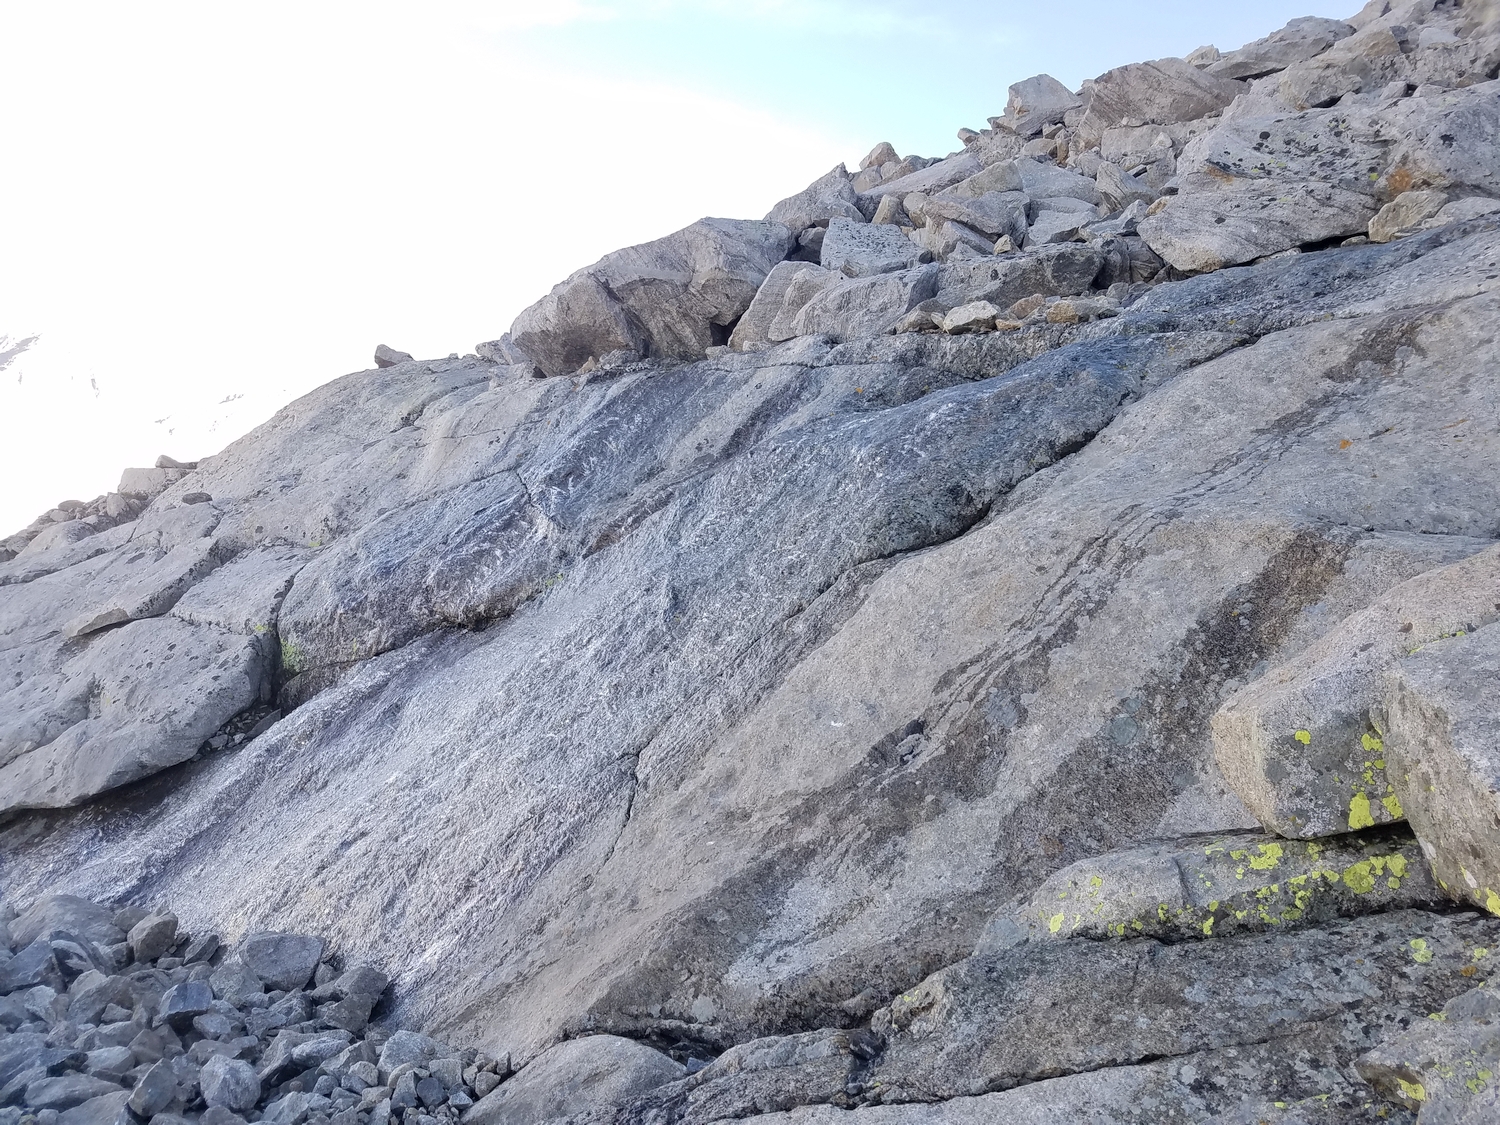
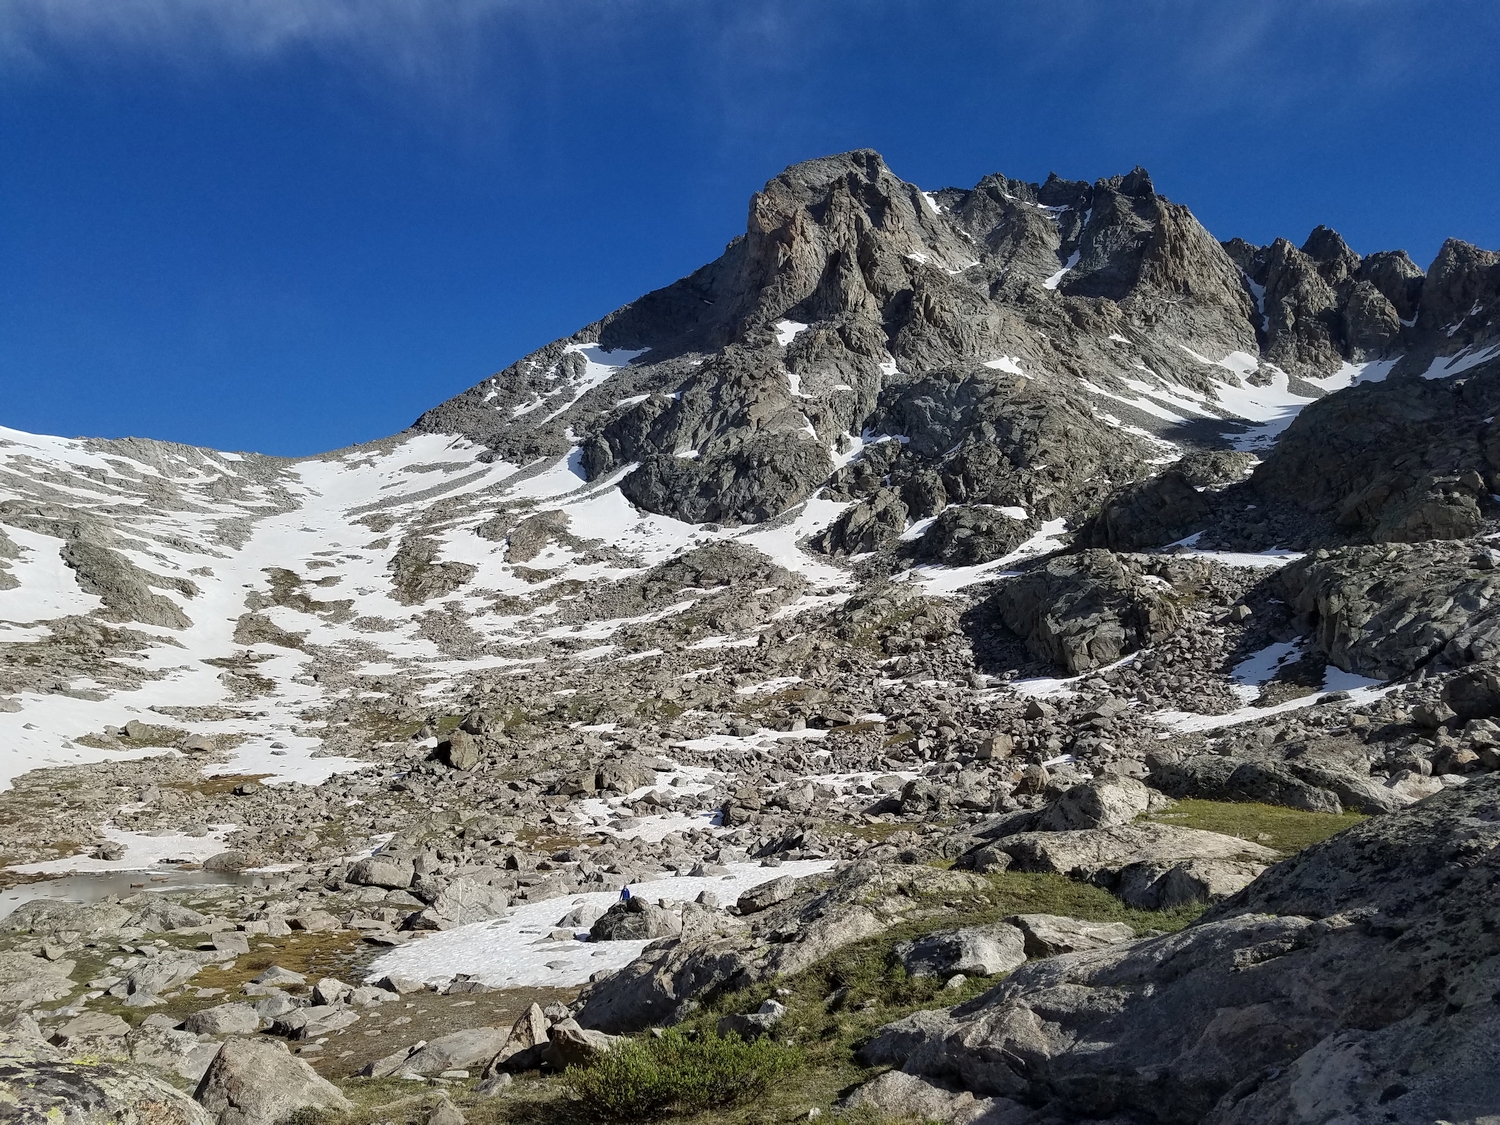
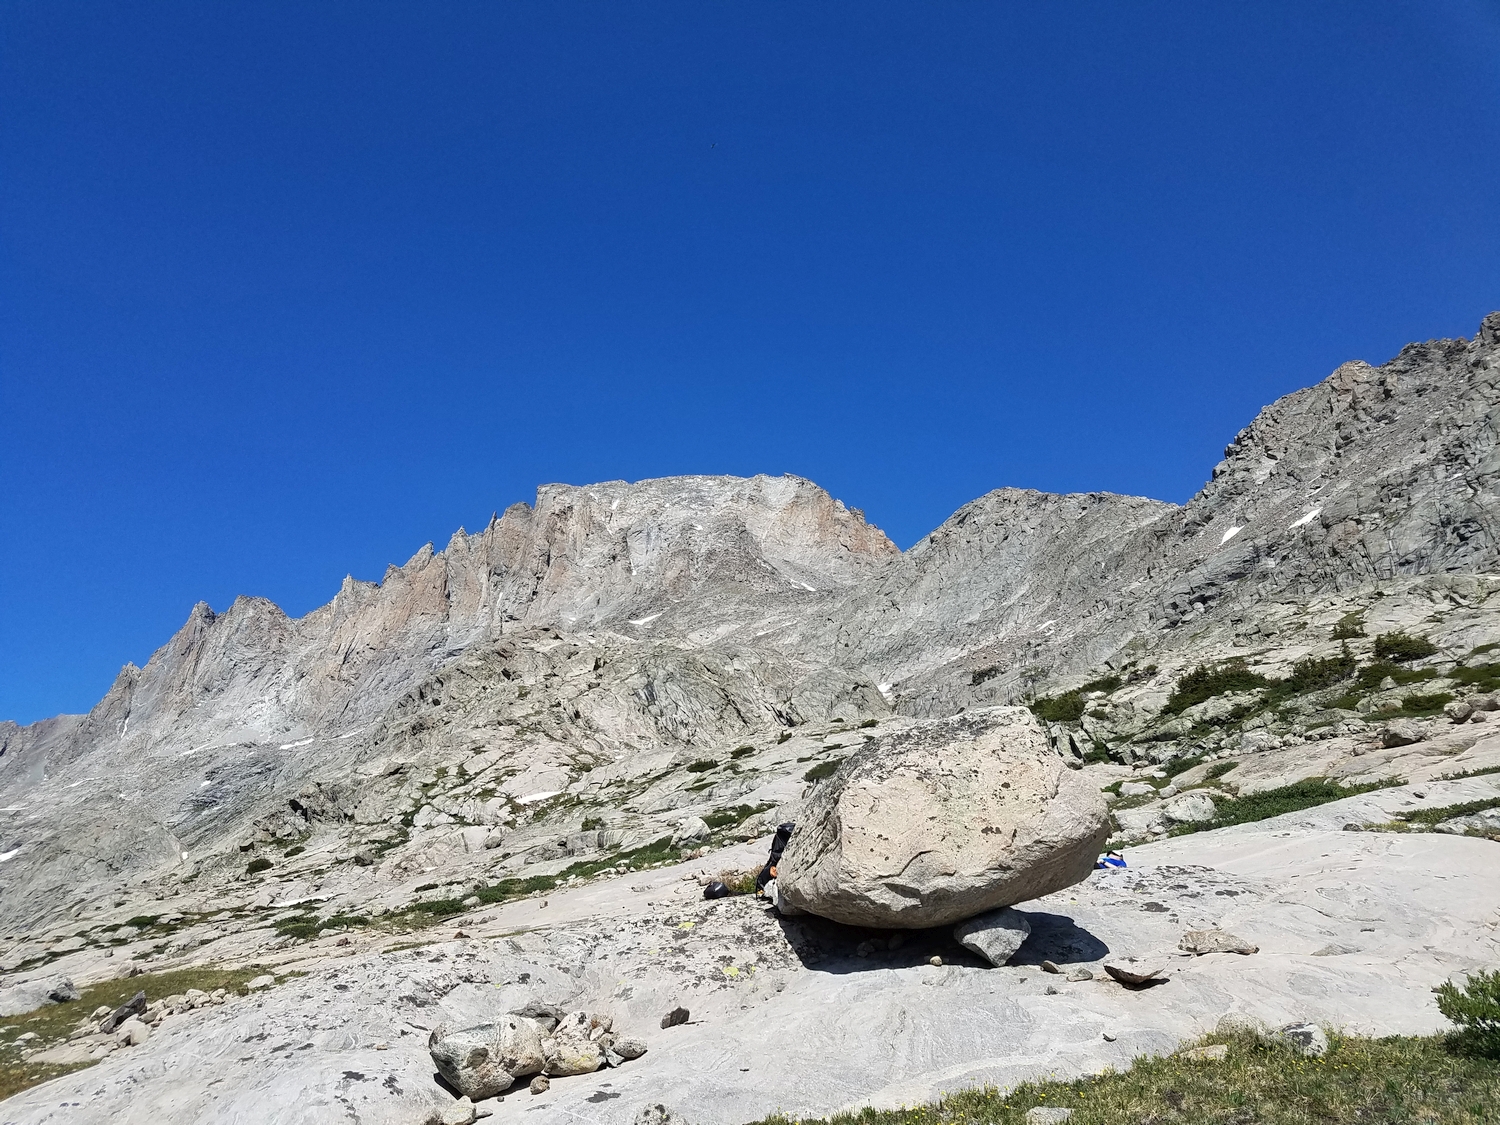
The southwest ramp looms above, and the route is fairly straightforward. A short rock step marks the beginning of the scrambling, beyond which 2,500 ft. of slabs, scree gullies, and blocky terrain offers a plethora of micro-routefinding choices. Many routes are possible at comparable difficulty, though in general the easiest path meets the summit ridge somewhat to climber’s right of the highpoint.
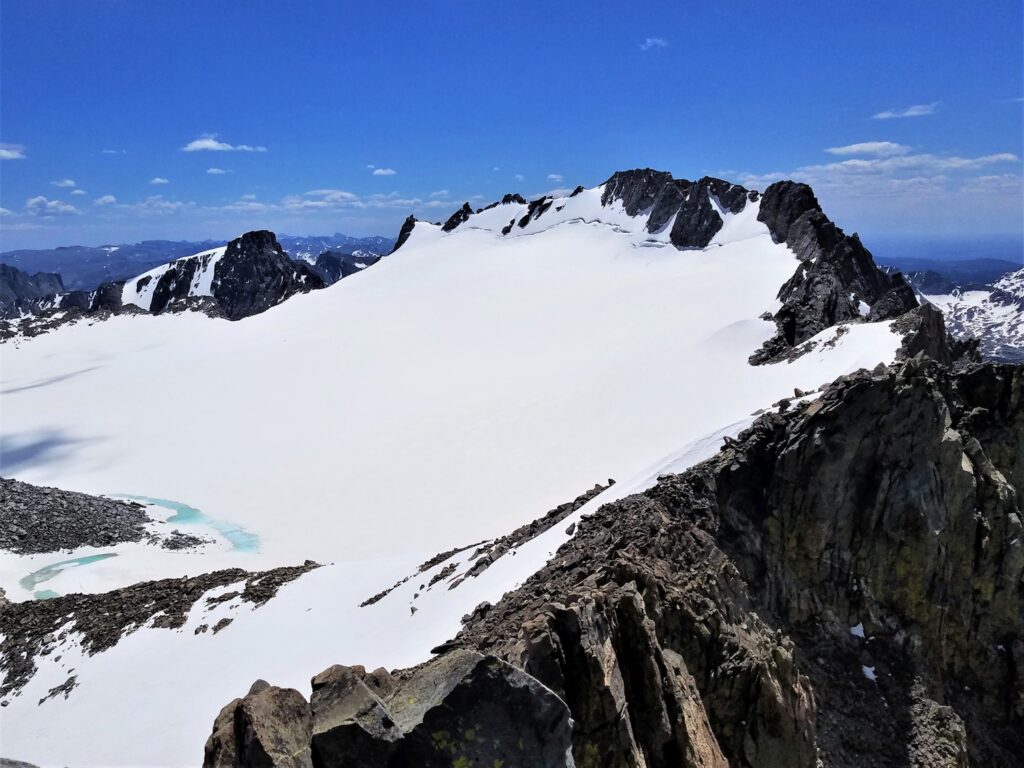
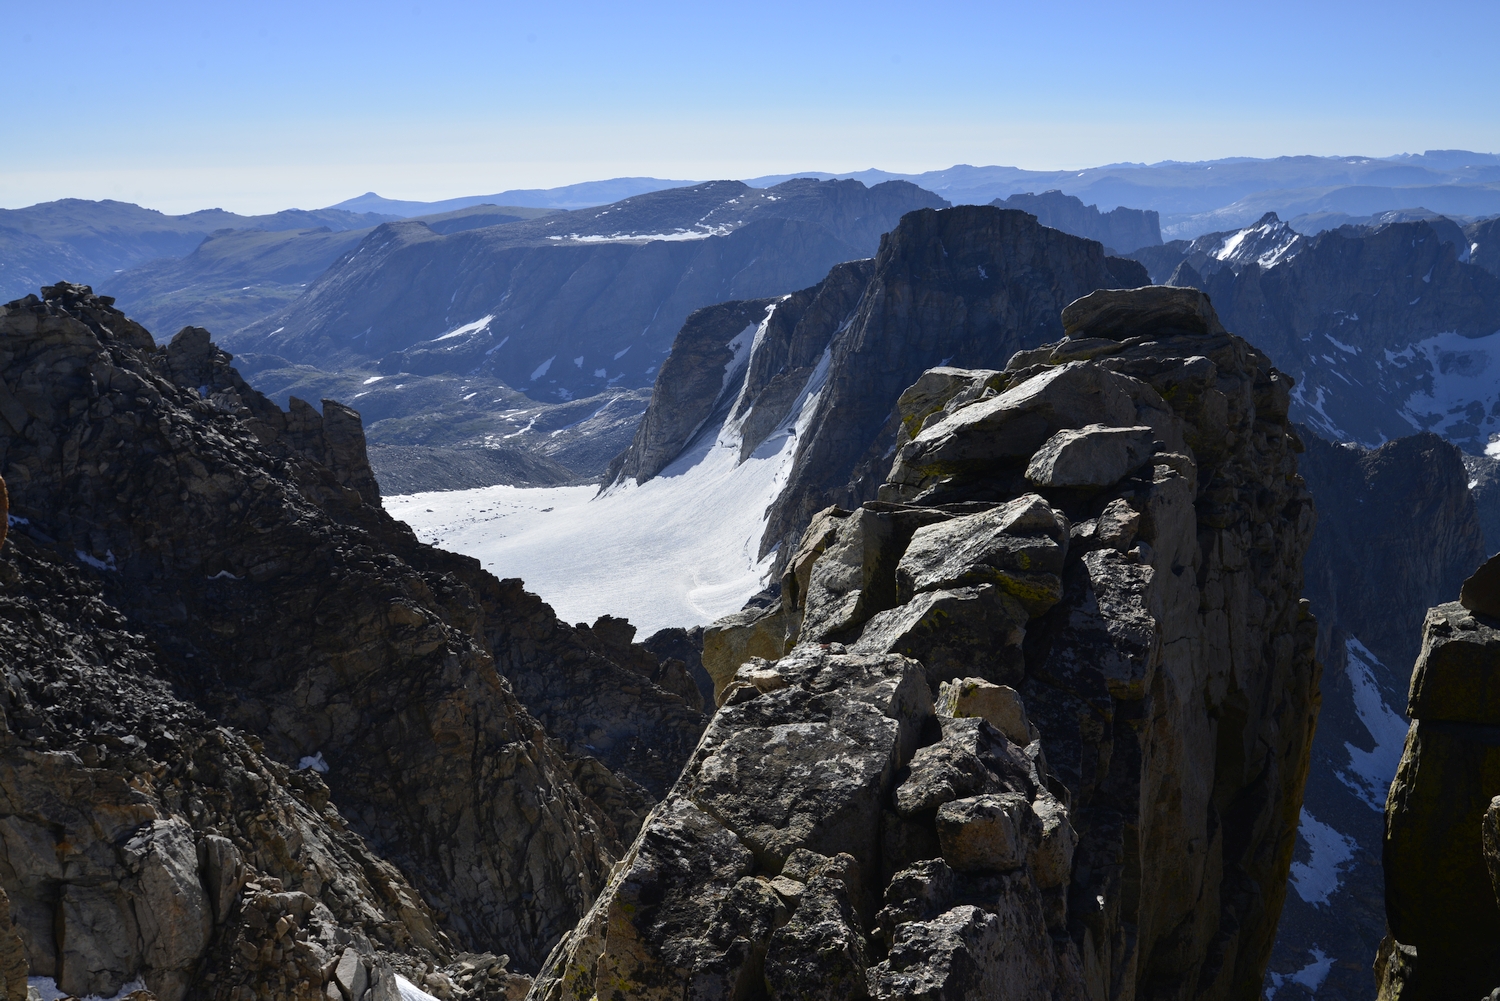
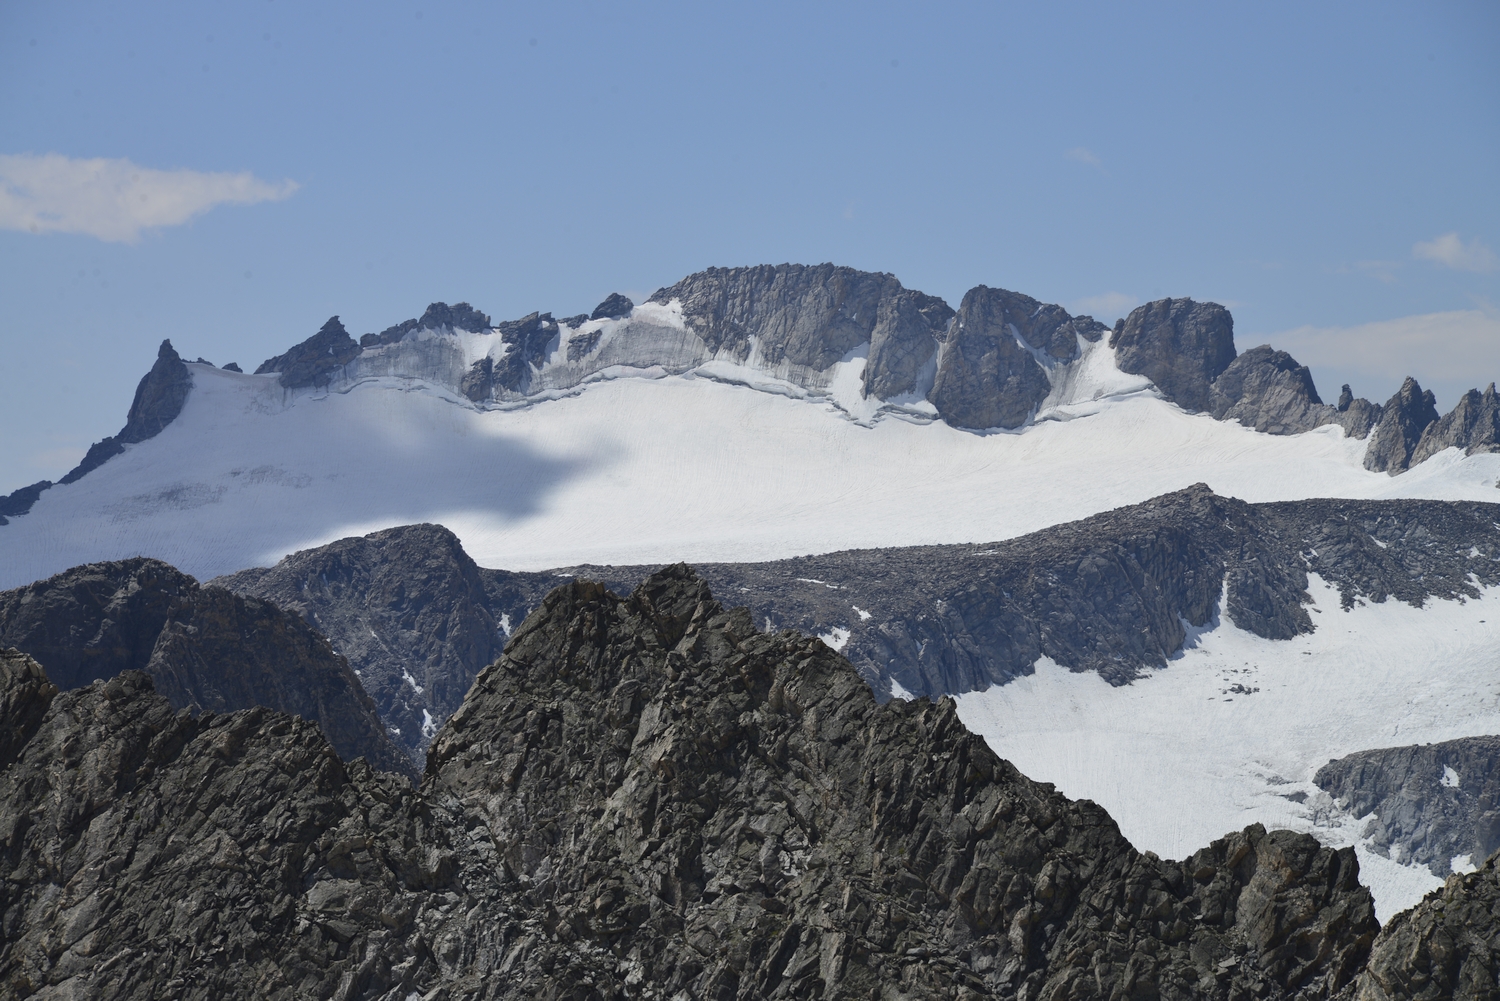
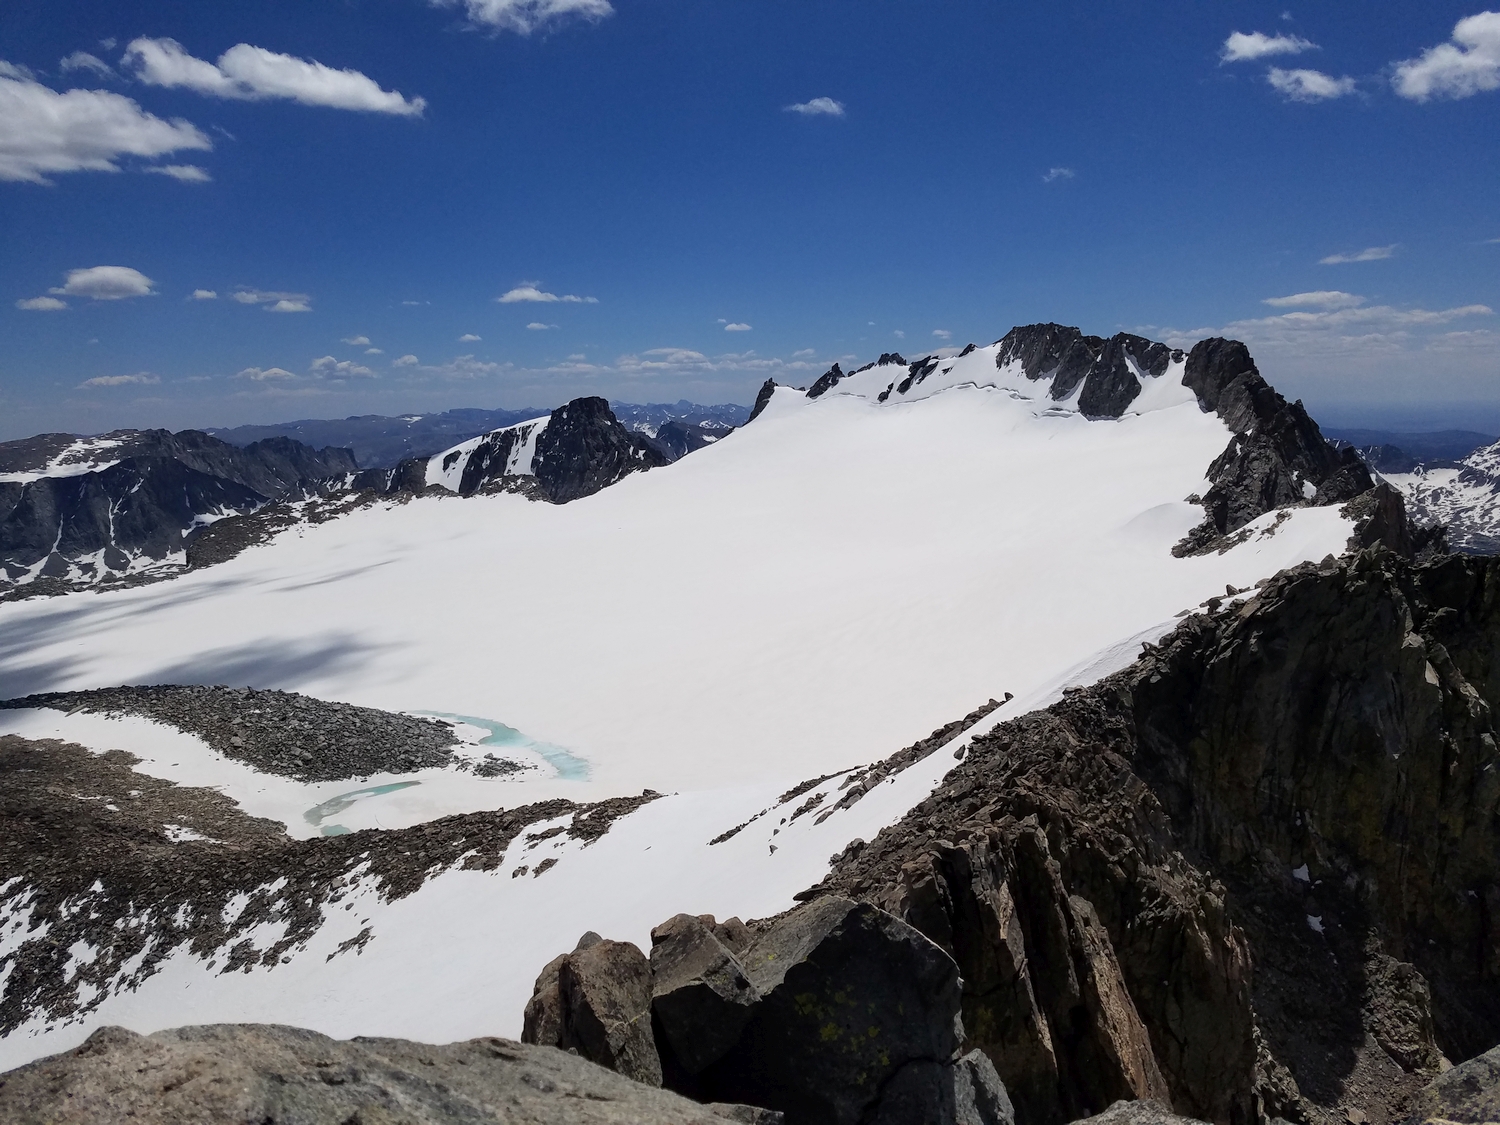
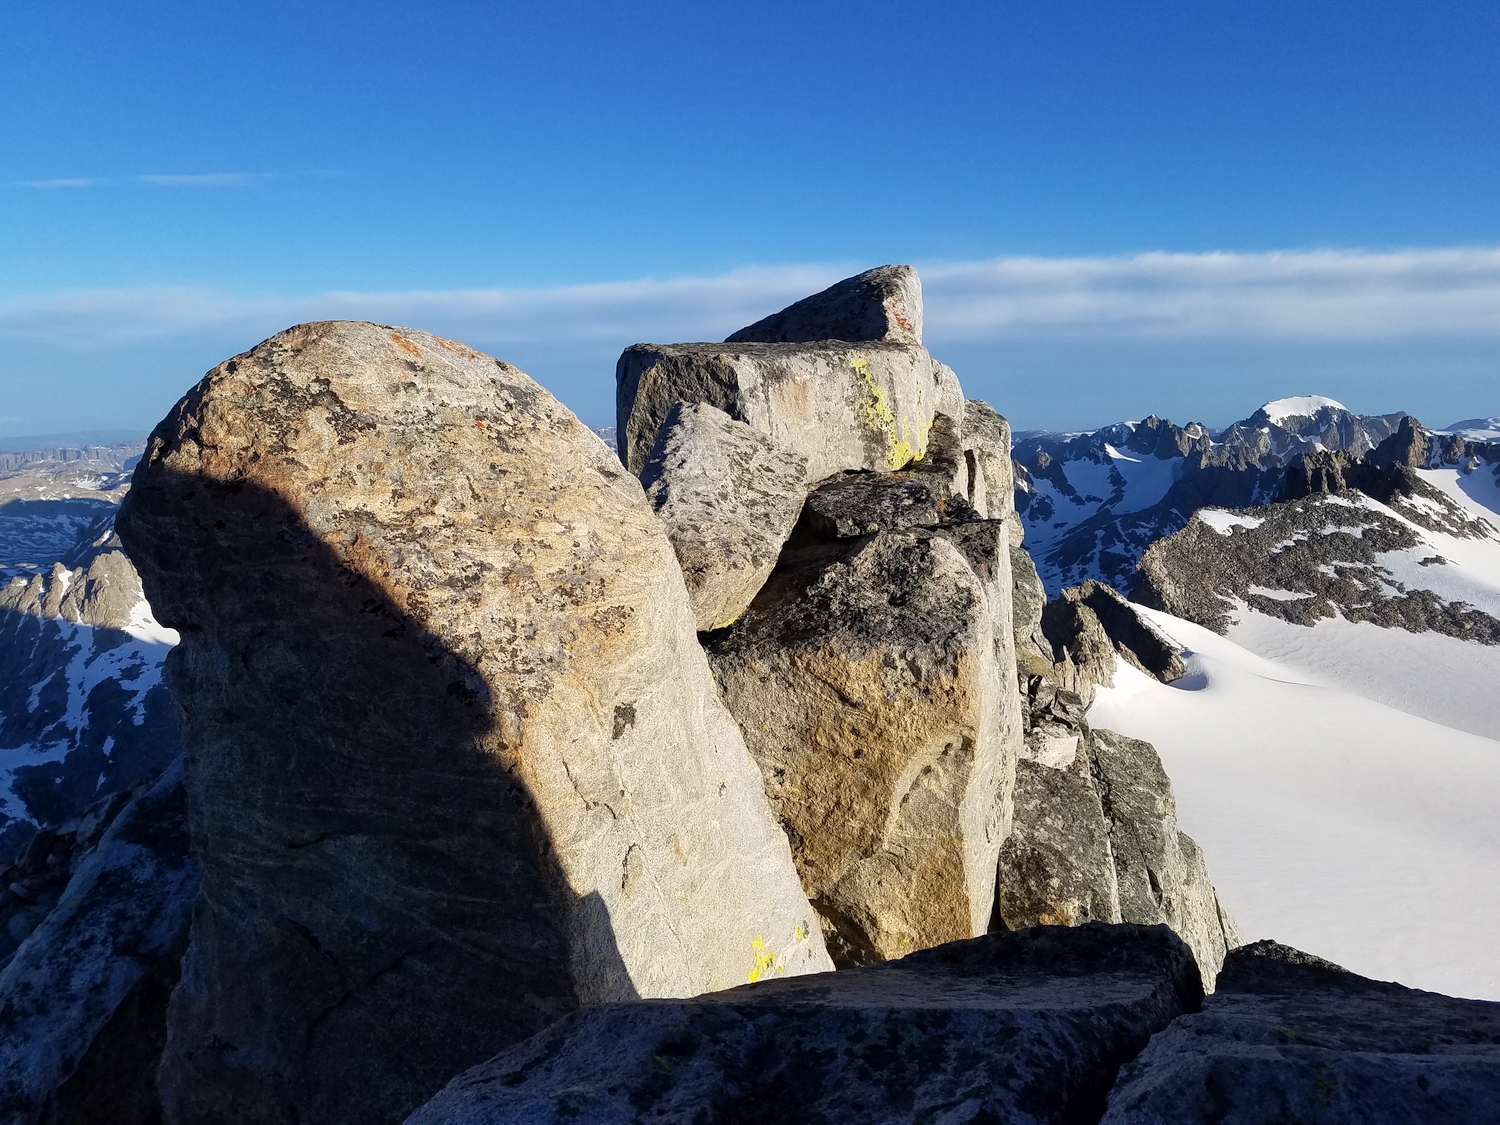
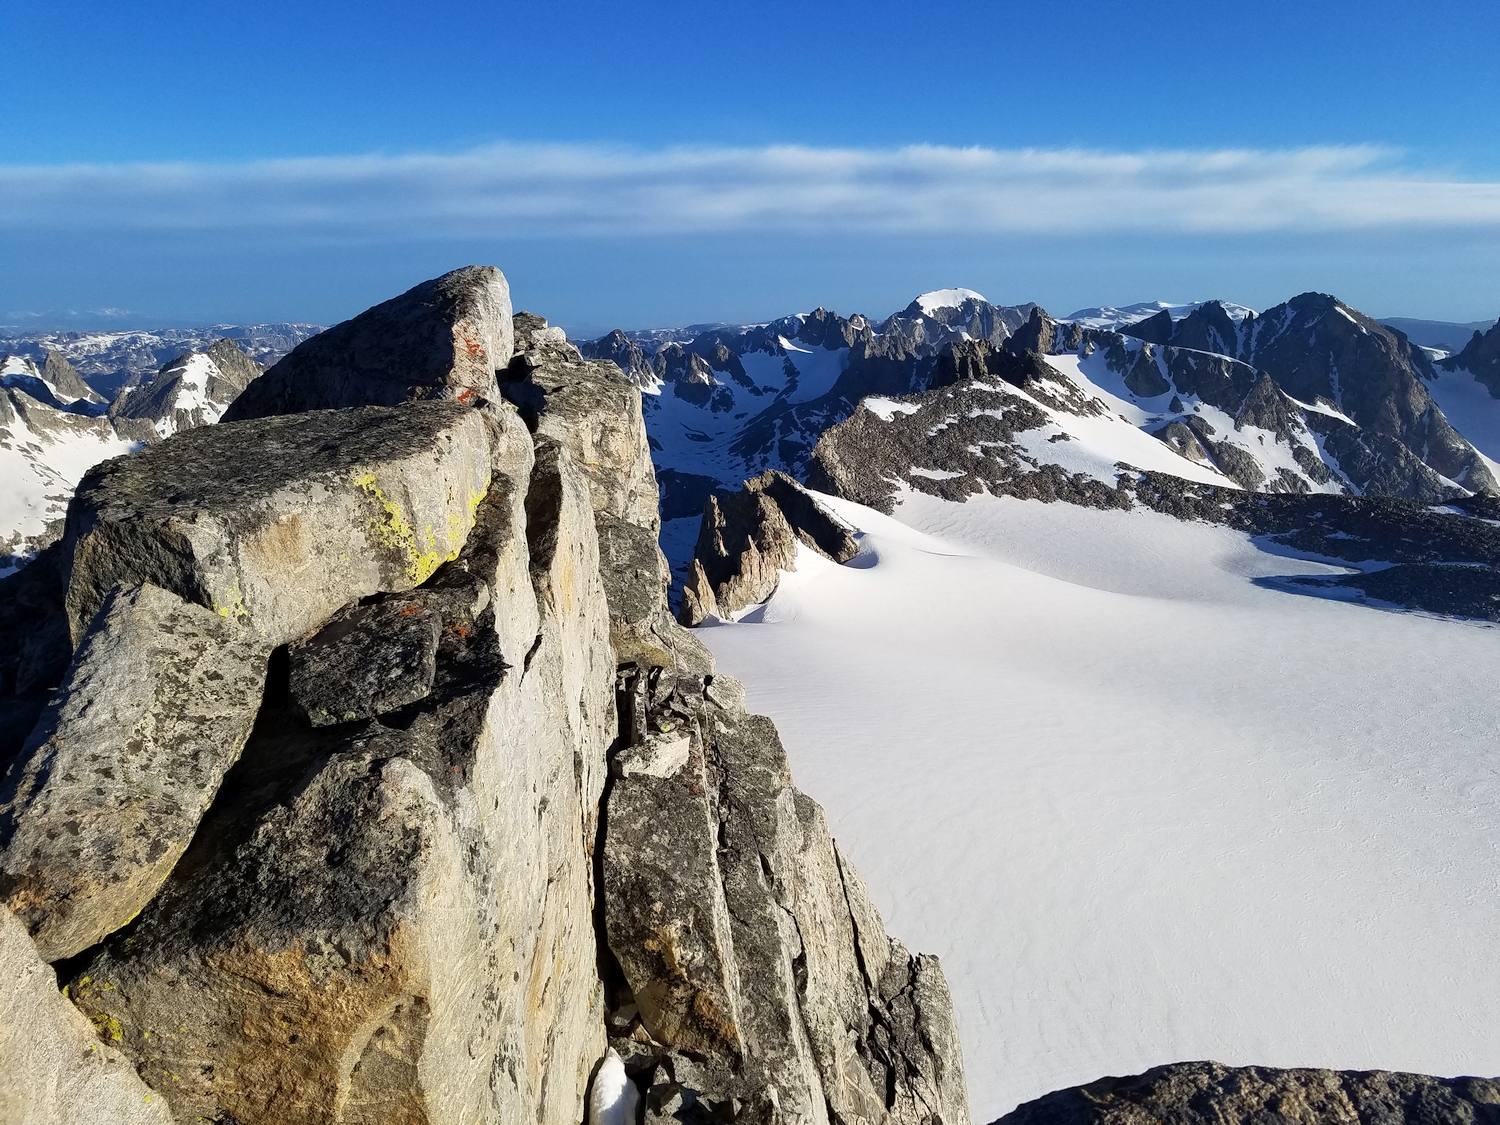
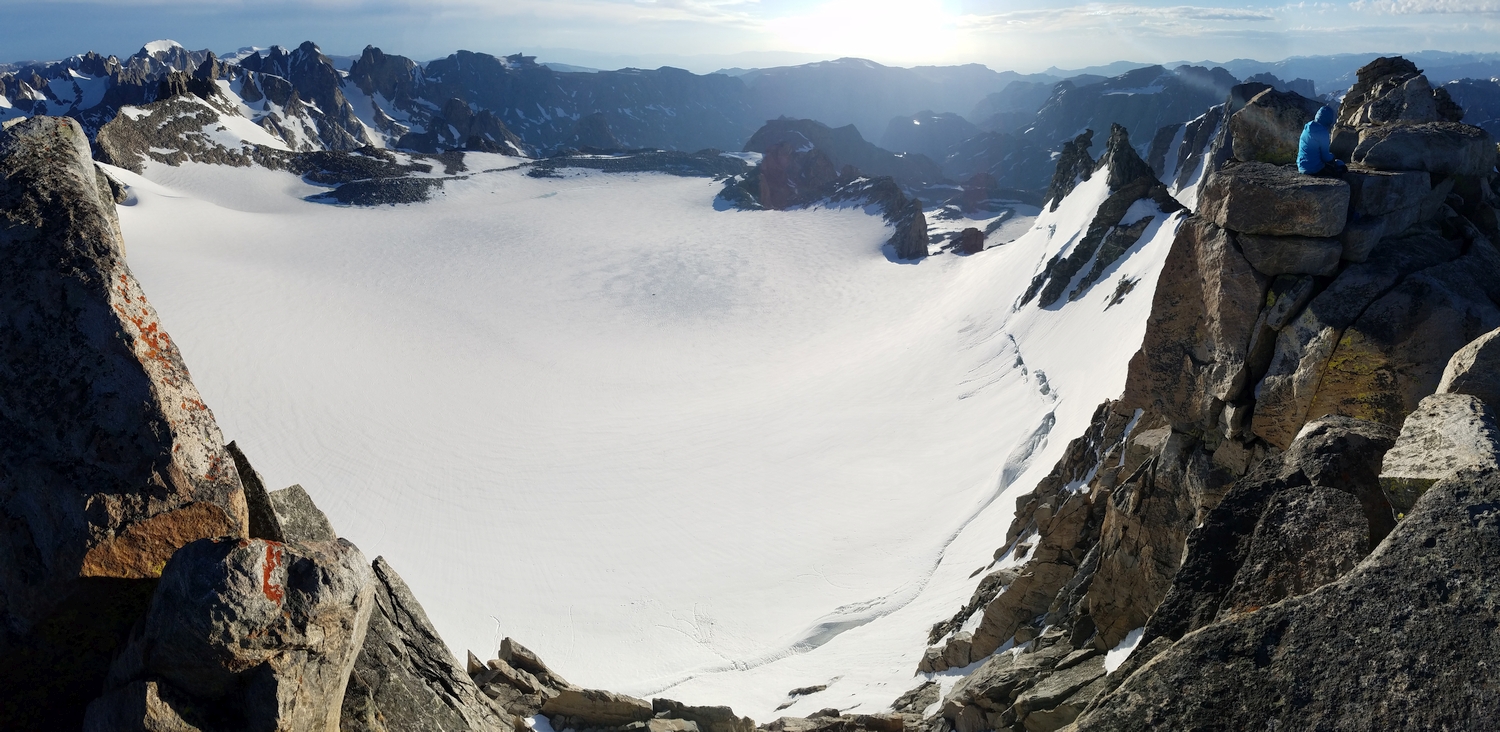
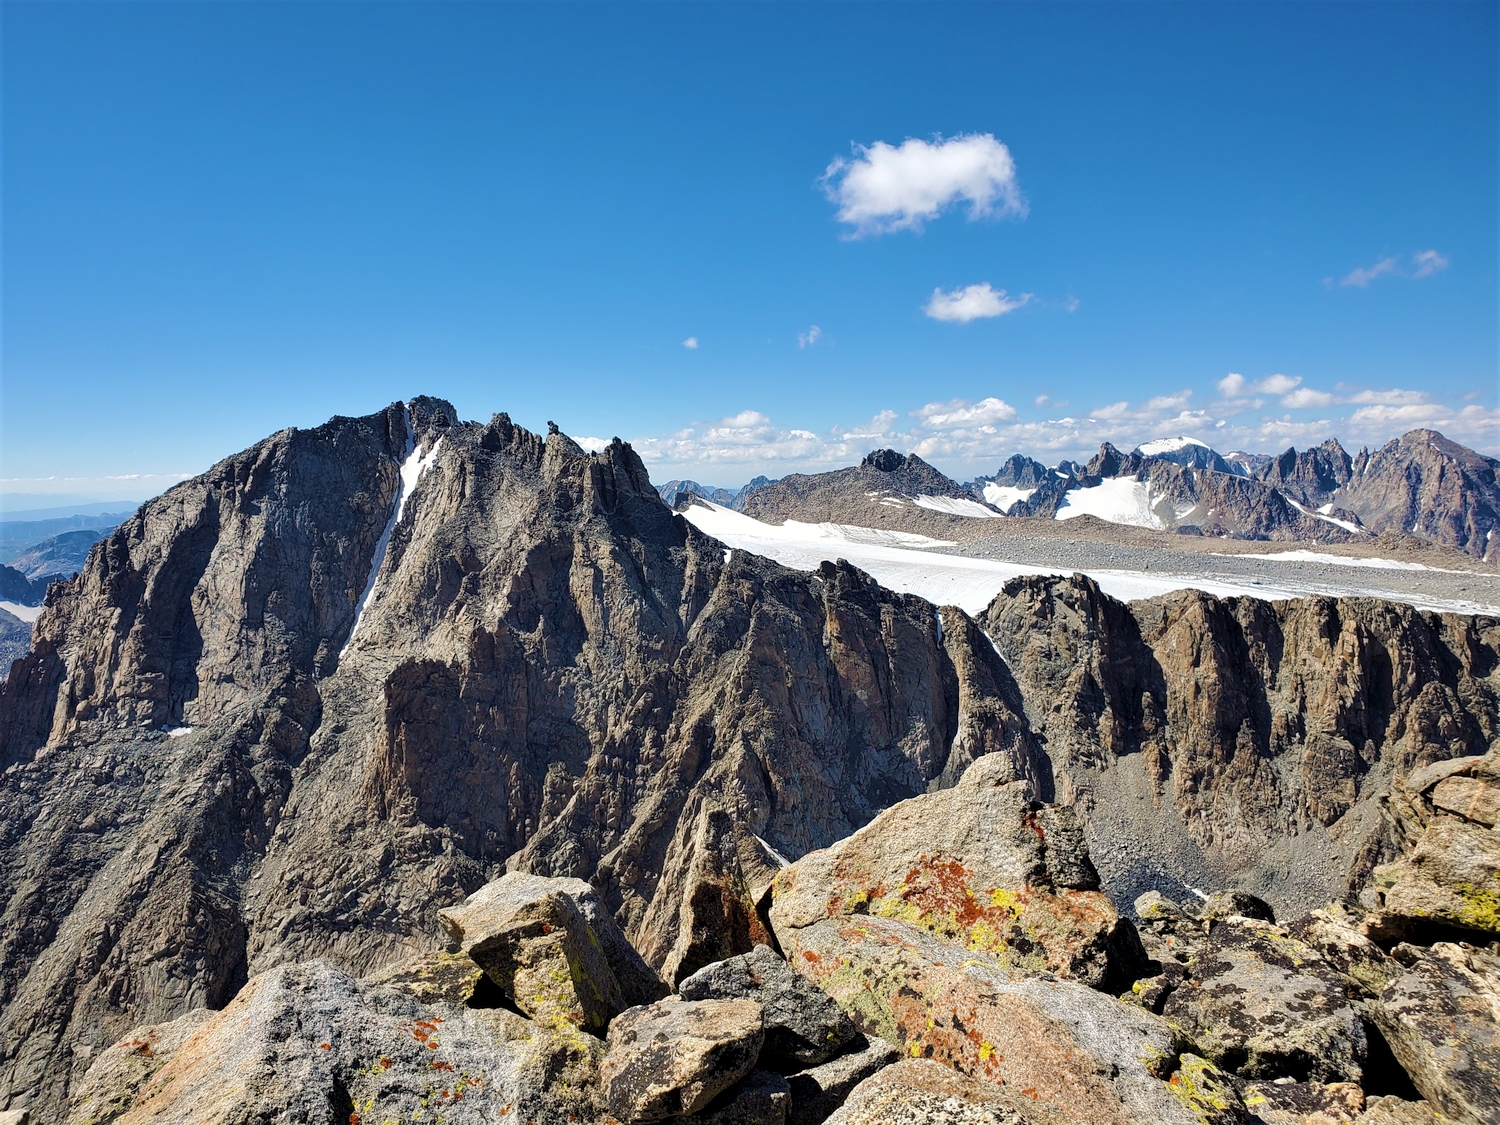
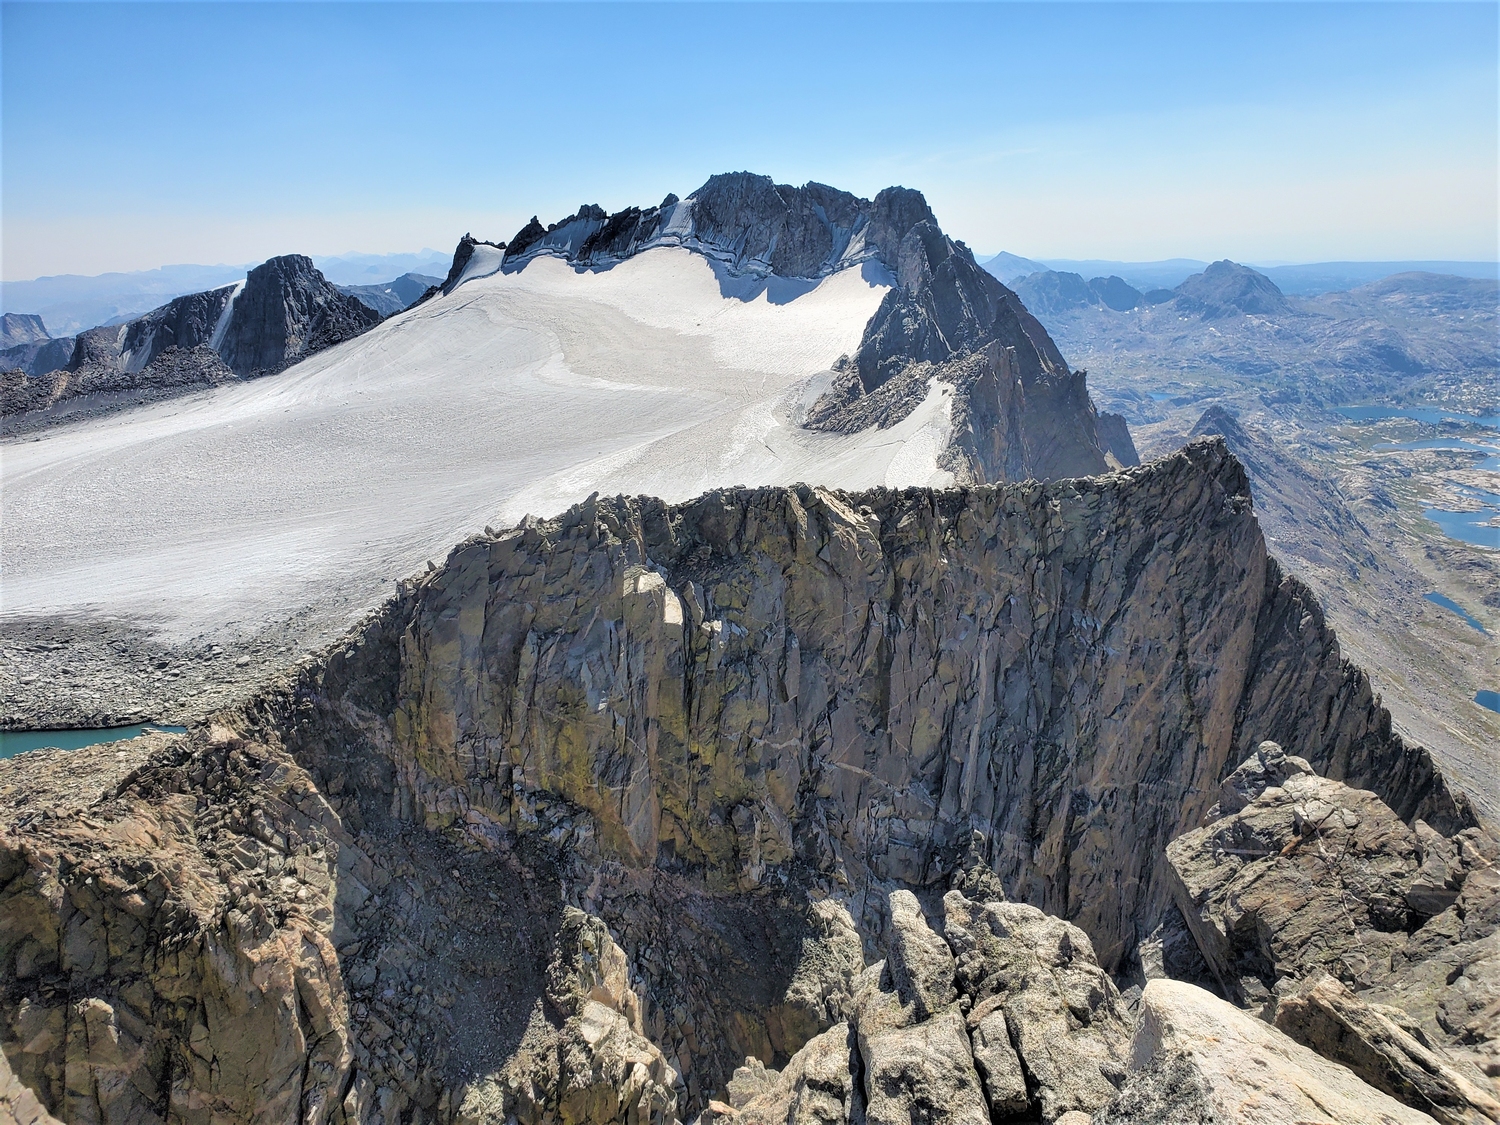
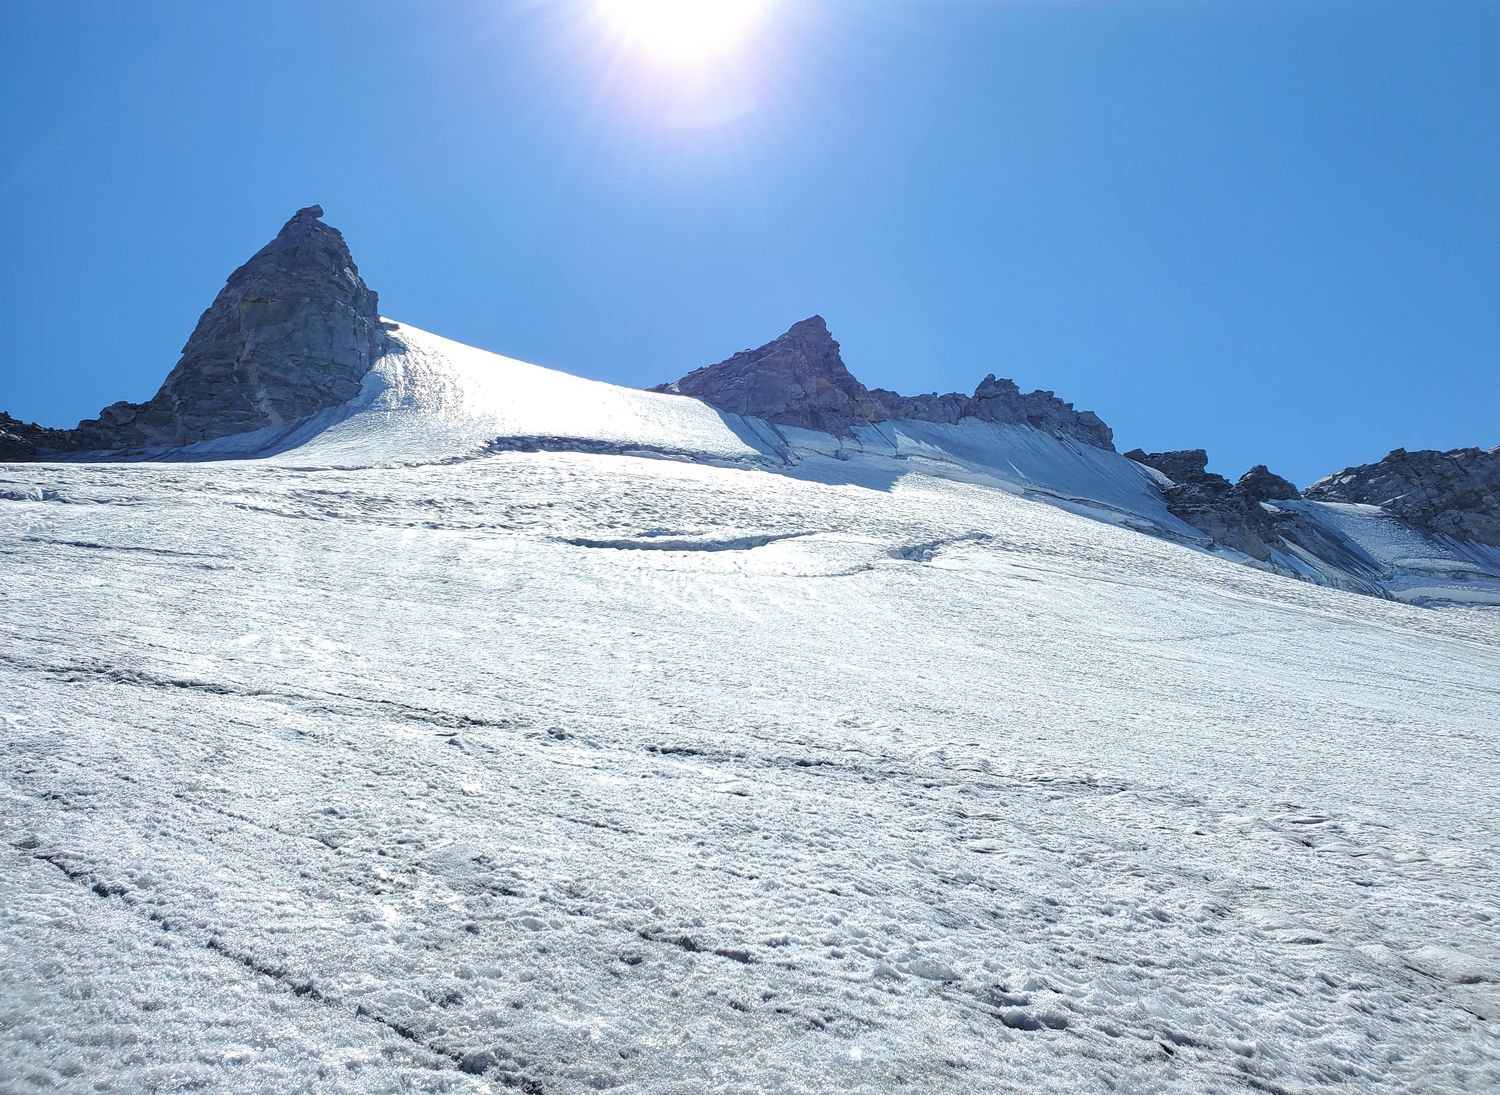
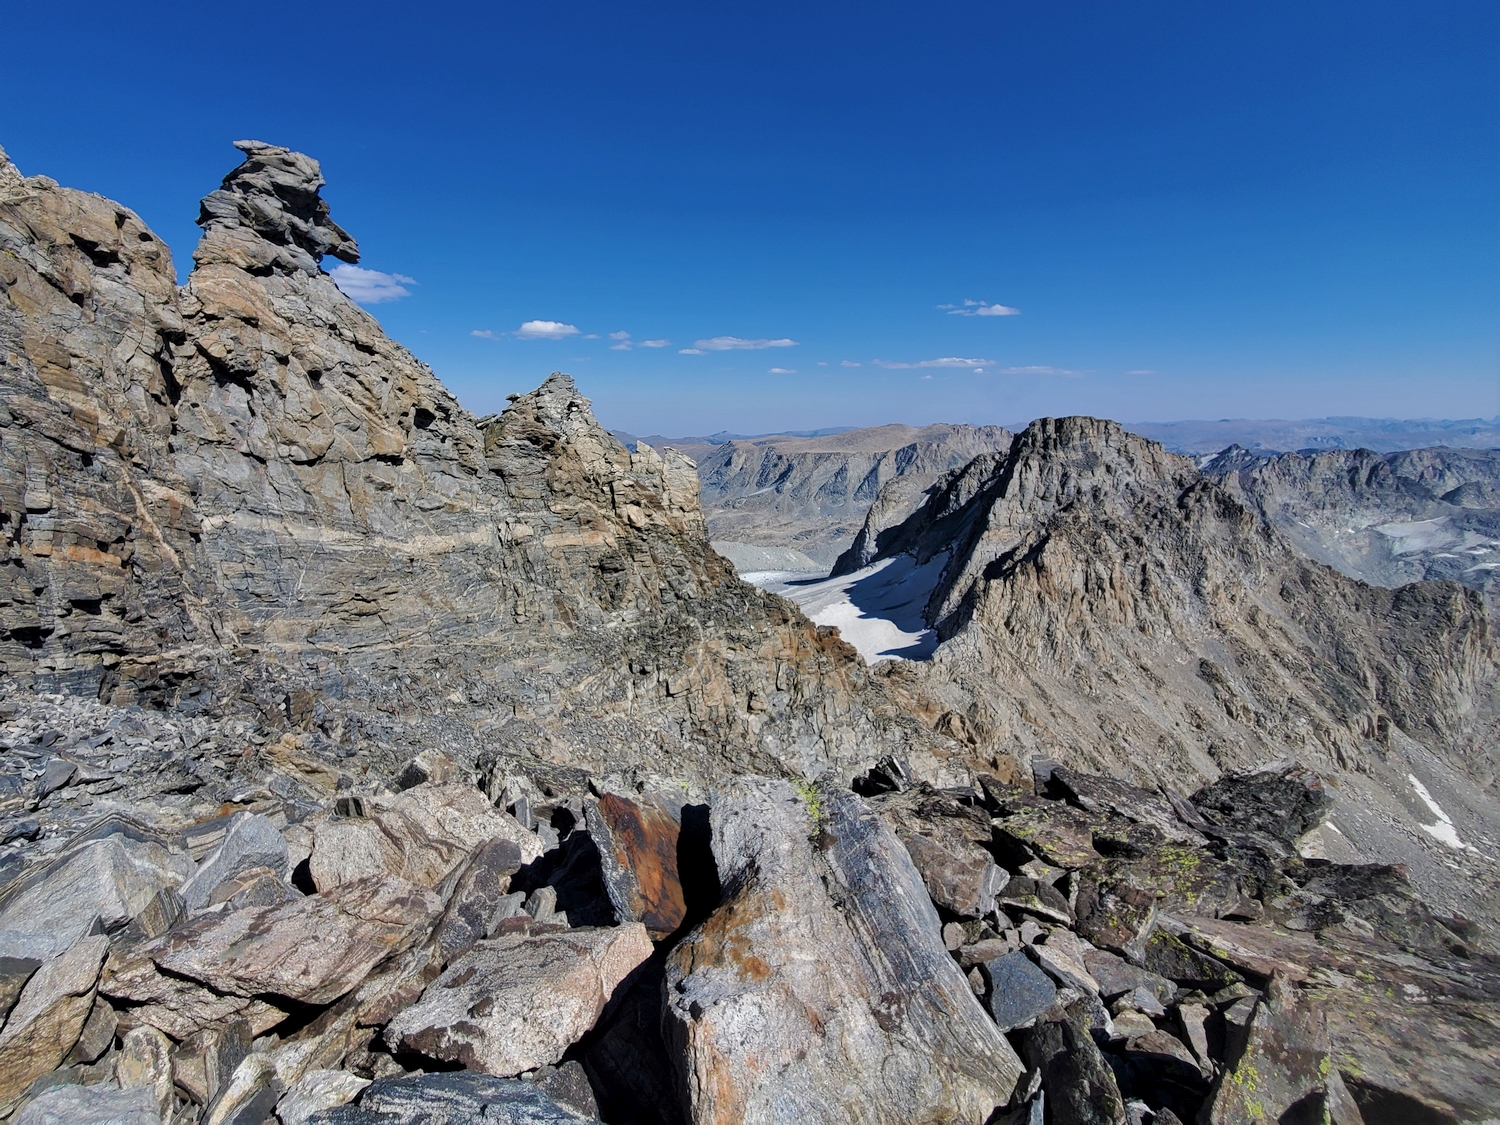
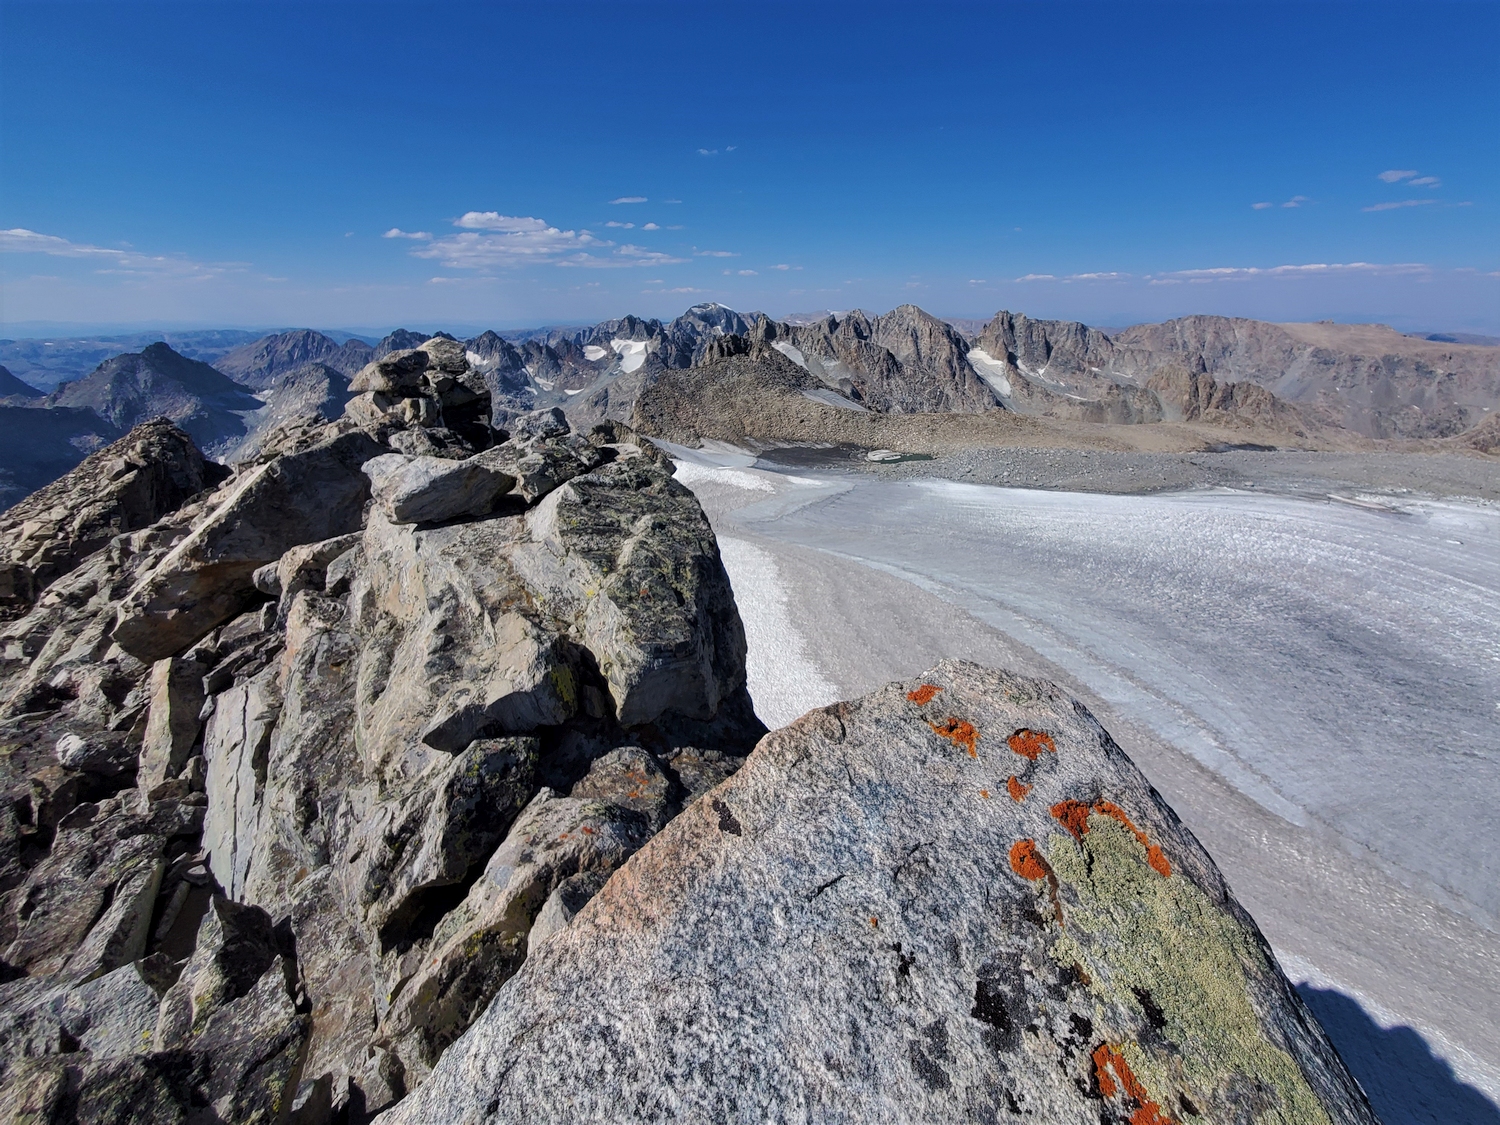
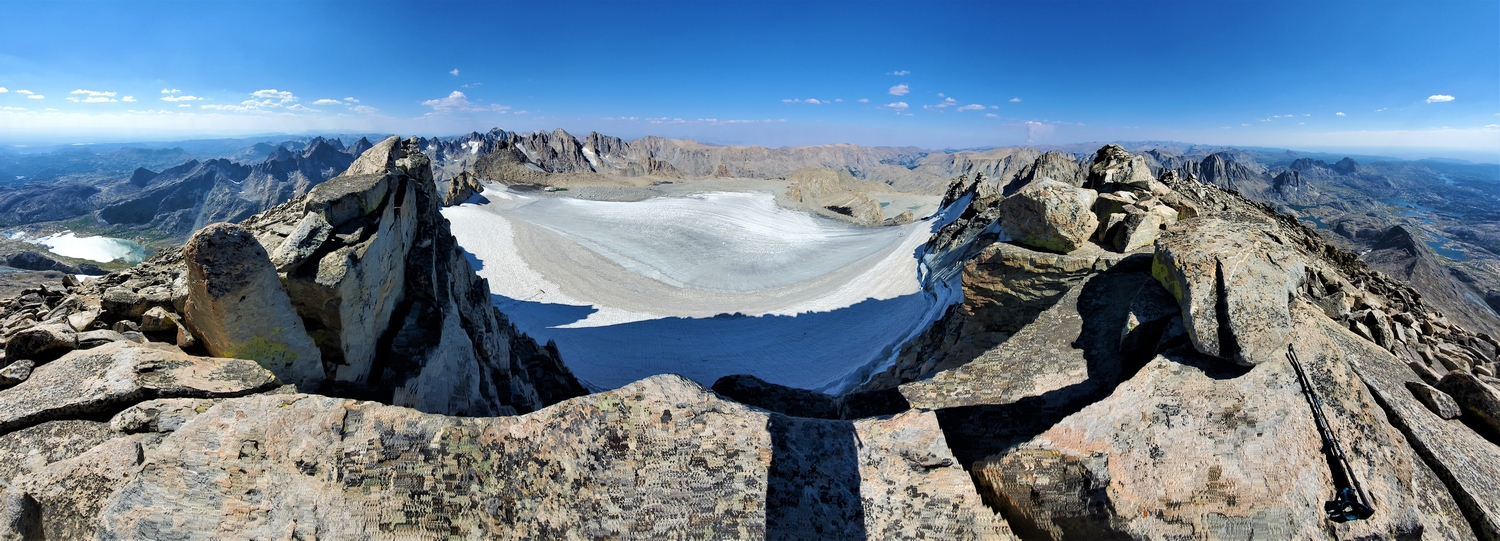
Keep climbing until the ramp abruptly ends at the wildly exposed summit ridge, with the Upper Fremont Glacier suddenly appearing dramatically at your feet. The ridge consists of huge talus blocks along which you can clamber to find the summit; mind the exposure, especially if it’s windy! The highpoint is a triangular block perched precipitously close to the edge.
Route 2: Southwest Ramp from Titcomb – Class 3+
The character of this route is sufficiently different from Fremont’s standard approach to merit a standalone description. From Titcomb Basin, hike up to Mistake Lake, and find your way through the confusing maze of slabs and cliff bands near Mistake Lake’s southern end. A precise description is impossible, but on a direct route, expect to encounter a range of loose scree gullies and slab traverses (class 4). Continue upwards to meet the southwest ramp around 12,200 ft., the same point as from the Indian Basin side, then join Route 1 to gain the summit.
Alternatively, a class 3+ route can be found farther south on the ridge separating Titcomb from Indian Basin. From Mistake Lake, angle southeast towards a talus gully, climbing up this gully, through a notch, and along the lower south ridge to reach the base of the southwest ramp.
Route 3: Northeast Ridge – Class 5.2, Moderate Snow
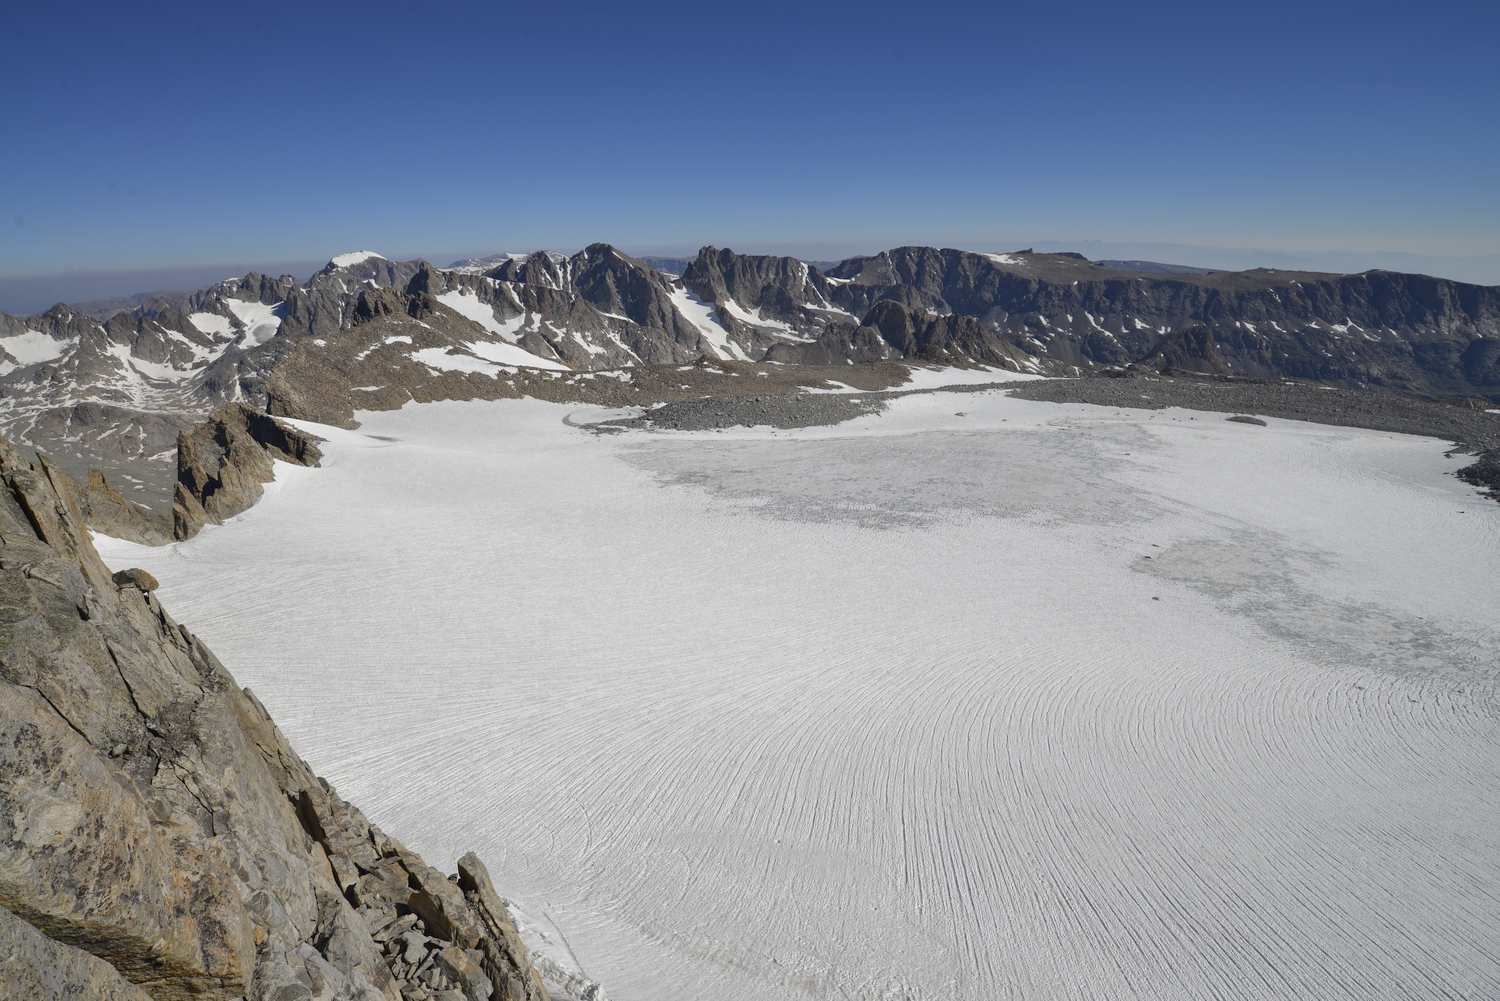
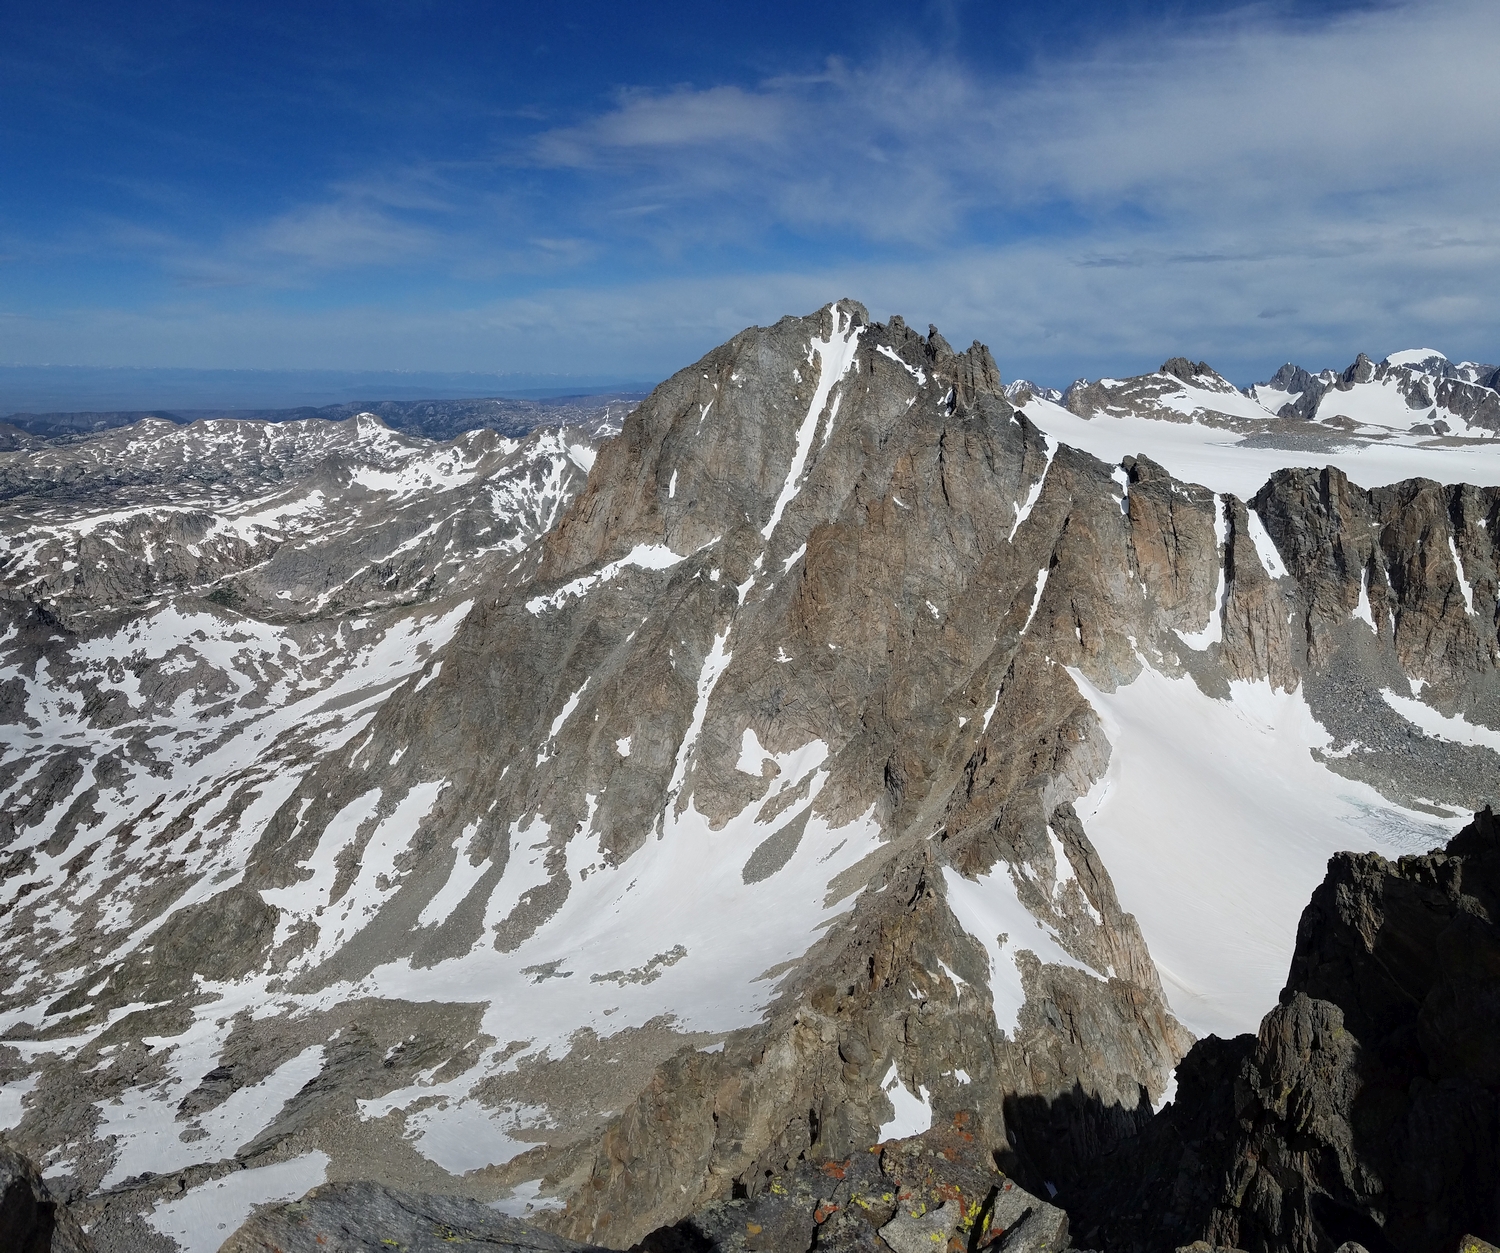
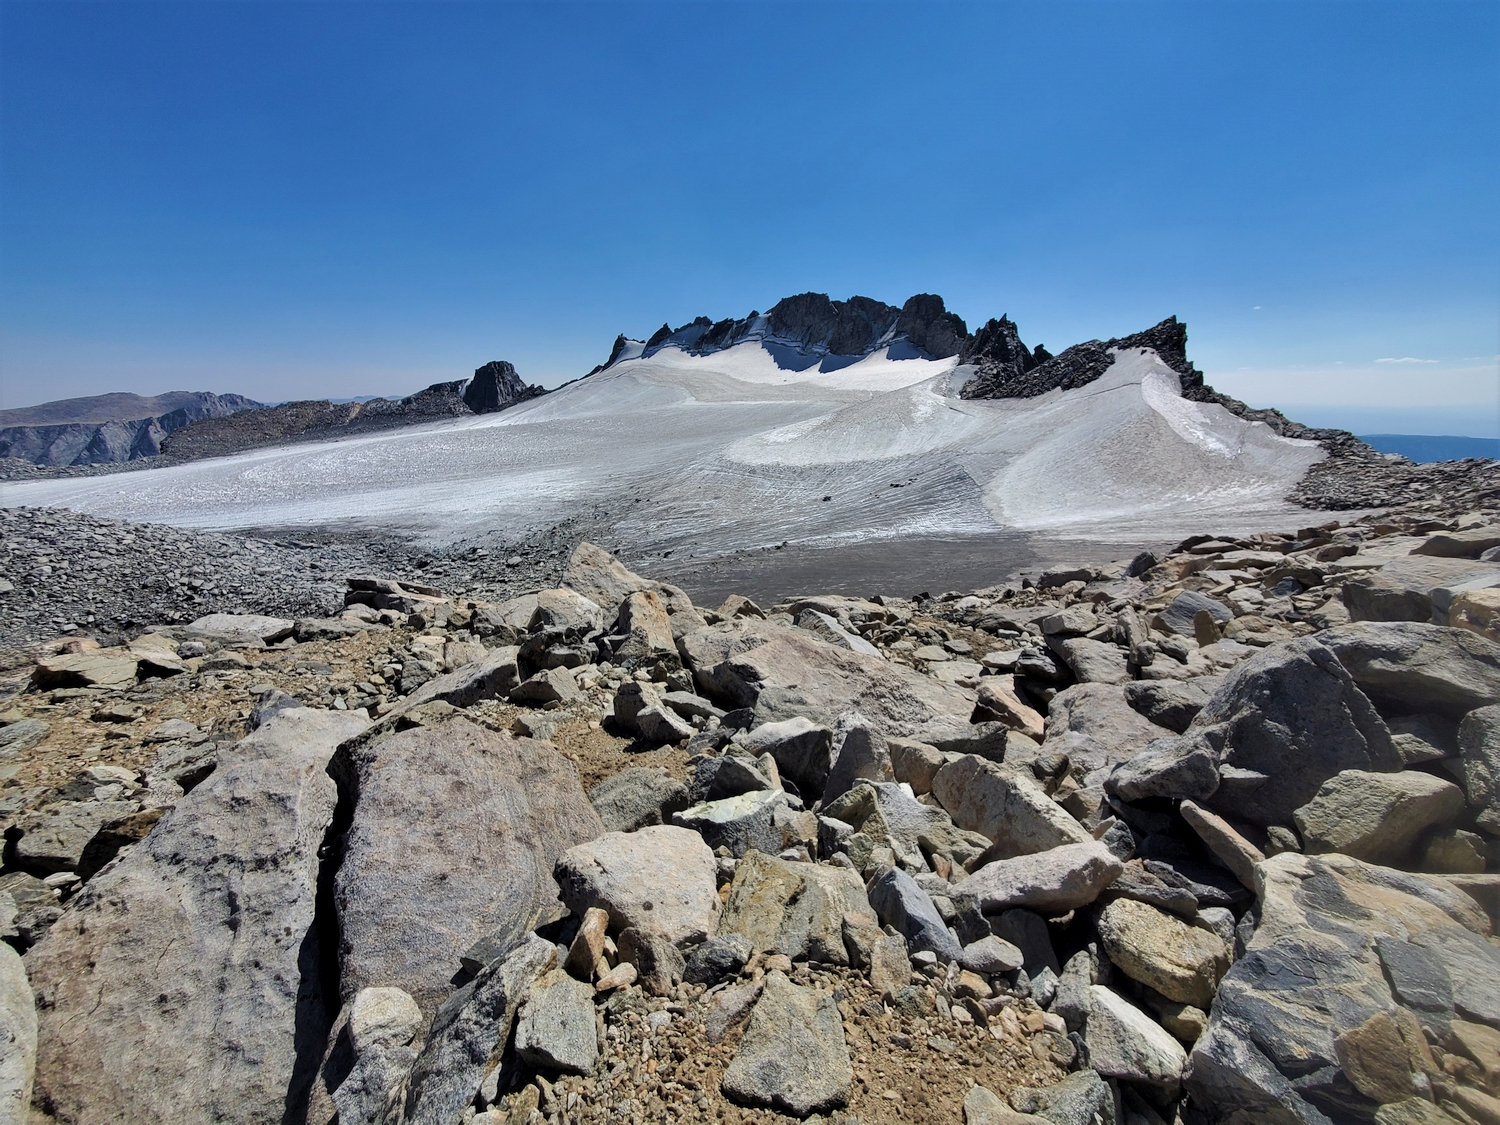
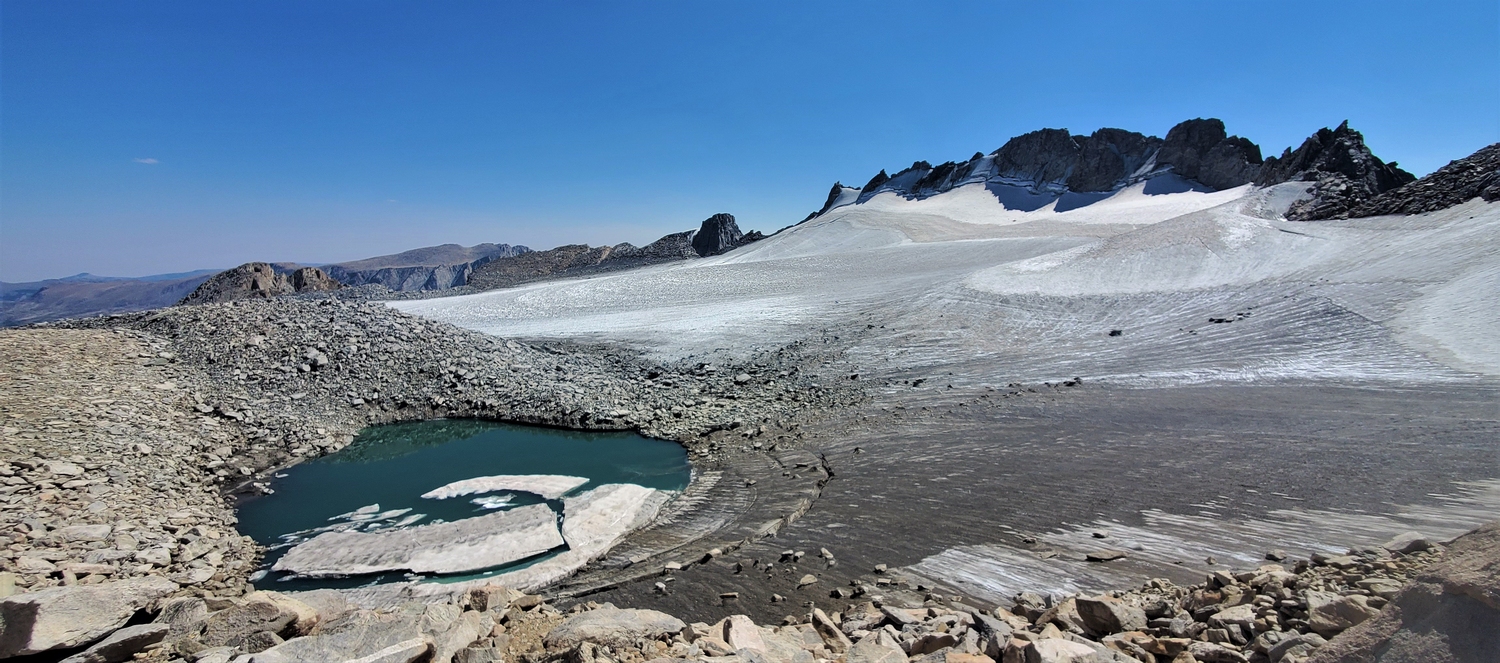
The first ascent of Fremont Peak after Fremont’s party (by Blaurock and party) was via the Upper Fremont Glacier and north face, crossing a major bergschrund. Snow chutes below the summit could still be climbed, but the author is unaware of any modern ascents of the direct north face. Recent climbers have favored a traverse route along Fremont’s northeast ridge to connect the summit with points to the north, bypassing the very serious snow on the proper north face.
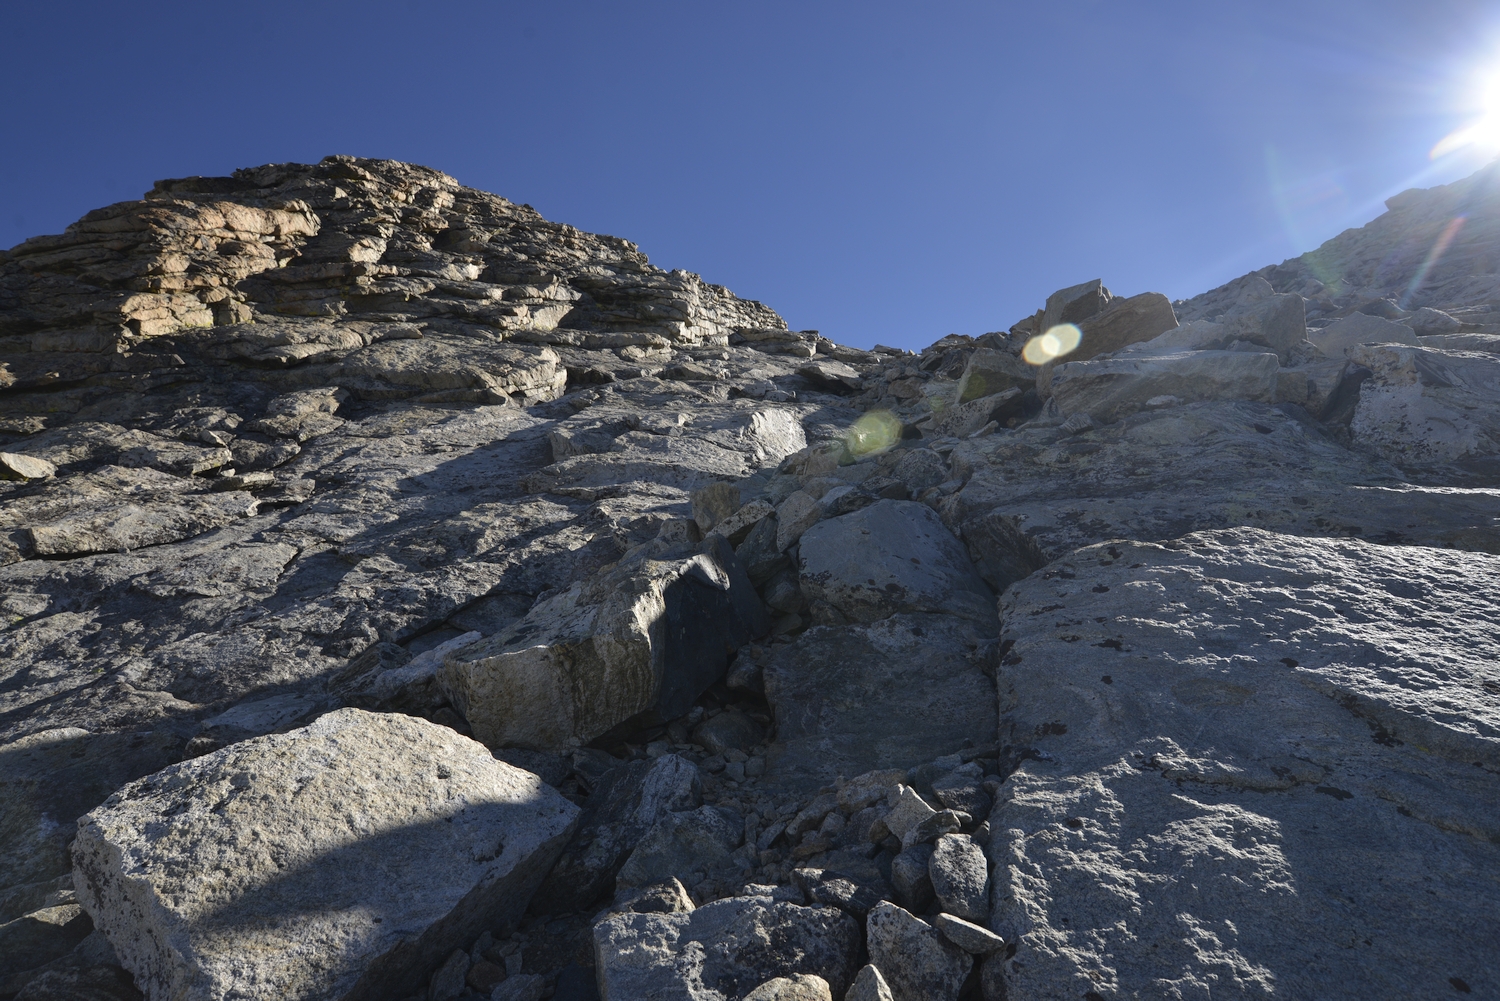
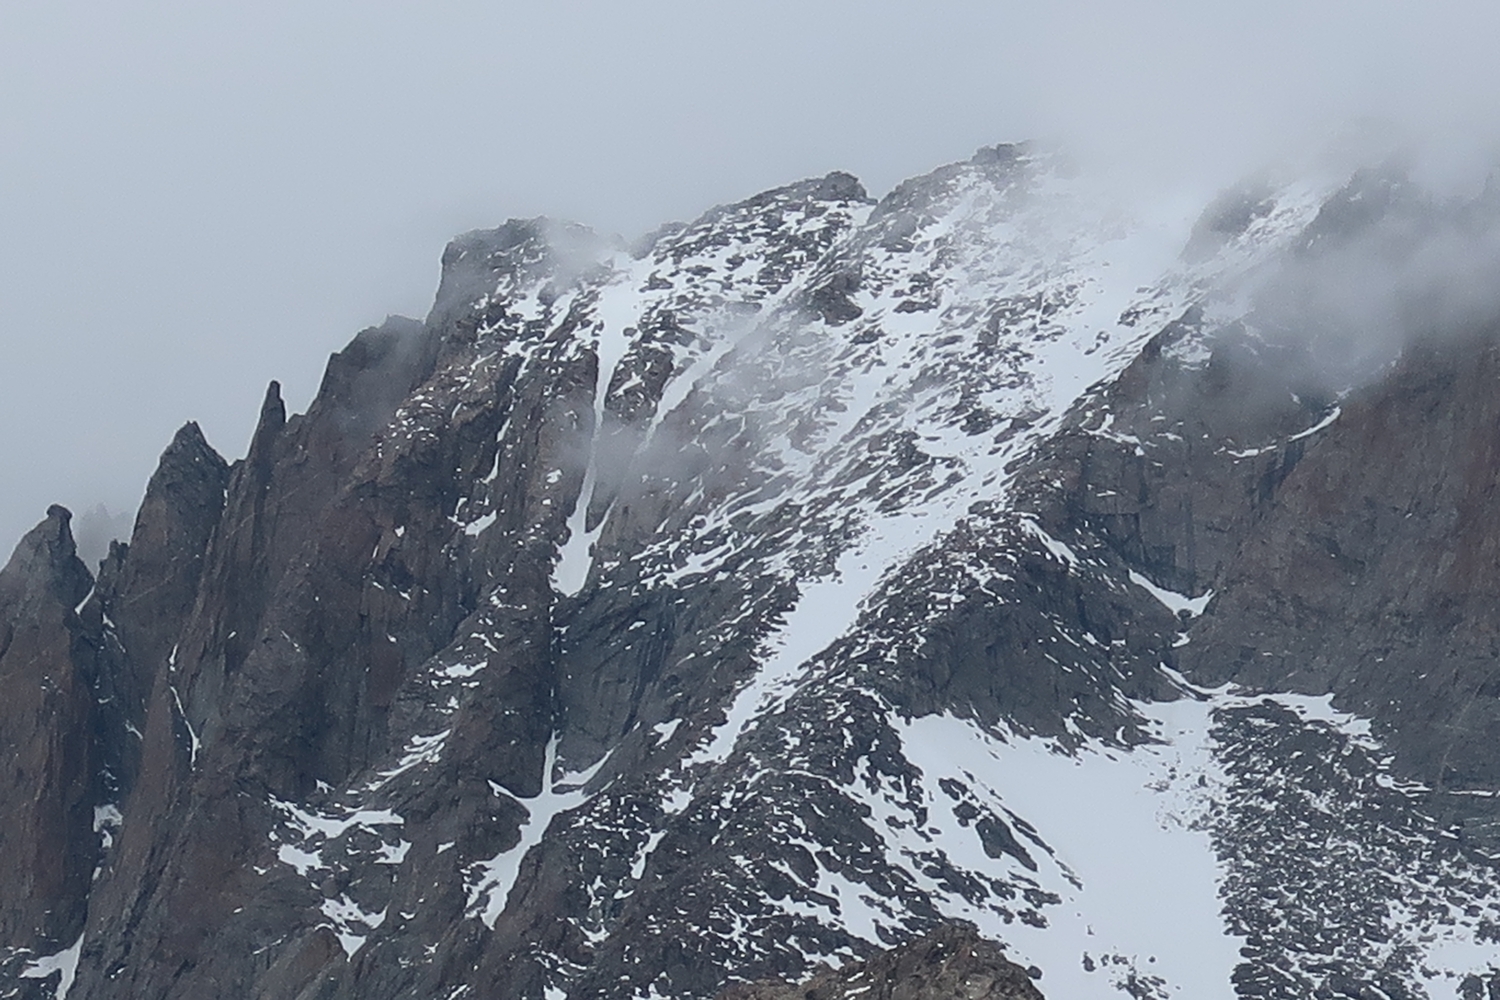
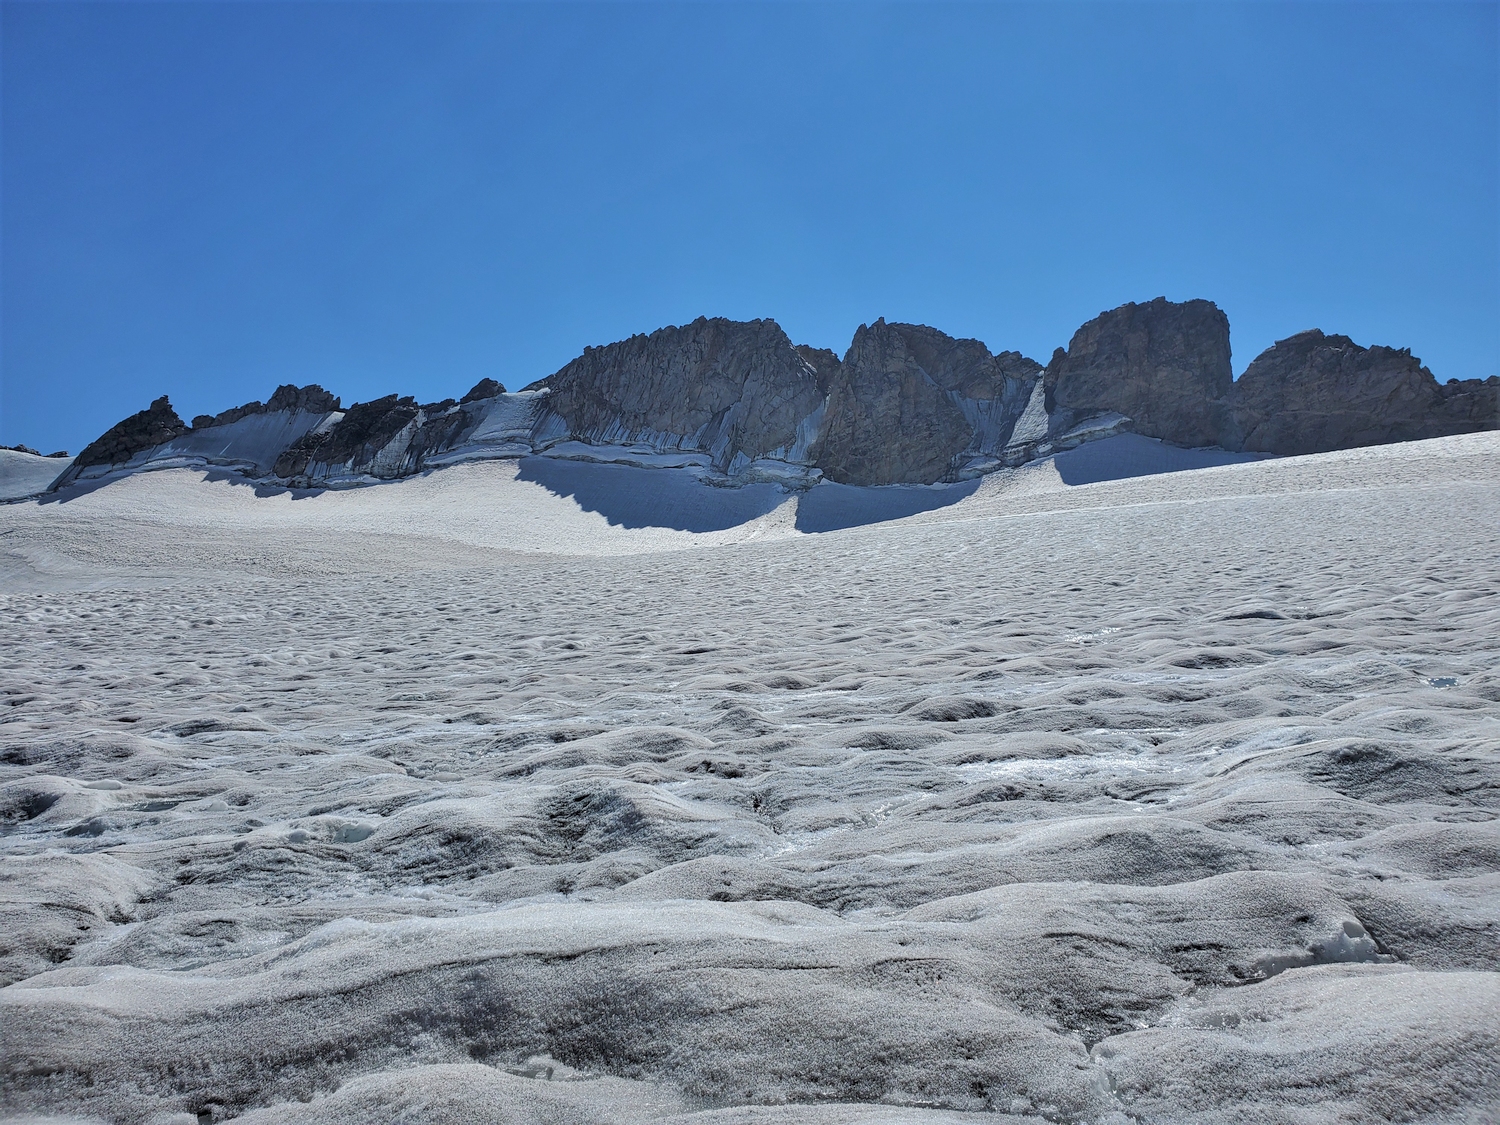
From the Upper Fremont Glacier, head for the point where Fremont’s east ridge flattens out and turns north below the last major gendarmes. Climb moderate snow slopes to reach the ridge, which is a broad talus crest at this point. From here, the route traverses substantially below the crest on the climber’s left (southeast) side of the ridge. The easiest path follows a swath of highly fractured, darker colored rock.
The upper south face is cut by several steep gullies and chimneys, and crossing these presents the route’s crux. Expect several exposed downclimbs on blocks and flakes. Regain the proper east ridge one gendarme short of the summit area, climbing over or around this stubby pinnacle and ascending a short slab to reach the boulder-clad summit ridge.