Mount Helen
Elevation: 13,625 ft.
Prominence: 861 ft.
Isolation: 0.9 miles
Technical Difficulty: Class 4


Mount Helen Guidebook
Introduction
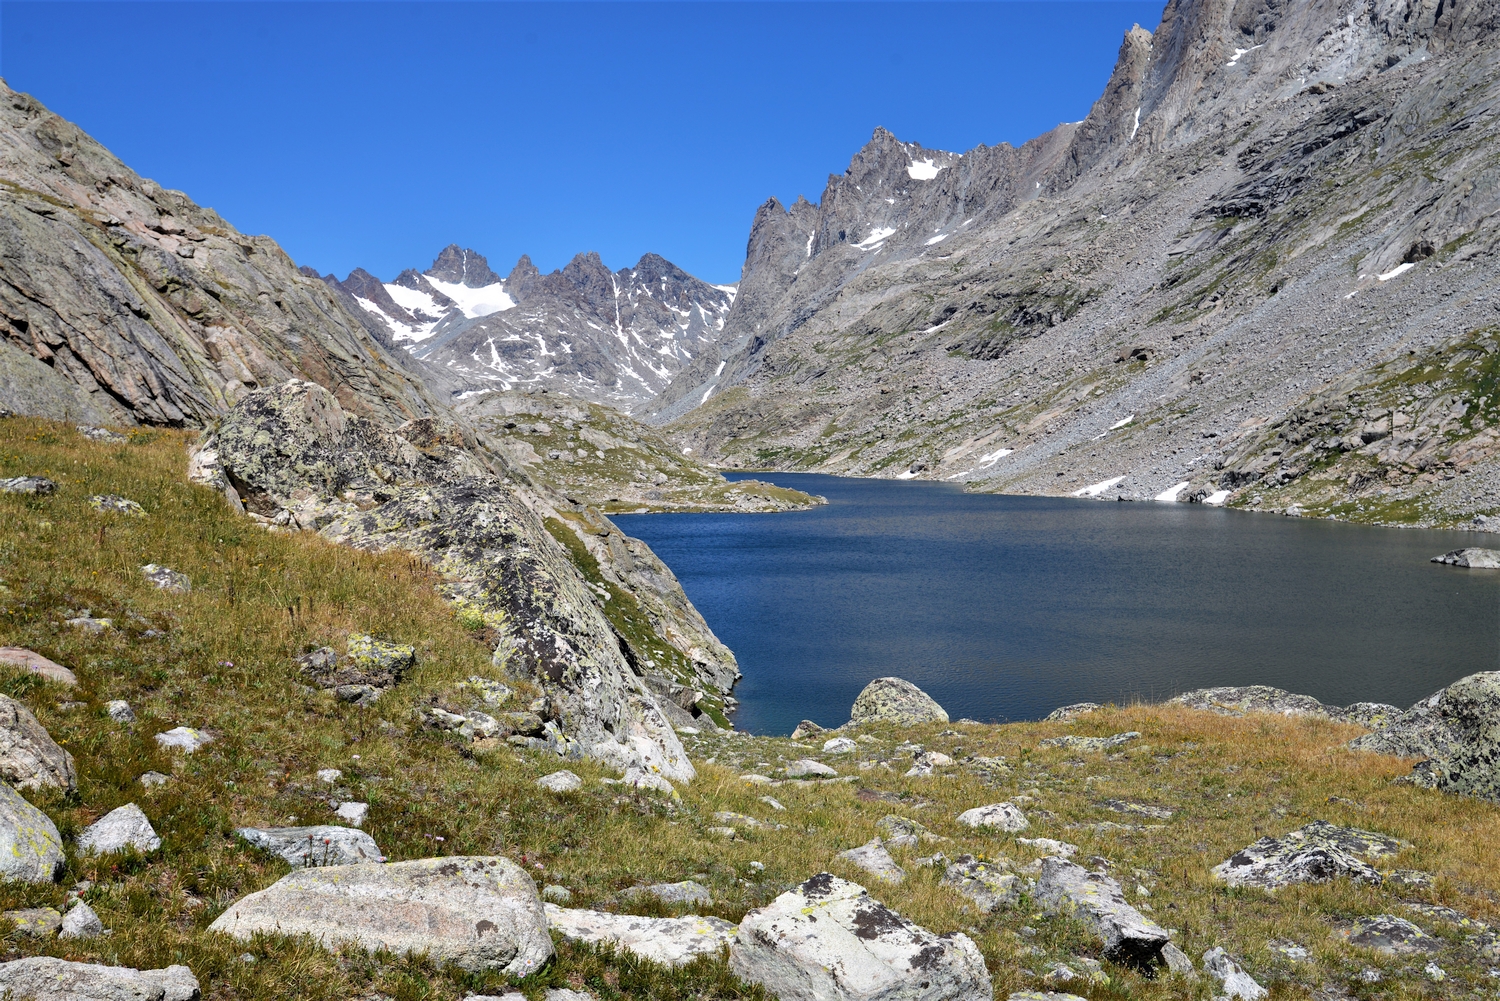
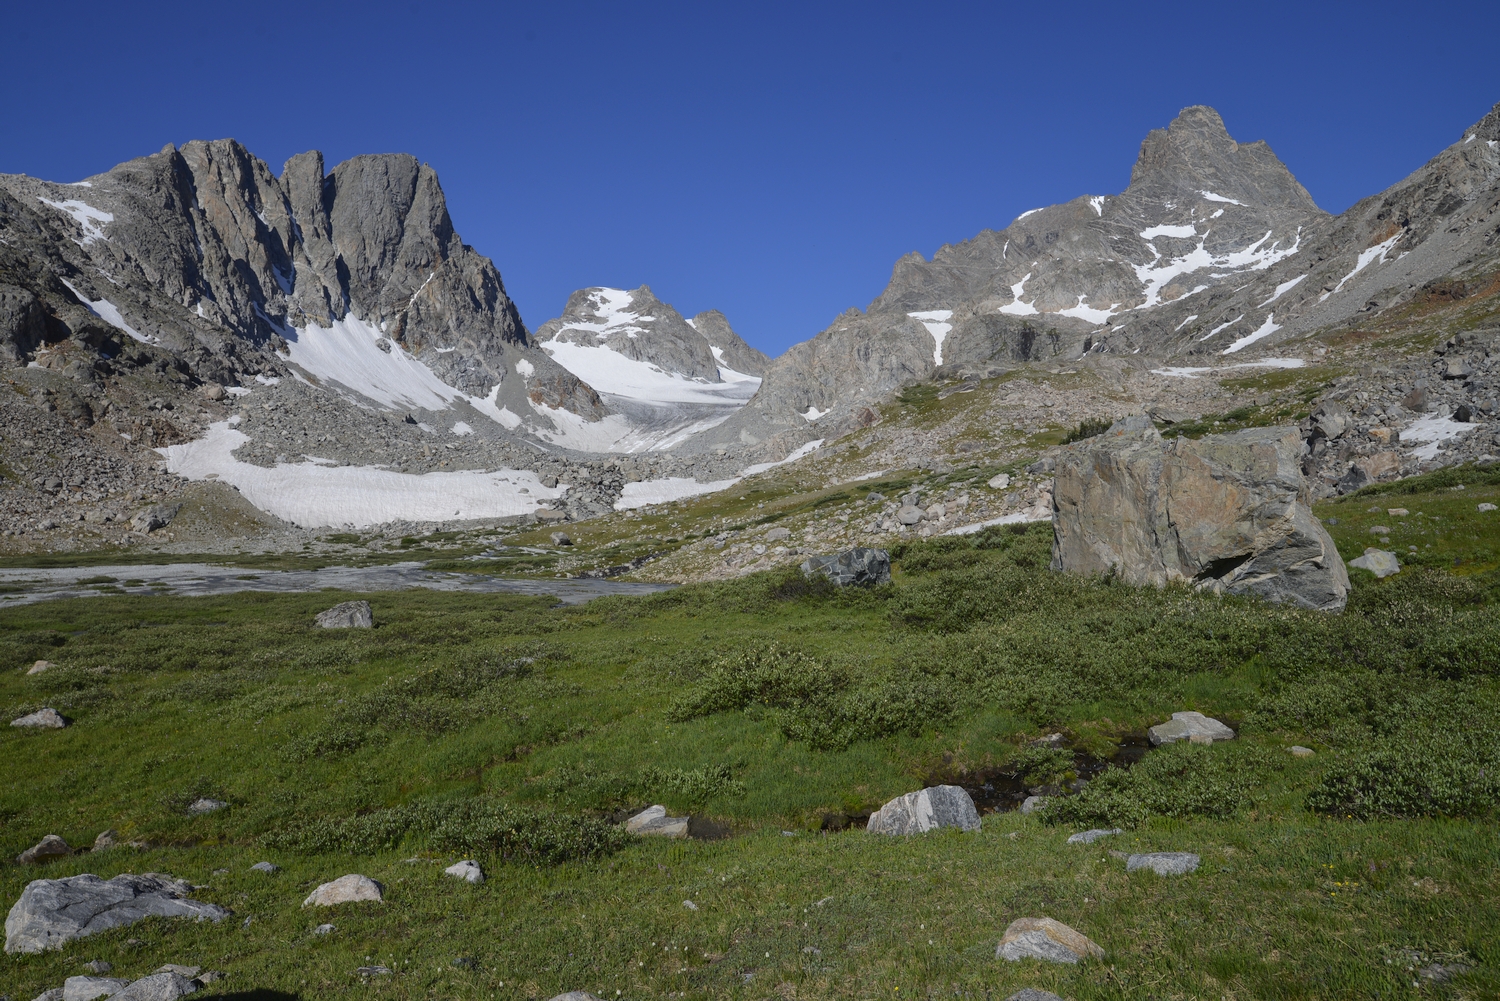
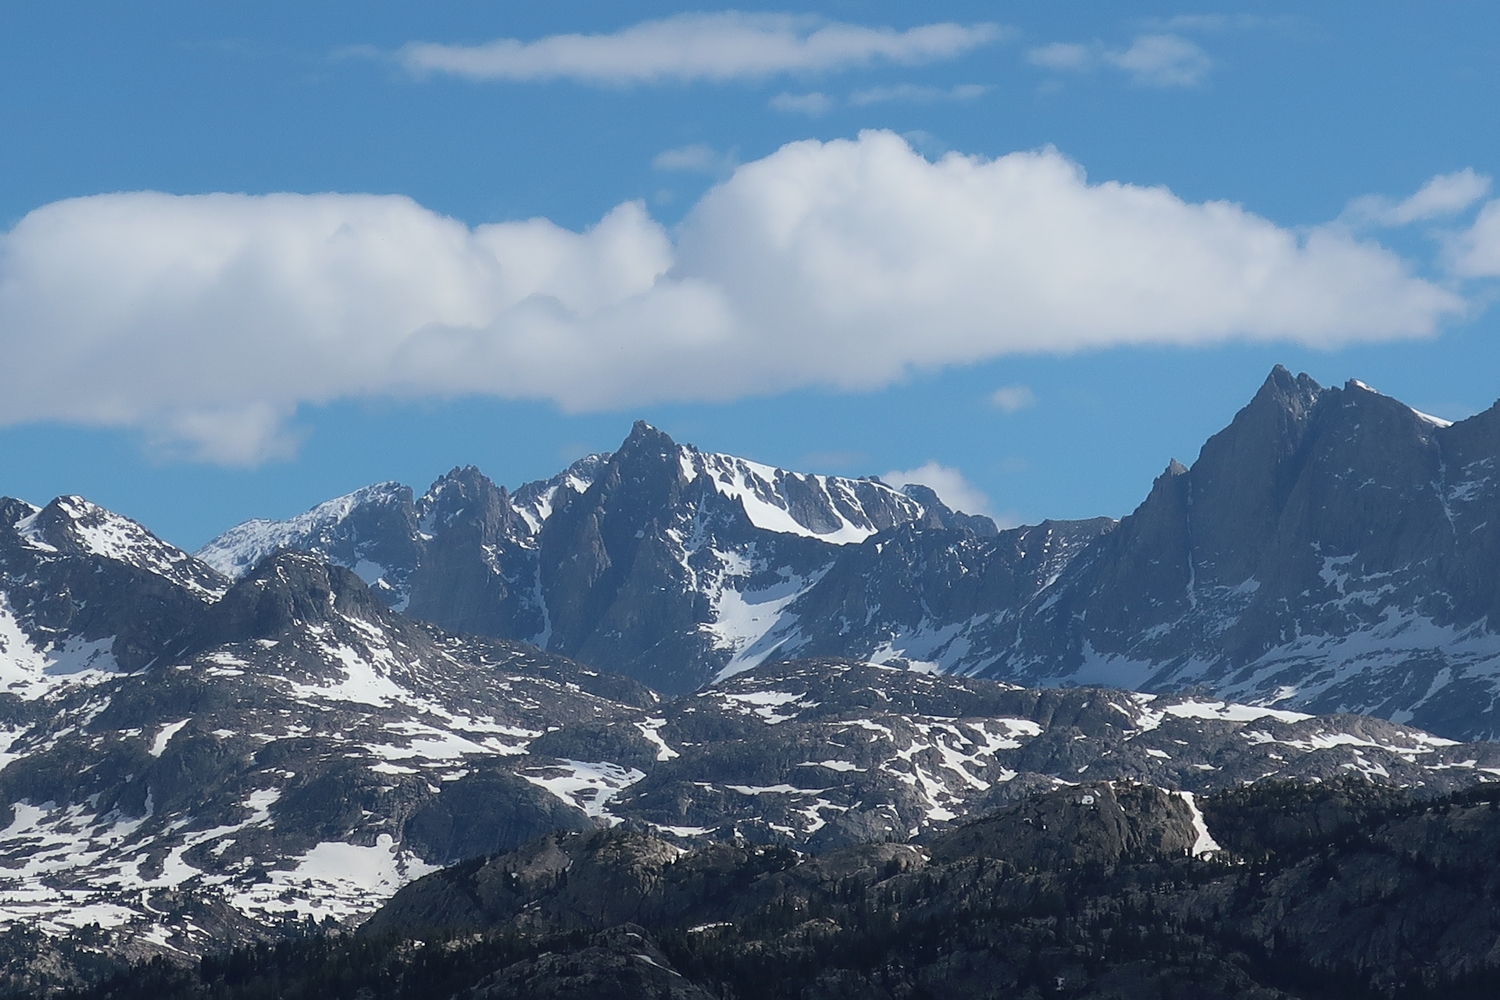
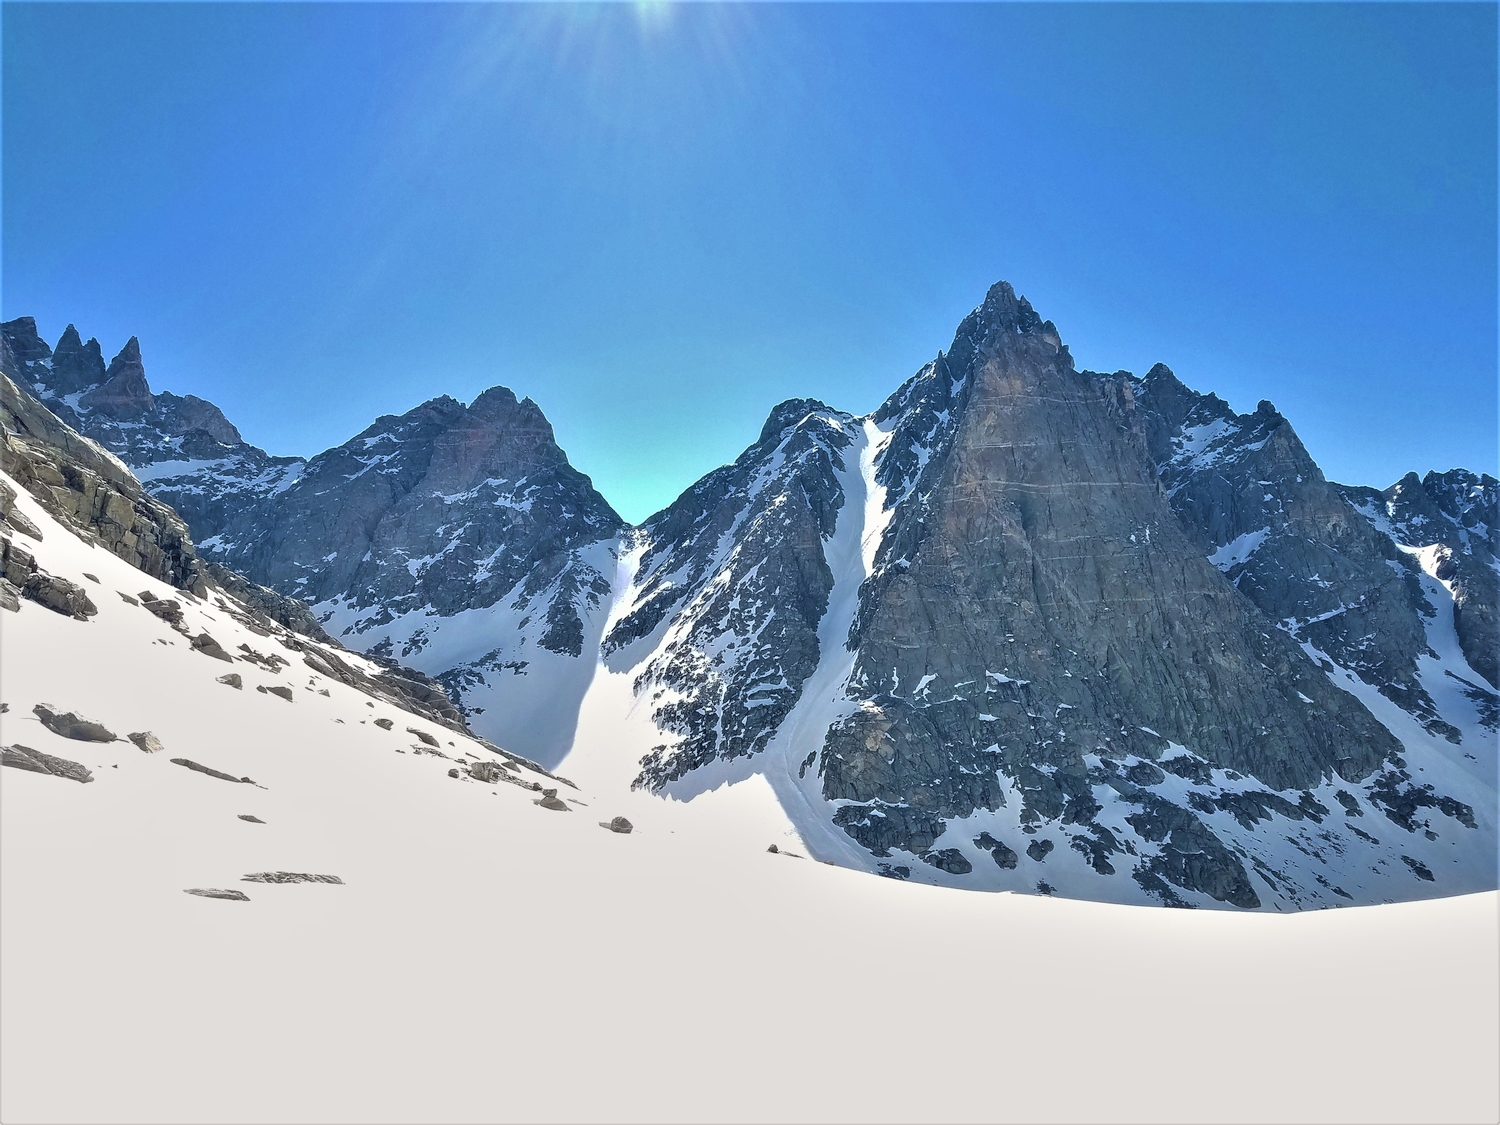
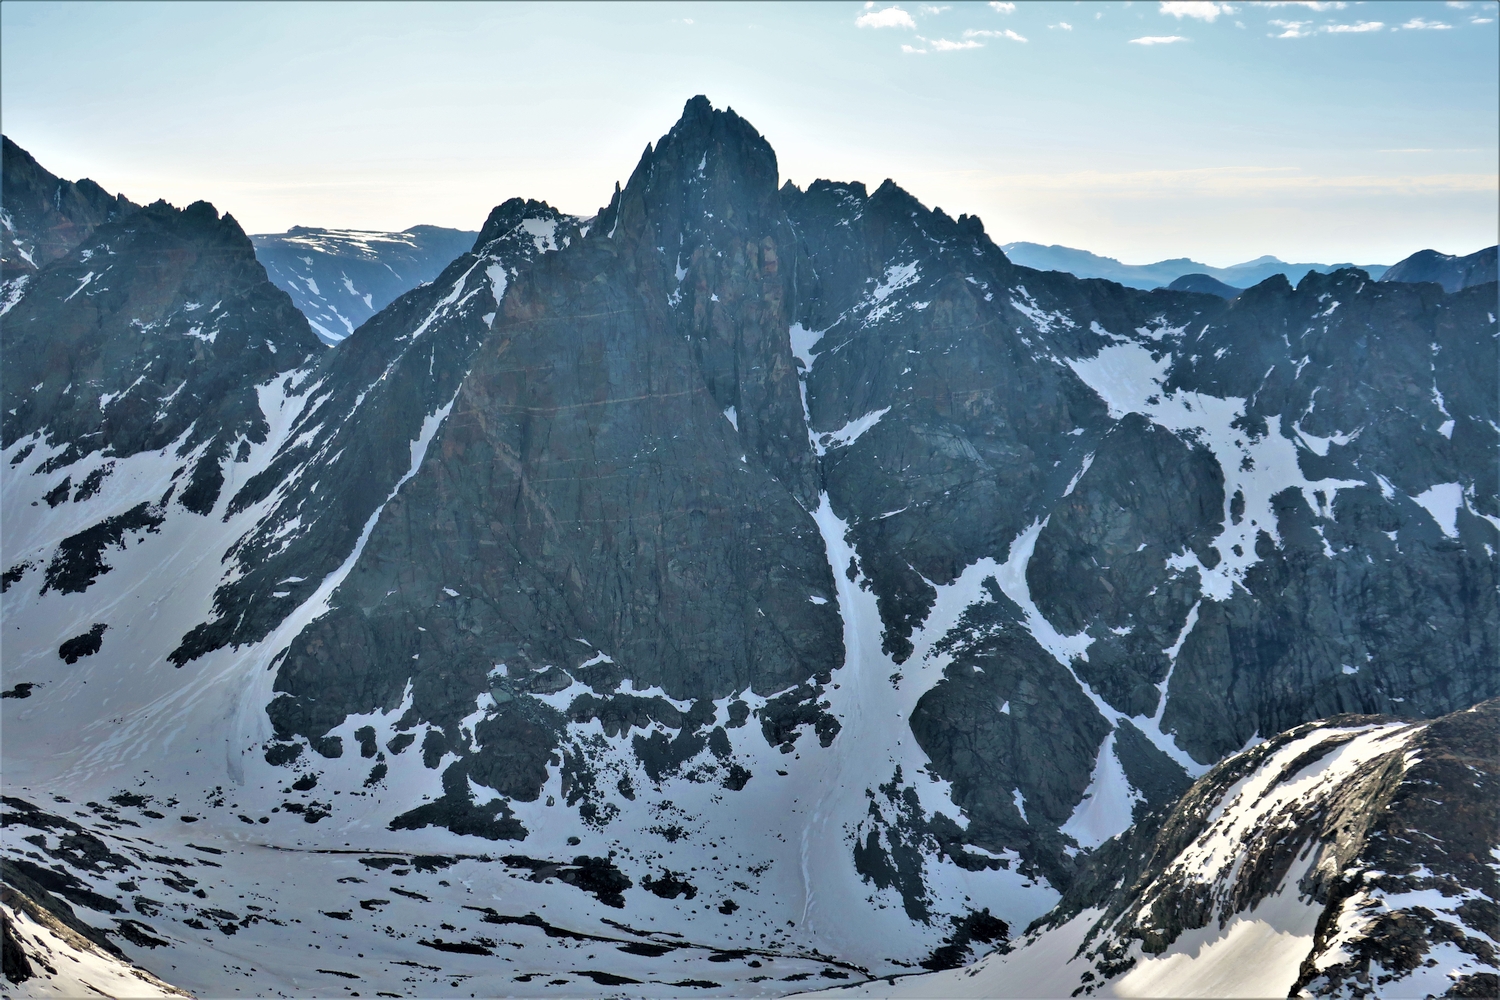
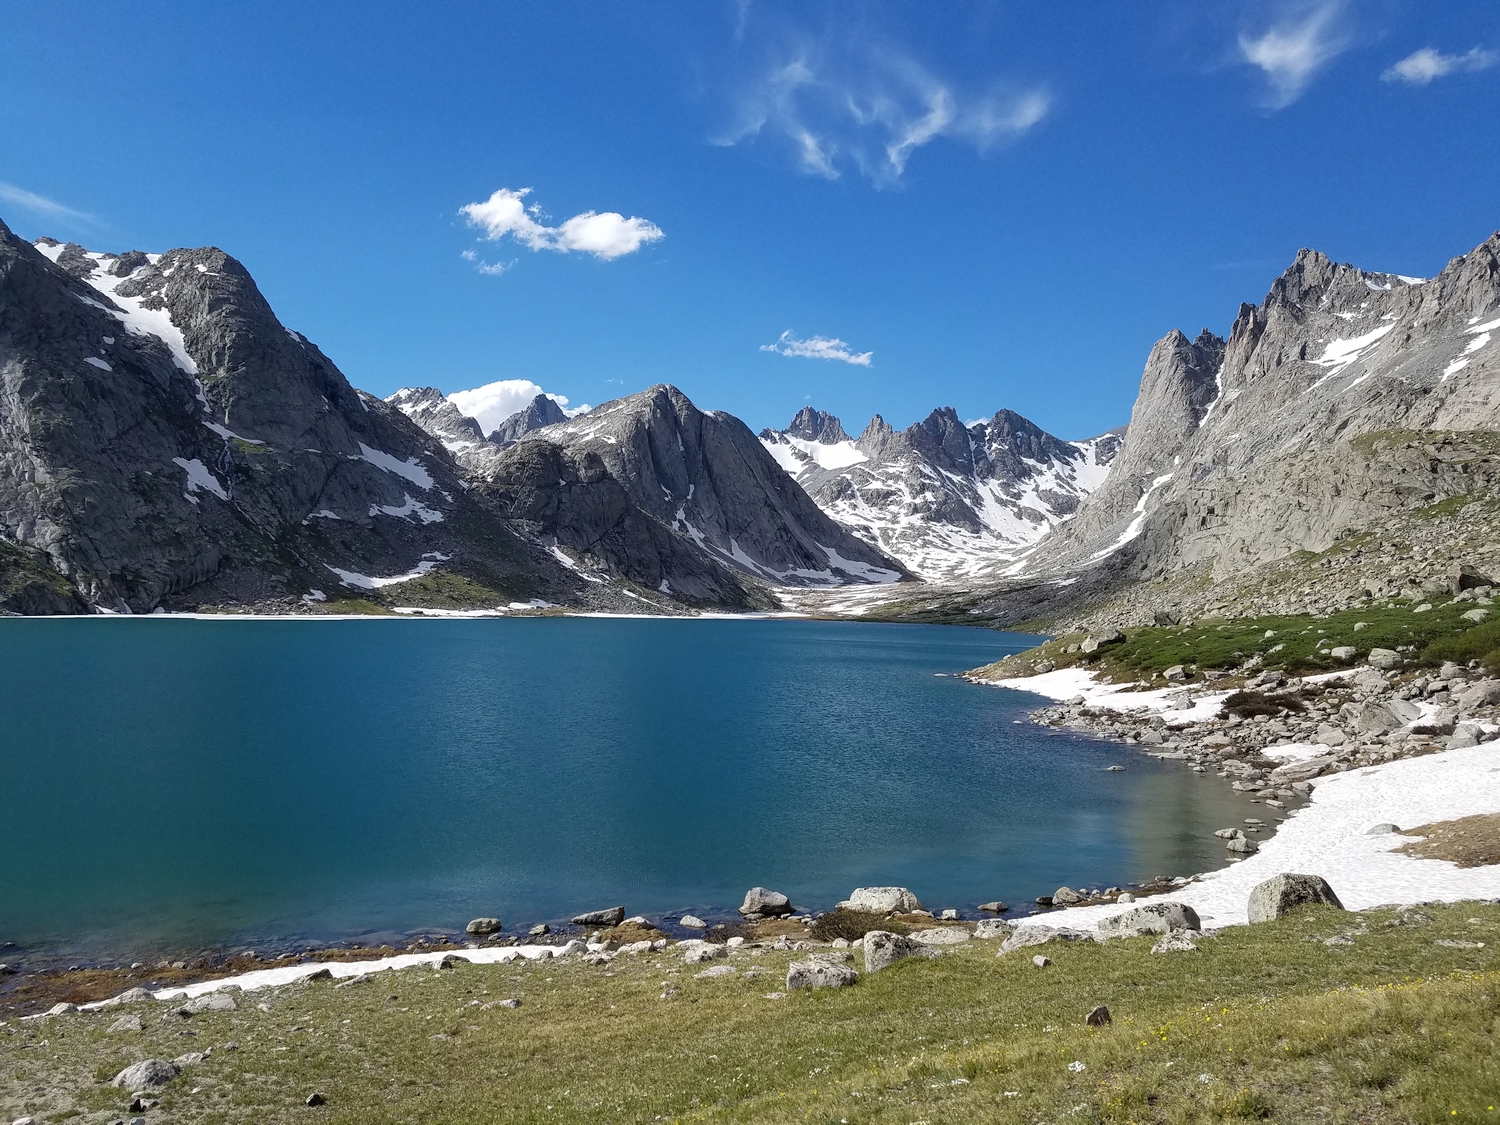
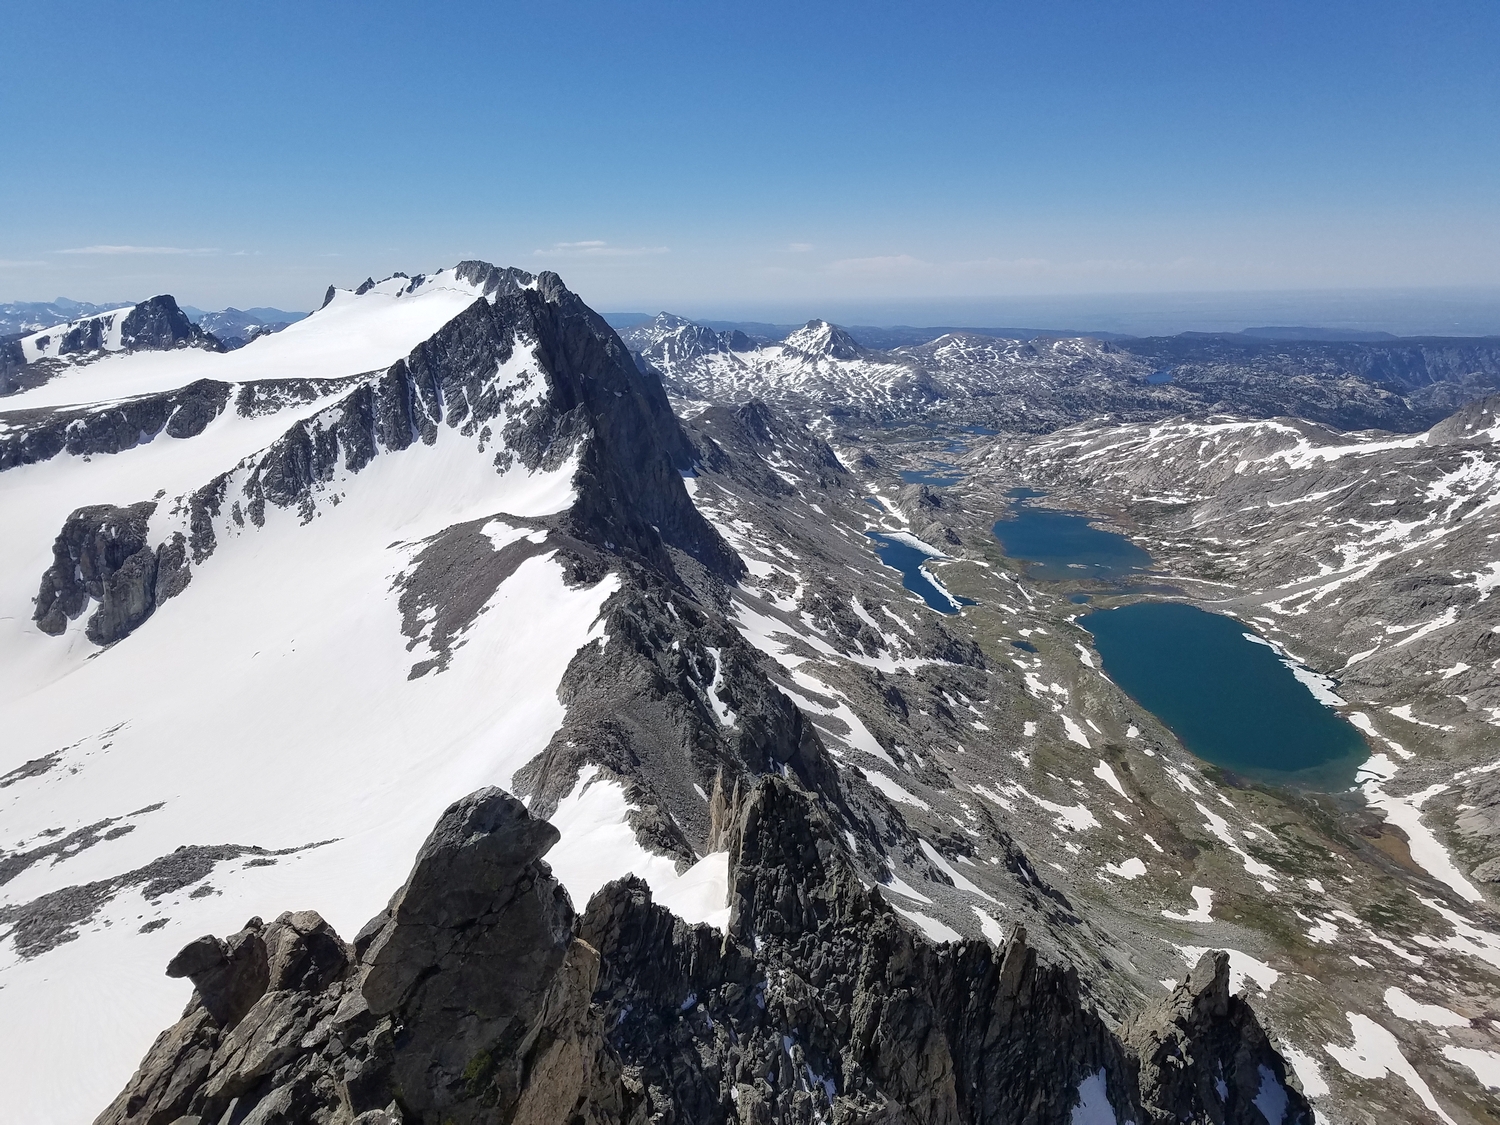
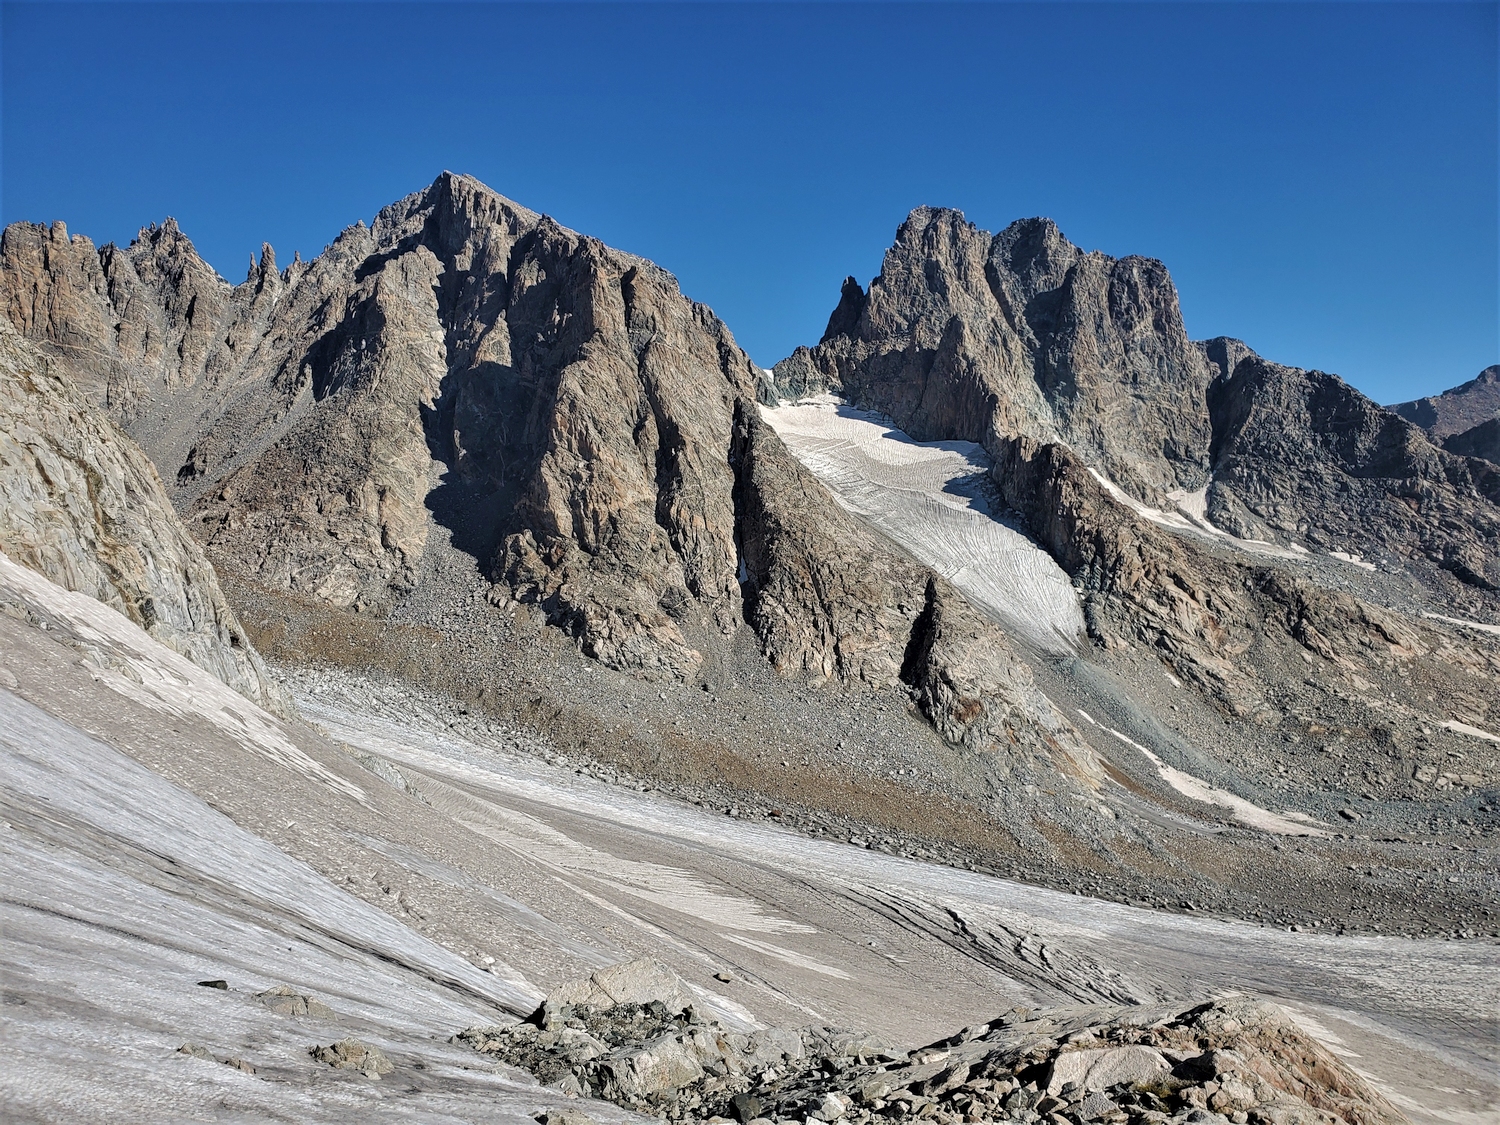
Mount Helen is one of the finest peaks in the Wind Rivers, and certainly the star of upper Titcomb Basin. Its complicated rock faces converge in a single tower leaning out over the abyss. From the west, the steep wall of Titcomb Basin sweeps upward in dramatic fashion, and two subsidiary summits, Tower 1 and Tower 2, contribute to Helen’s memorable profile as seen while hiking into Titcomb. The east side is gentler, with a broad but steep-walled ridge. If you need to convince your mountaineering friends why the Wind River Range is worth exploring, consider an ascent of Mount Helen. The Bonneys report that this peak was named for Helen Fisher in 1901, though no further information on its namesake is forthcoming.
General Considerations
While Helen is perhaps best known for its highly technical rock climbing routes (including the classic Tower Ridge) and alpine ice routes (including Tower 1 Gully), this guidebook only includes a variety of less-technical (but nevertheless, still serious) summit routes, as the more-technical climbs are well-documented by other sources. For summit-oriented peakbaggers, Helen is best approached from the east side of the Continental Divide, since the west face is so severe. Still, there are several ways to get from Titcomb to the east-side routes.
Route 1: East Ridge – Class 4, Moderate Snow
Approach A: North Fork of Bull Lake Creek
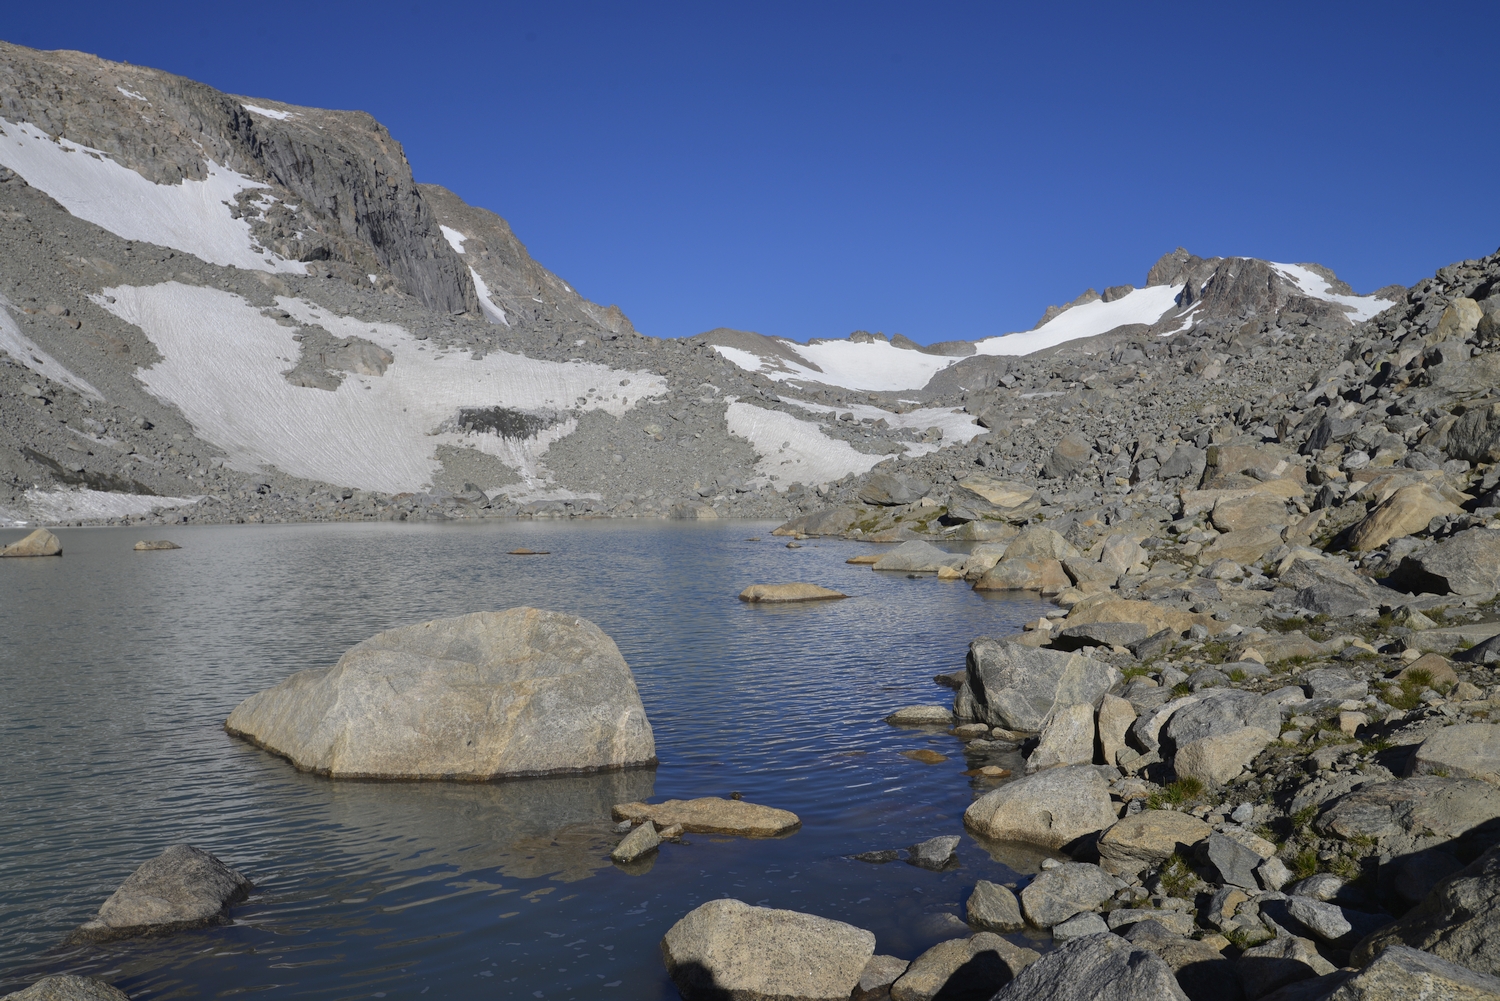
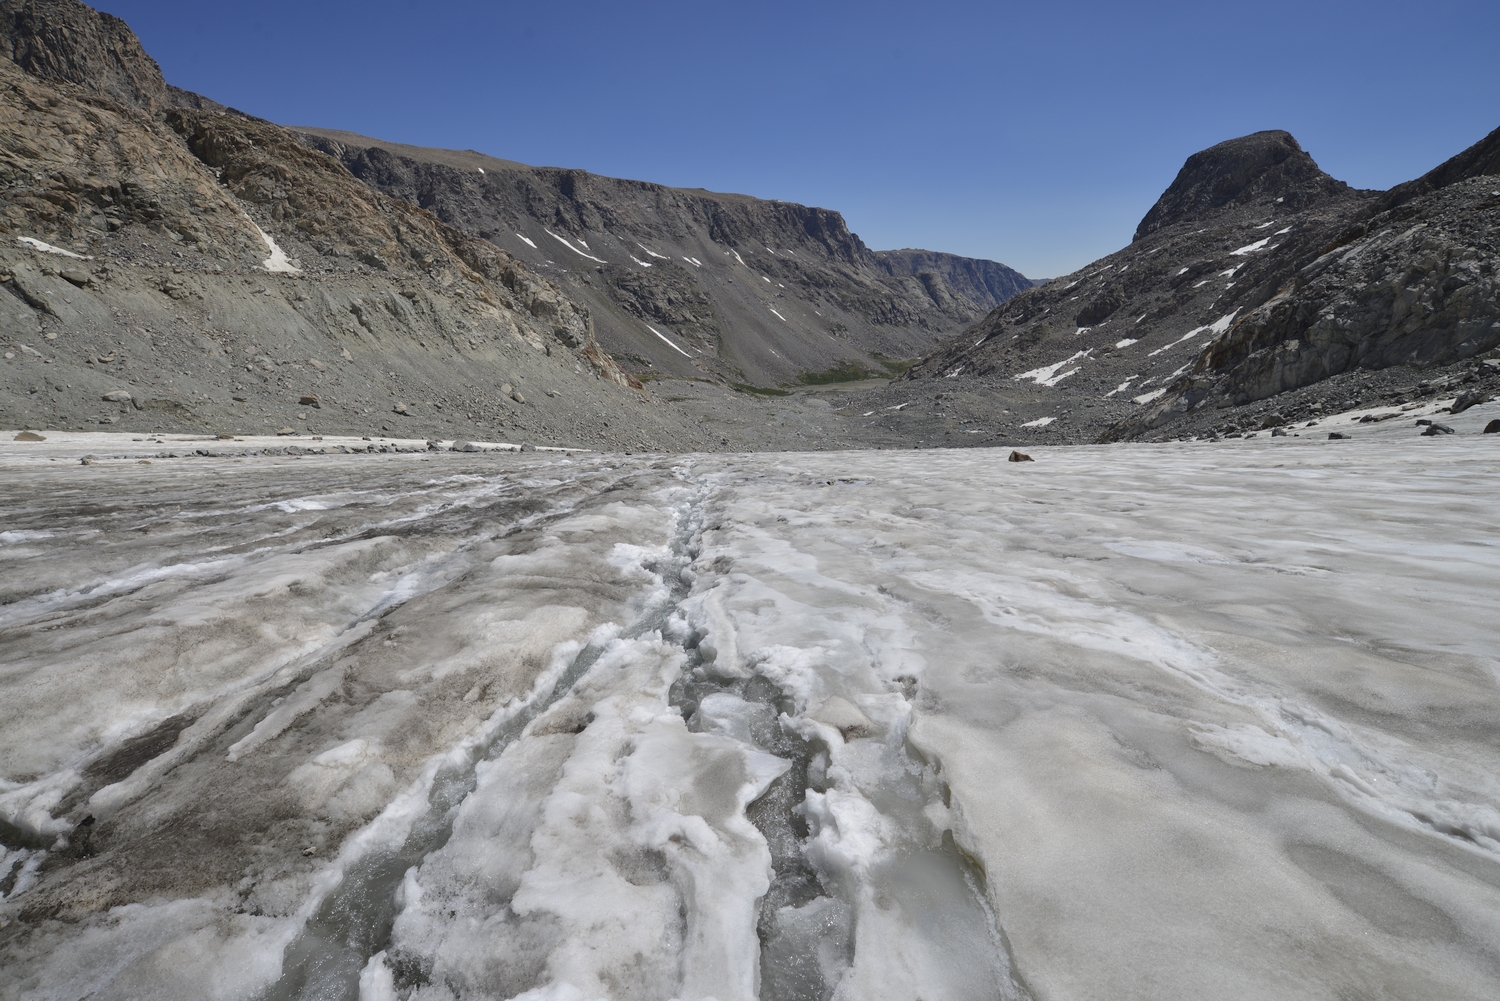
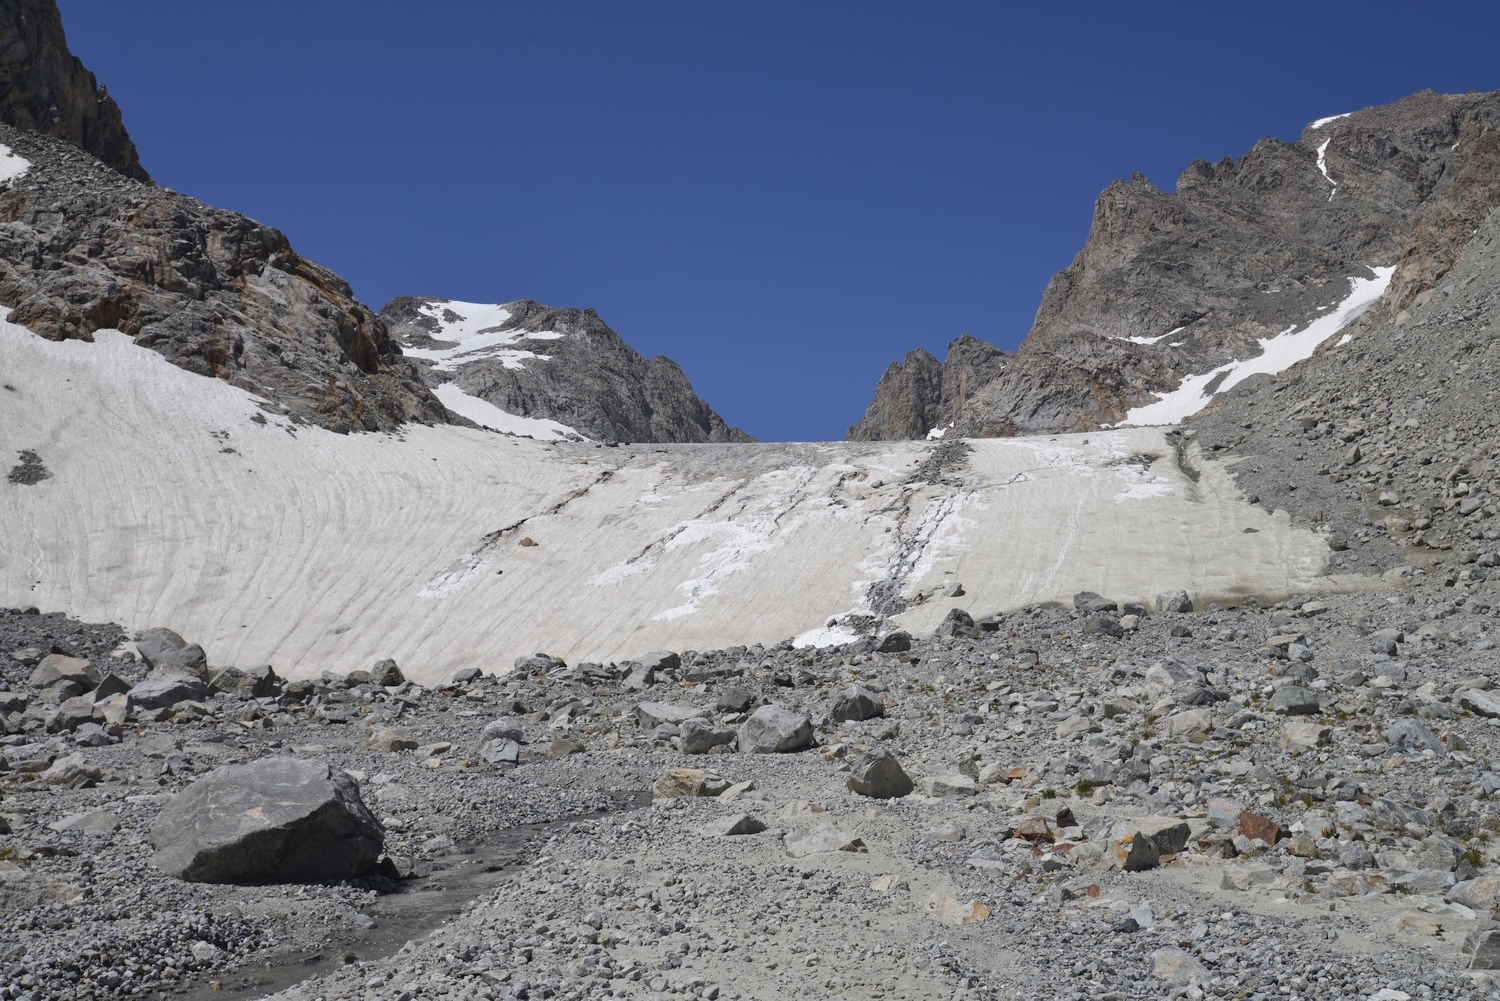
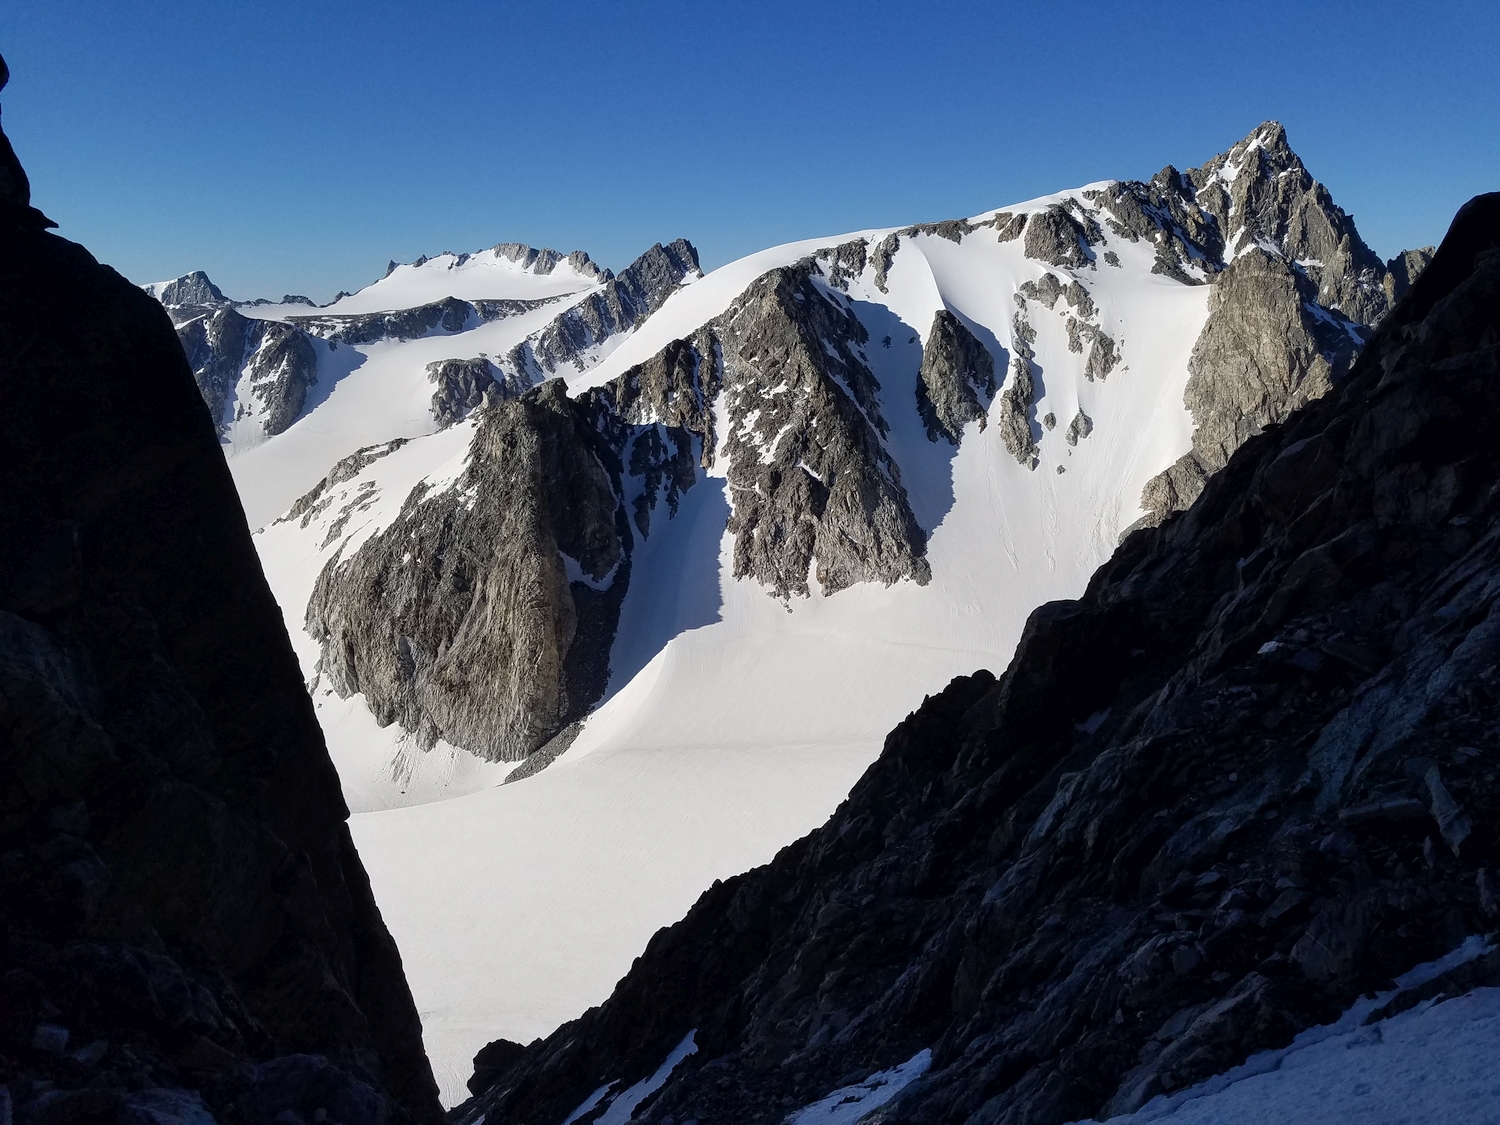
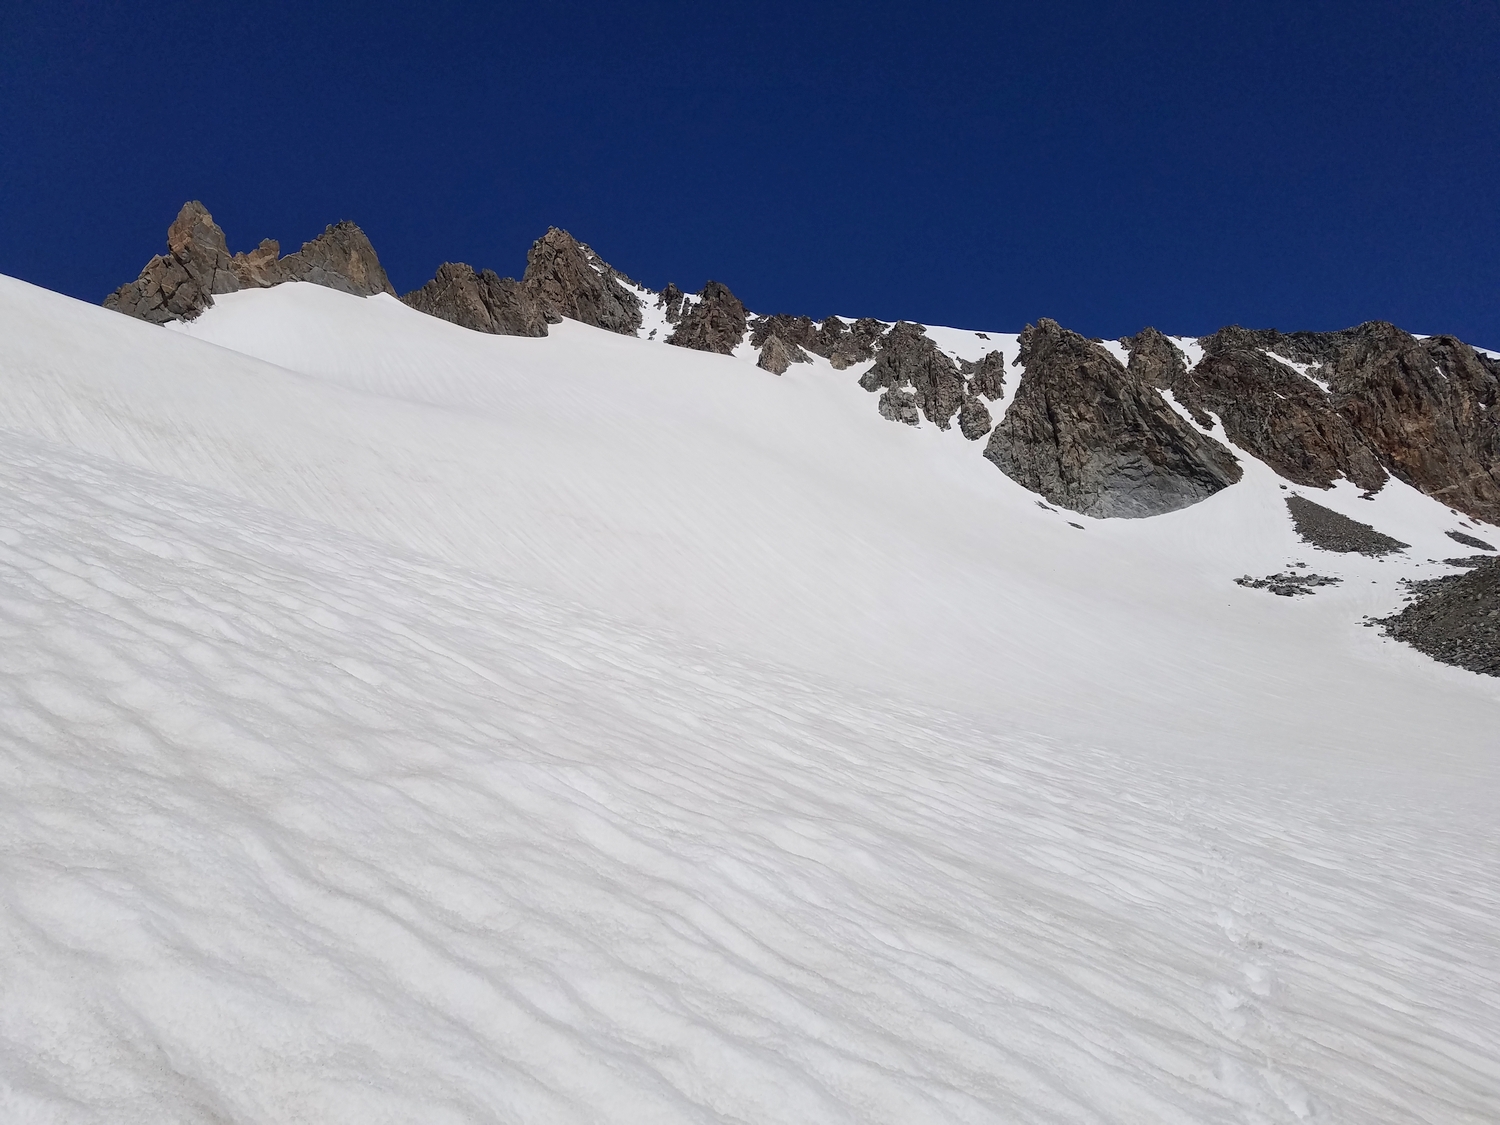
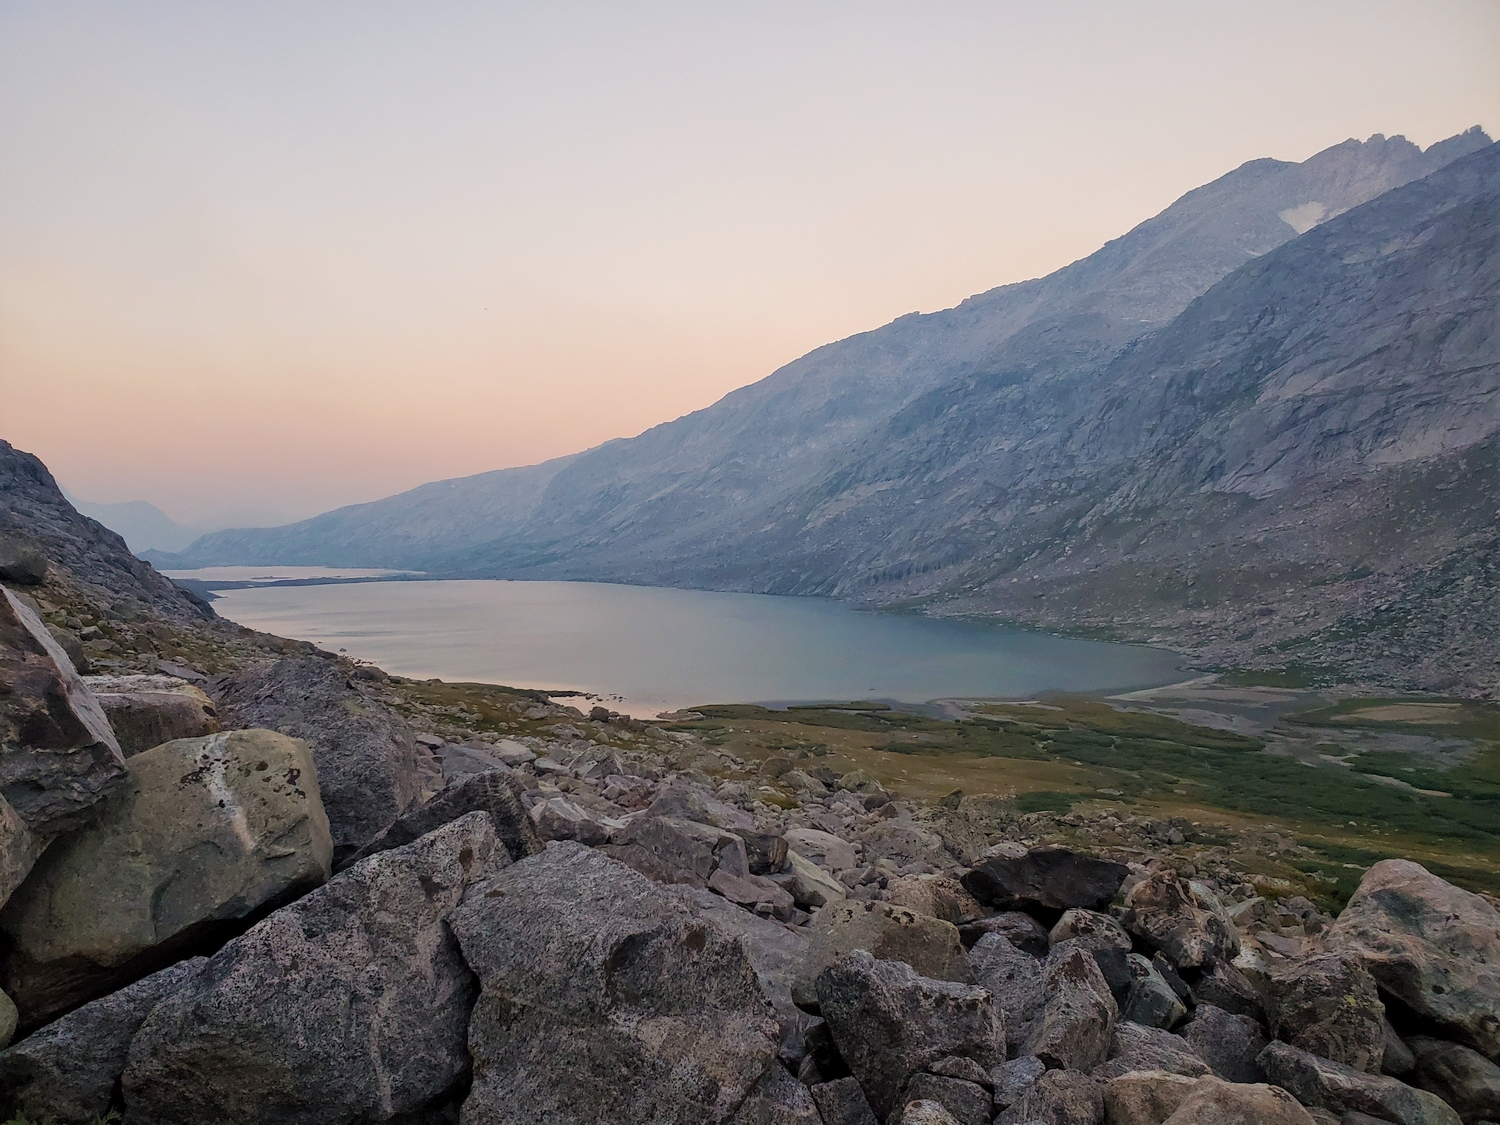
The most natural and aesthetic way of approaching Helen’s east side is to ascend the Helen Glacier from its outwash plain in the North Fork of Bull Lake Creek, which itself can be reached by backpacking over Blaurock Pass from the Dinwoody, North Indian Pass from Dry Creek, or Indian Pass from Indian Basin/Titcomb. The Helen Glacier is rapidly retreating, and is extensively crevassed in areas, but the glacier usually consists mostly of low-angled snow hiking.
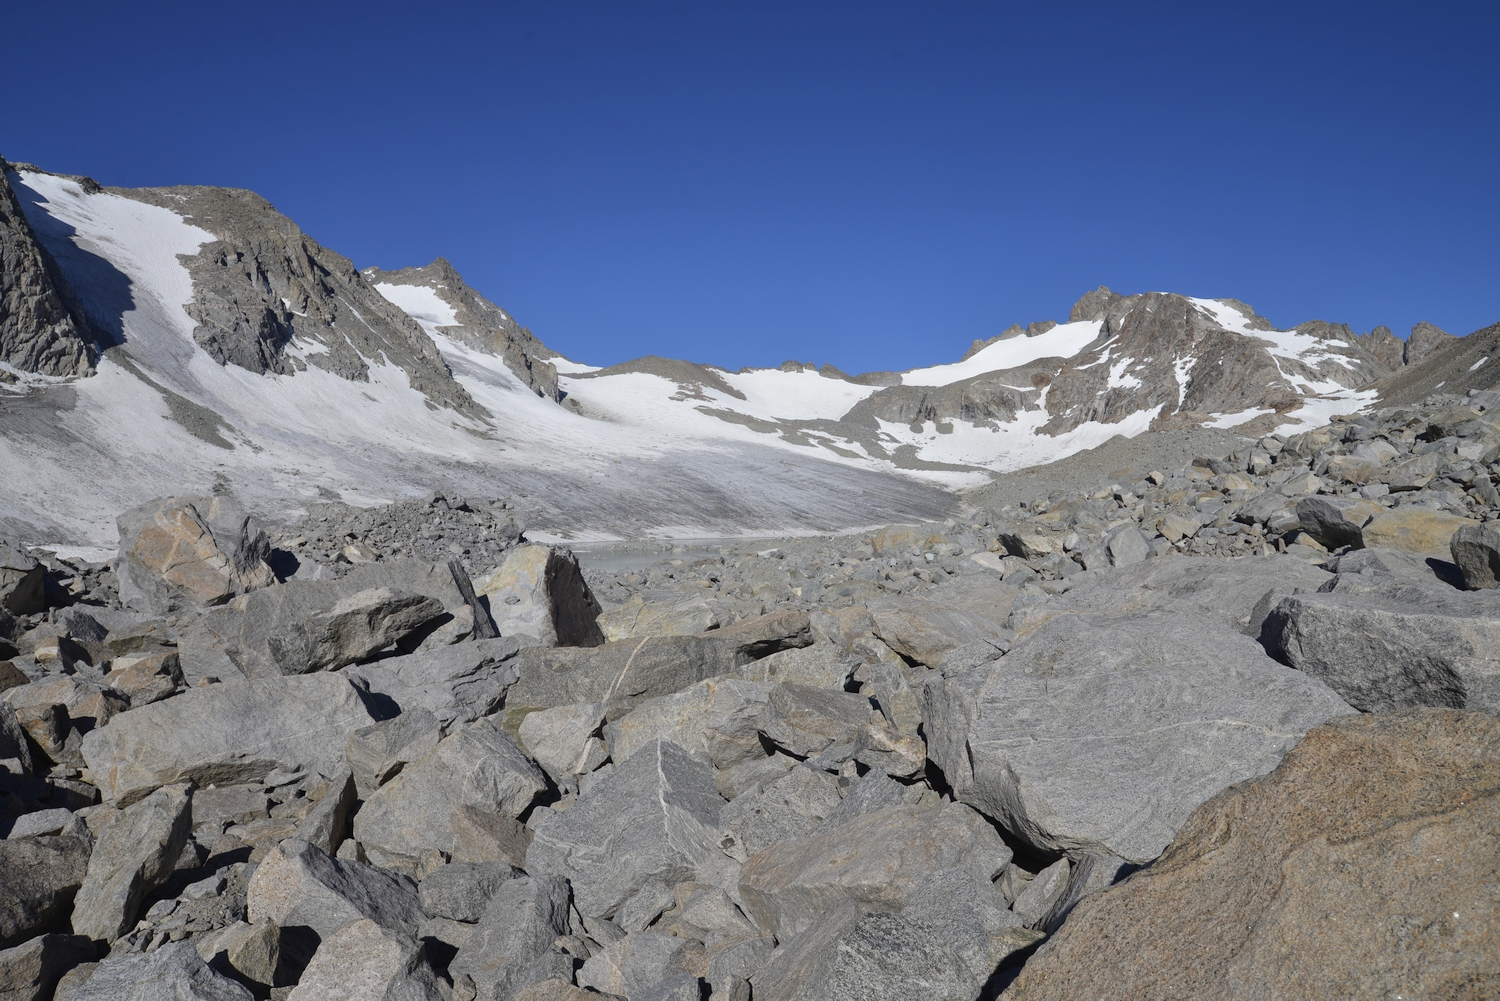
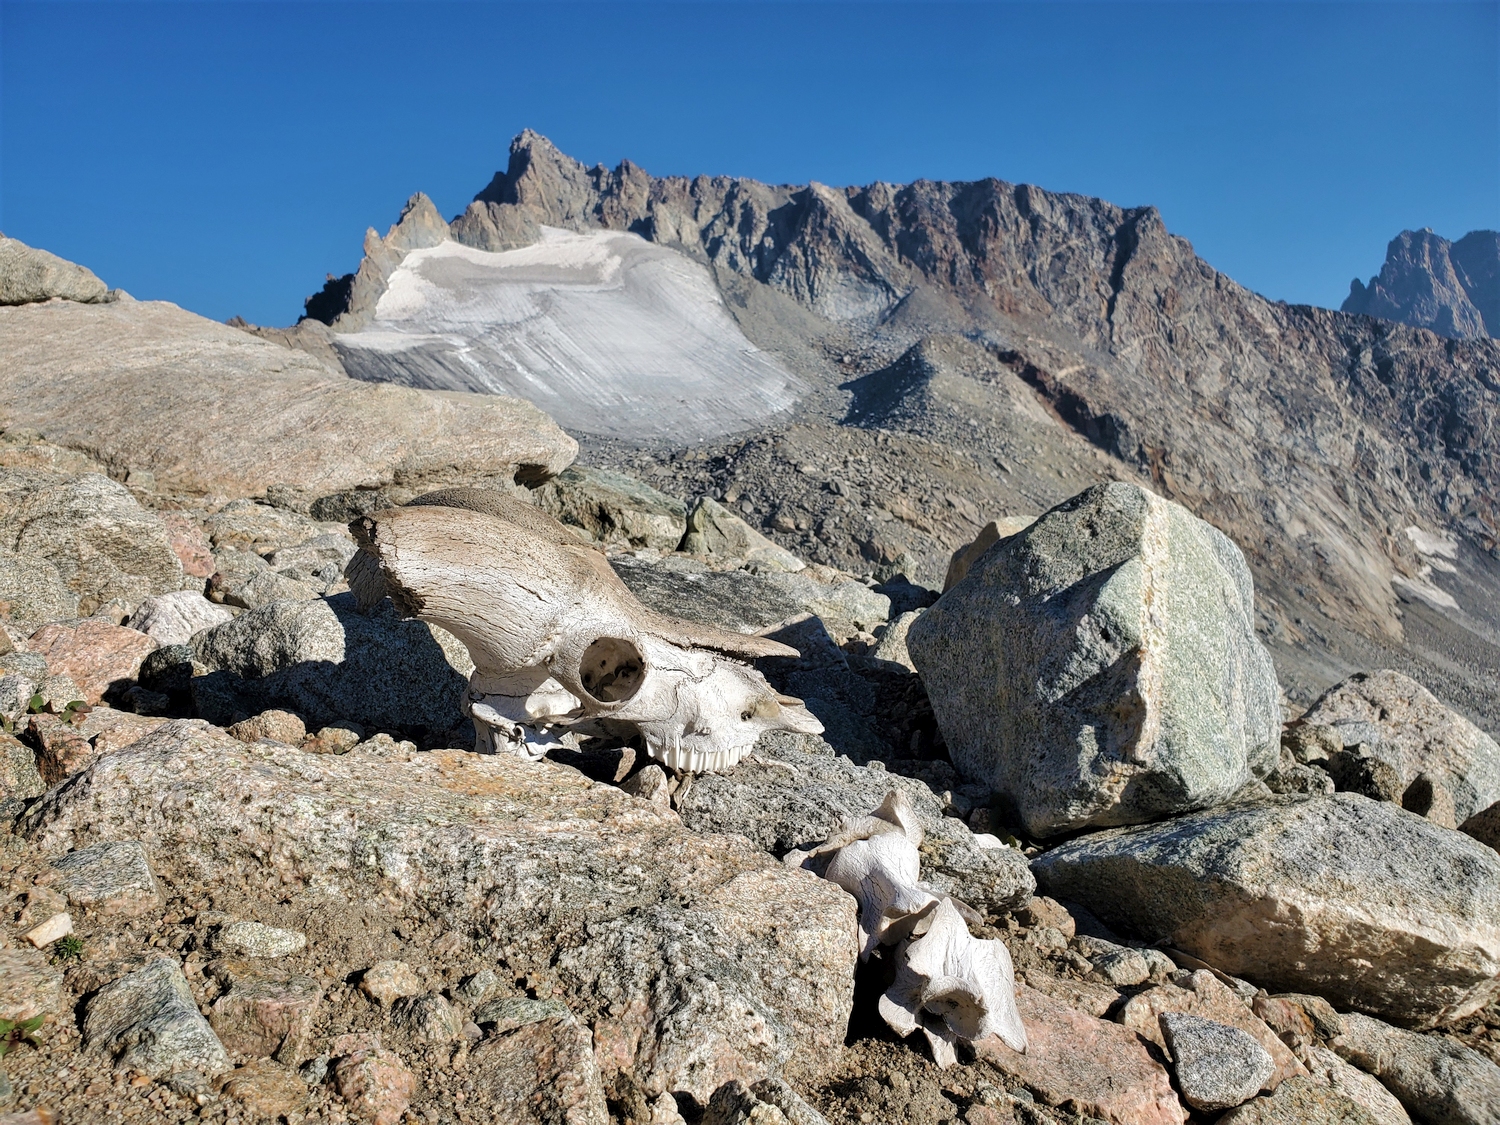
Another approach is possible from the moraine below the Sacagawea Glacier, and the author has fond memories of a loop hike up the Sacagawea moraine, over the pass at the base of Helen’s east ridge, and down the Helen Glacier. However, the Sacagawea moraine is incredibly unstable and extreme caution should be exercised; car-sized talus blocks may spontaneously drop into bottomless pits or crush unsuspecting hikers. One way or another, find your way to the interesting col that separates Helen’s east ridge from the Three Brothers, a high 12er.
Approach B: Titcomb Gully
From upper Titcomb Basin, hike north below the imposing west face of Mount Helen, and look for a snow/scree gully leading west to a small col at 12,561 ft. on the Continental Divide. Cross this pass between Helen and Spearhead/Forked Tongue Pinnacles, descending the upper part of the Helen Glacier and turning south to gain the Helen-Three Brothers col.
Final Ascent, All Approaches
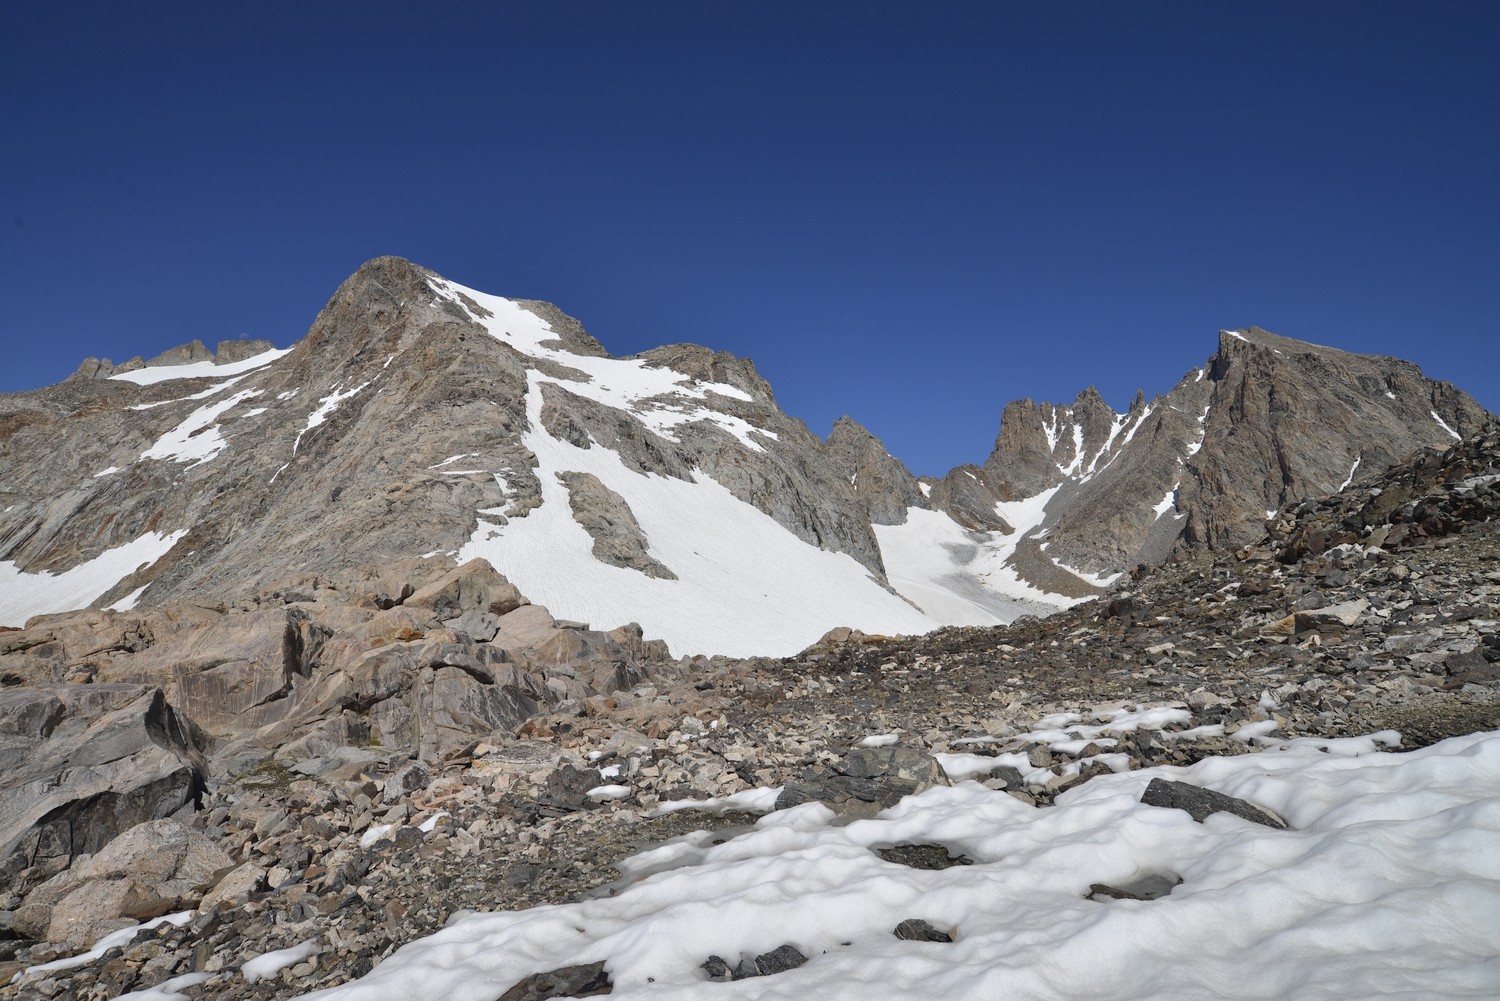
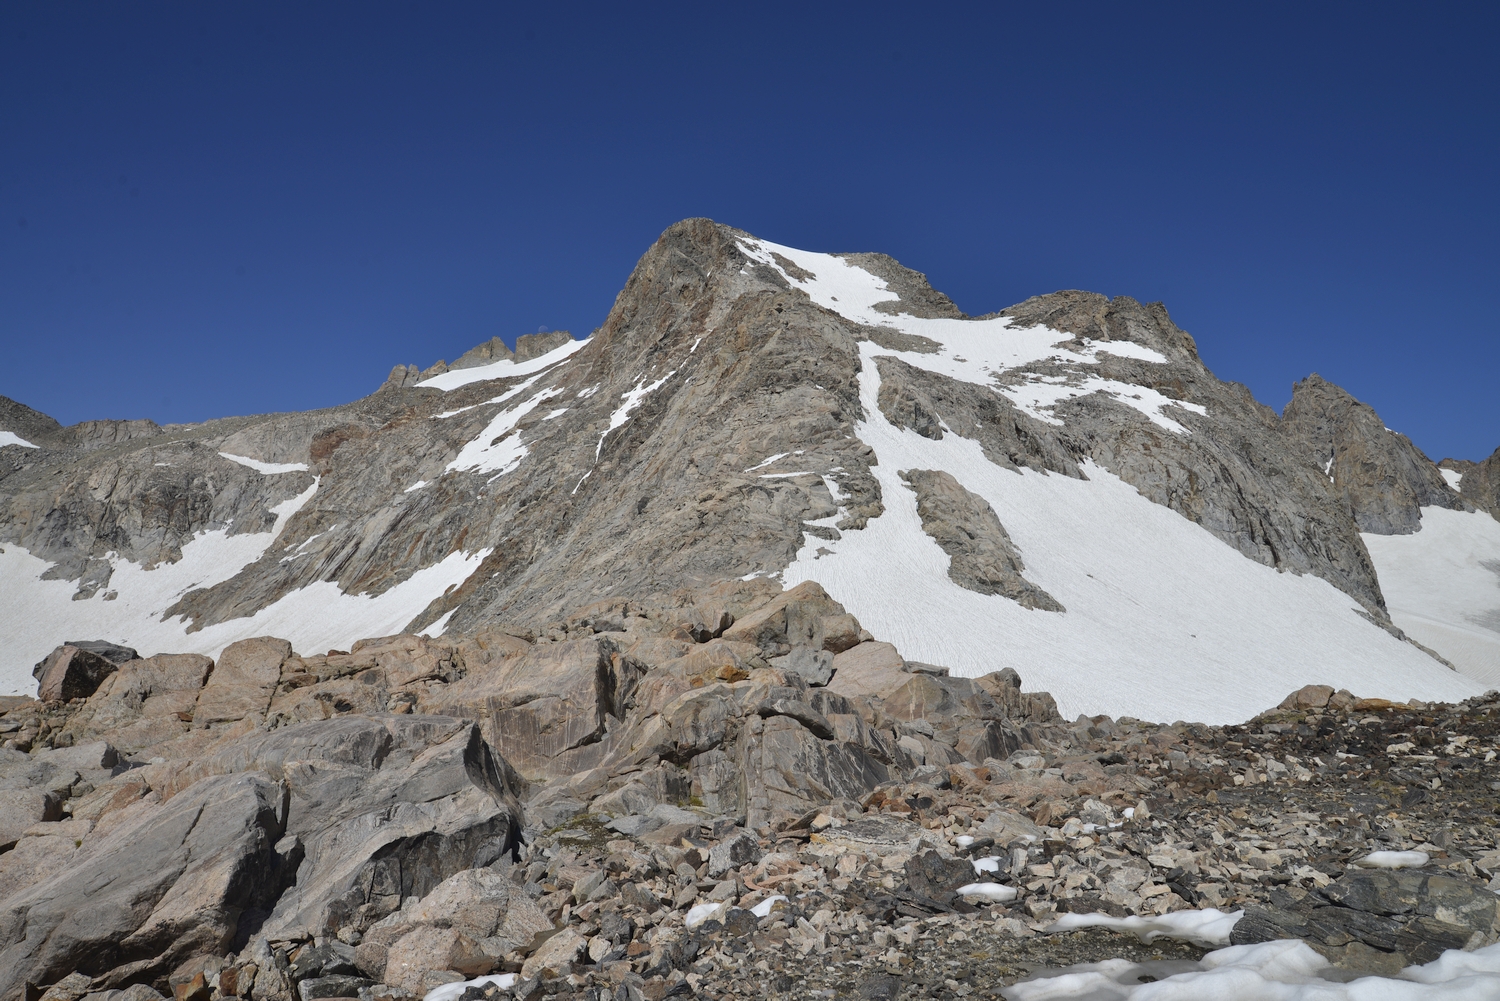
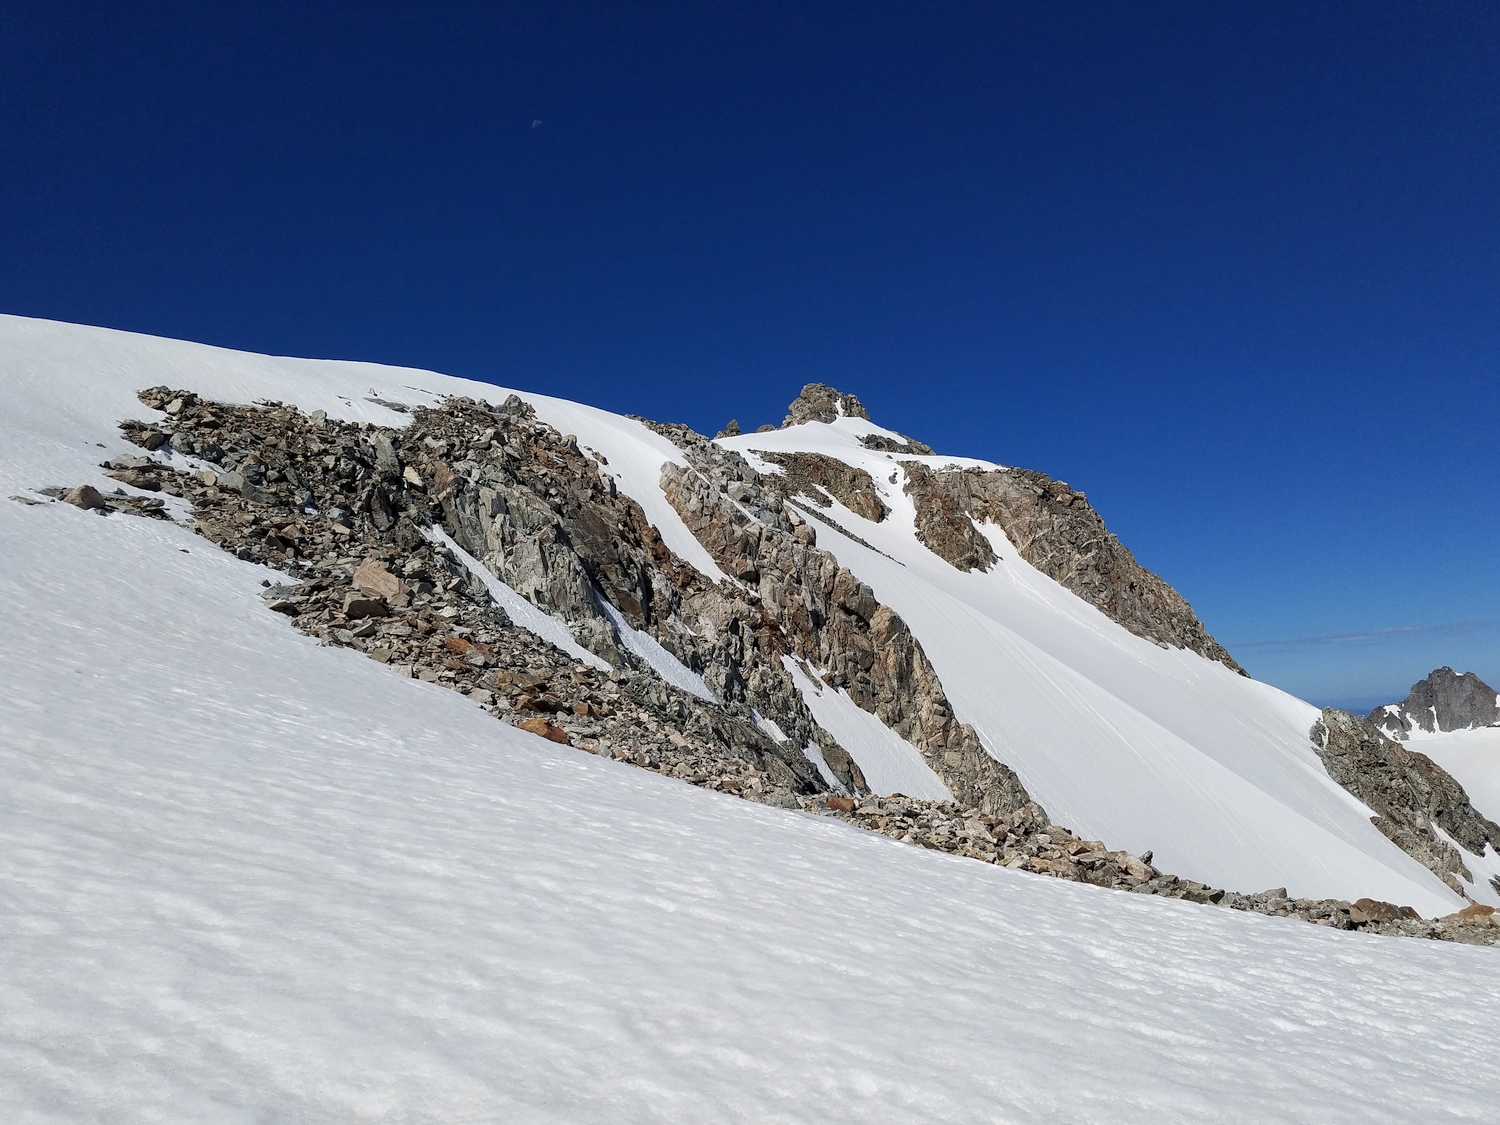
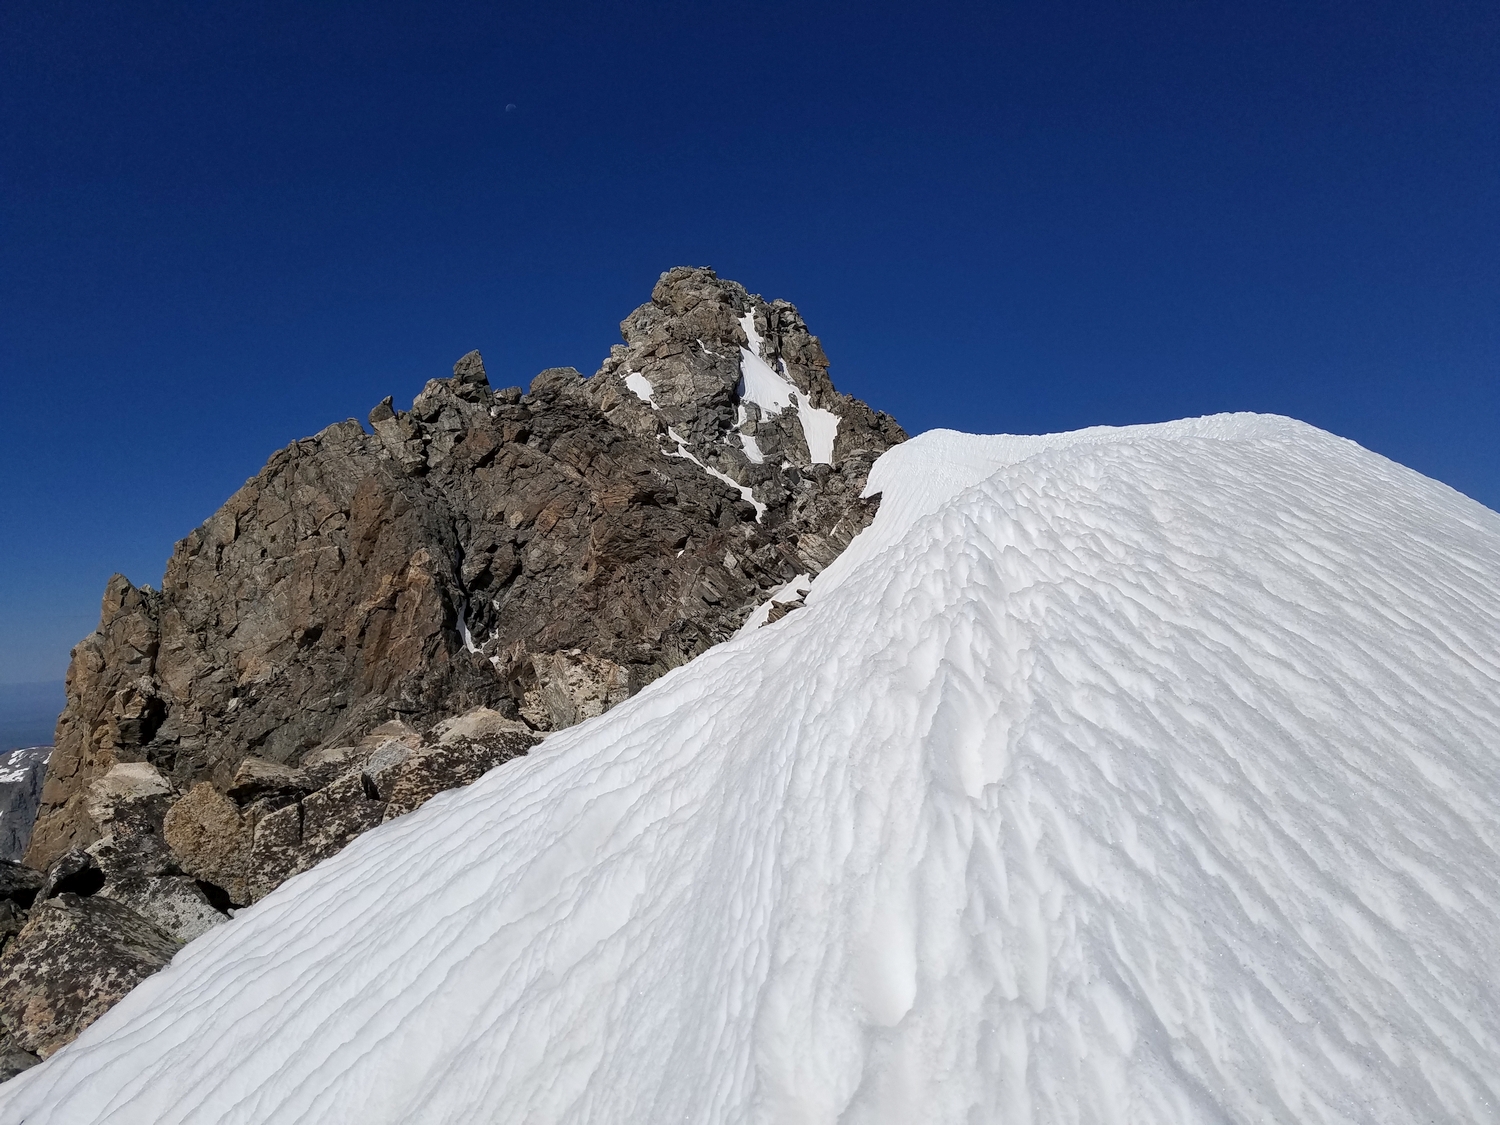
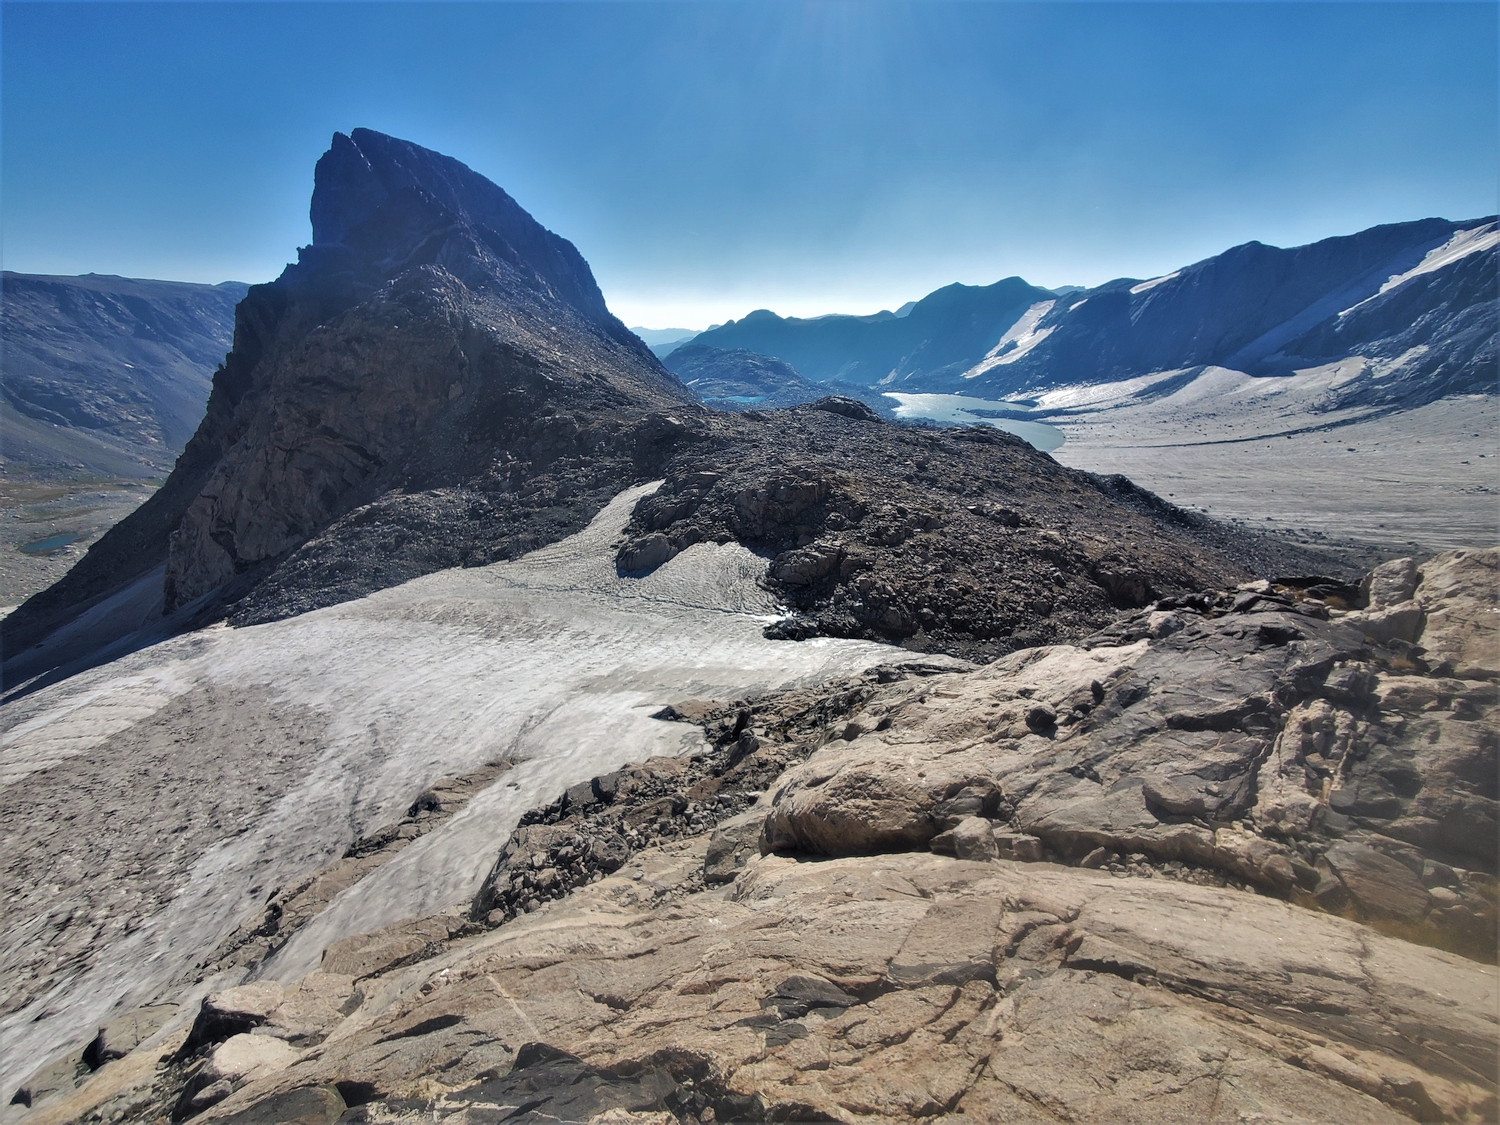
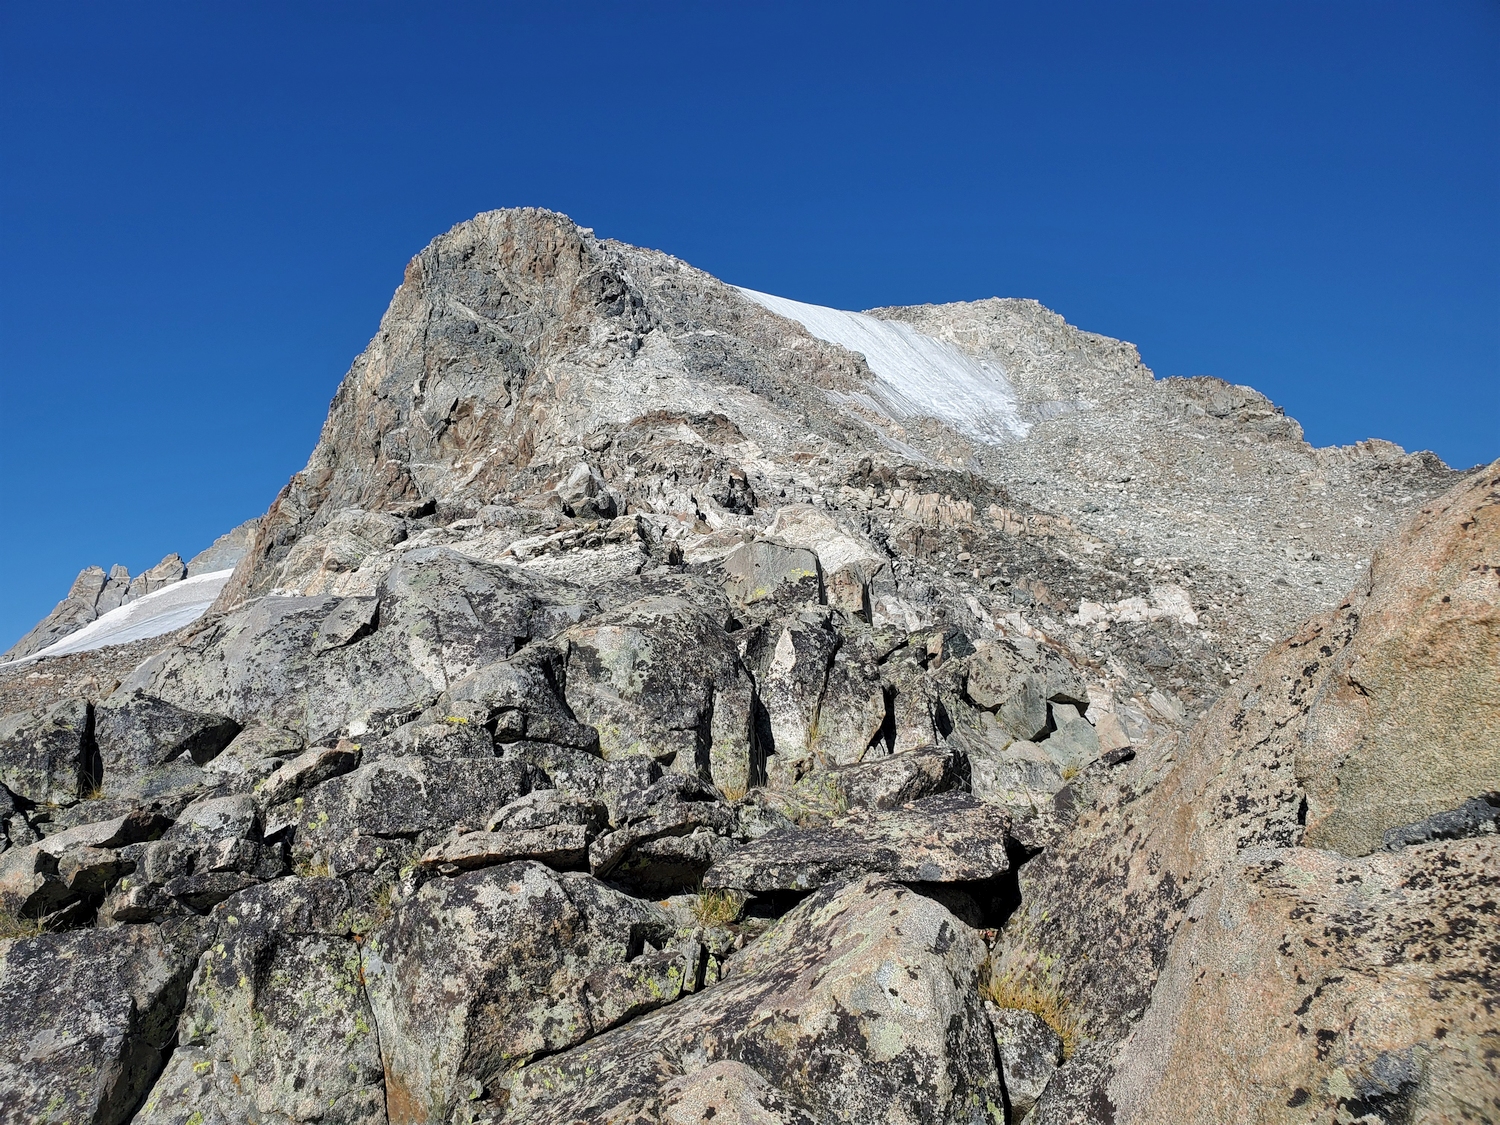
From the broad pass between the Sacagawea Glacier and Helen Glacier valleys, Helen’s east ridge begins as a broad bulwark of rock and snow. If enough snow remains, it is possible to climb directly up the center of this face on moderate snow. Alternatively, gain the ridge by scrambling the narrow rock buttress that forms the southern bulwark of the east ridge.
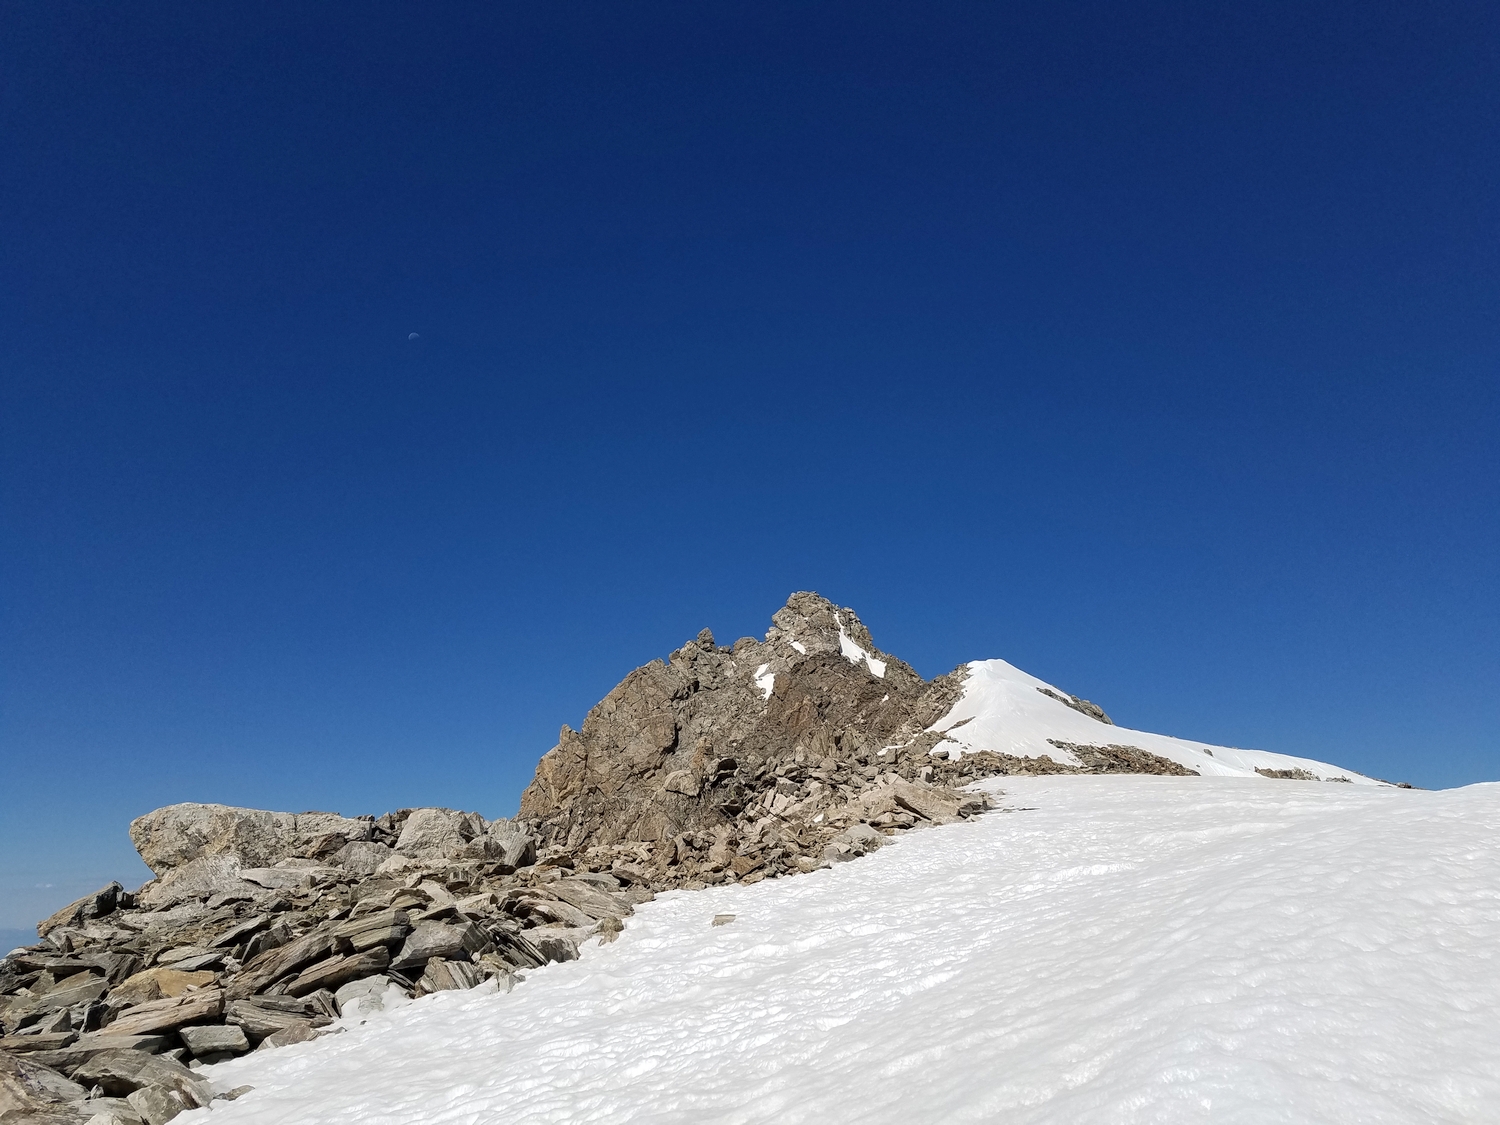
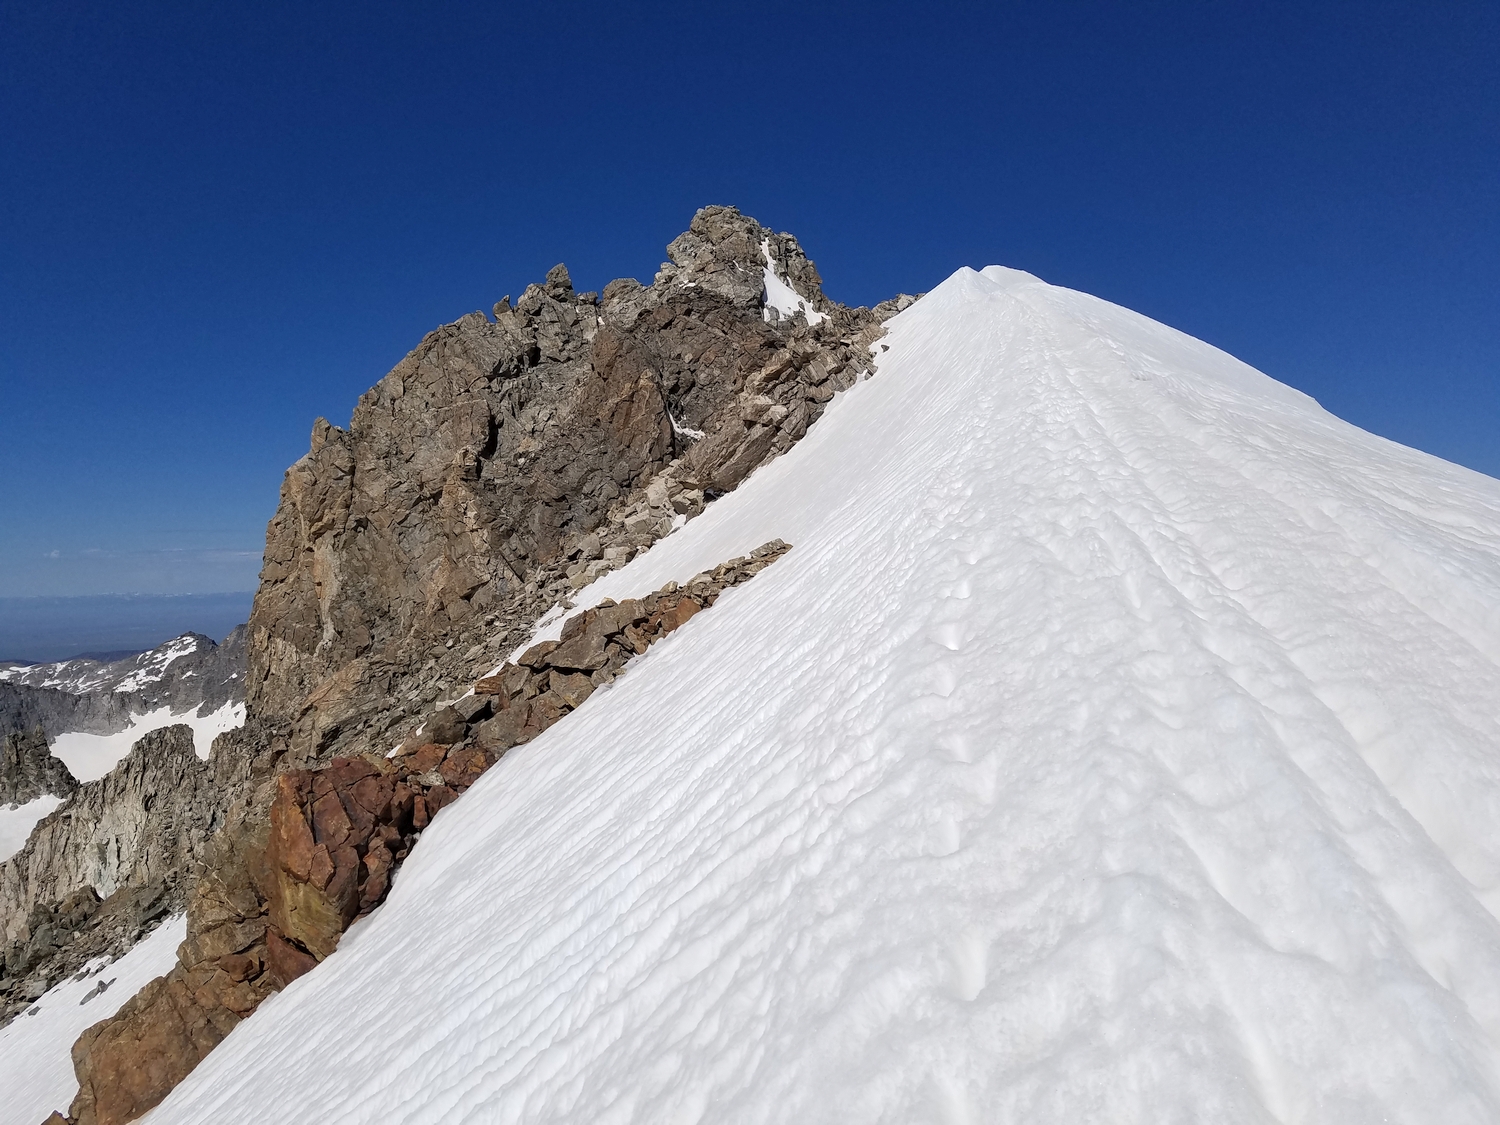
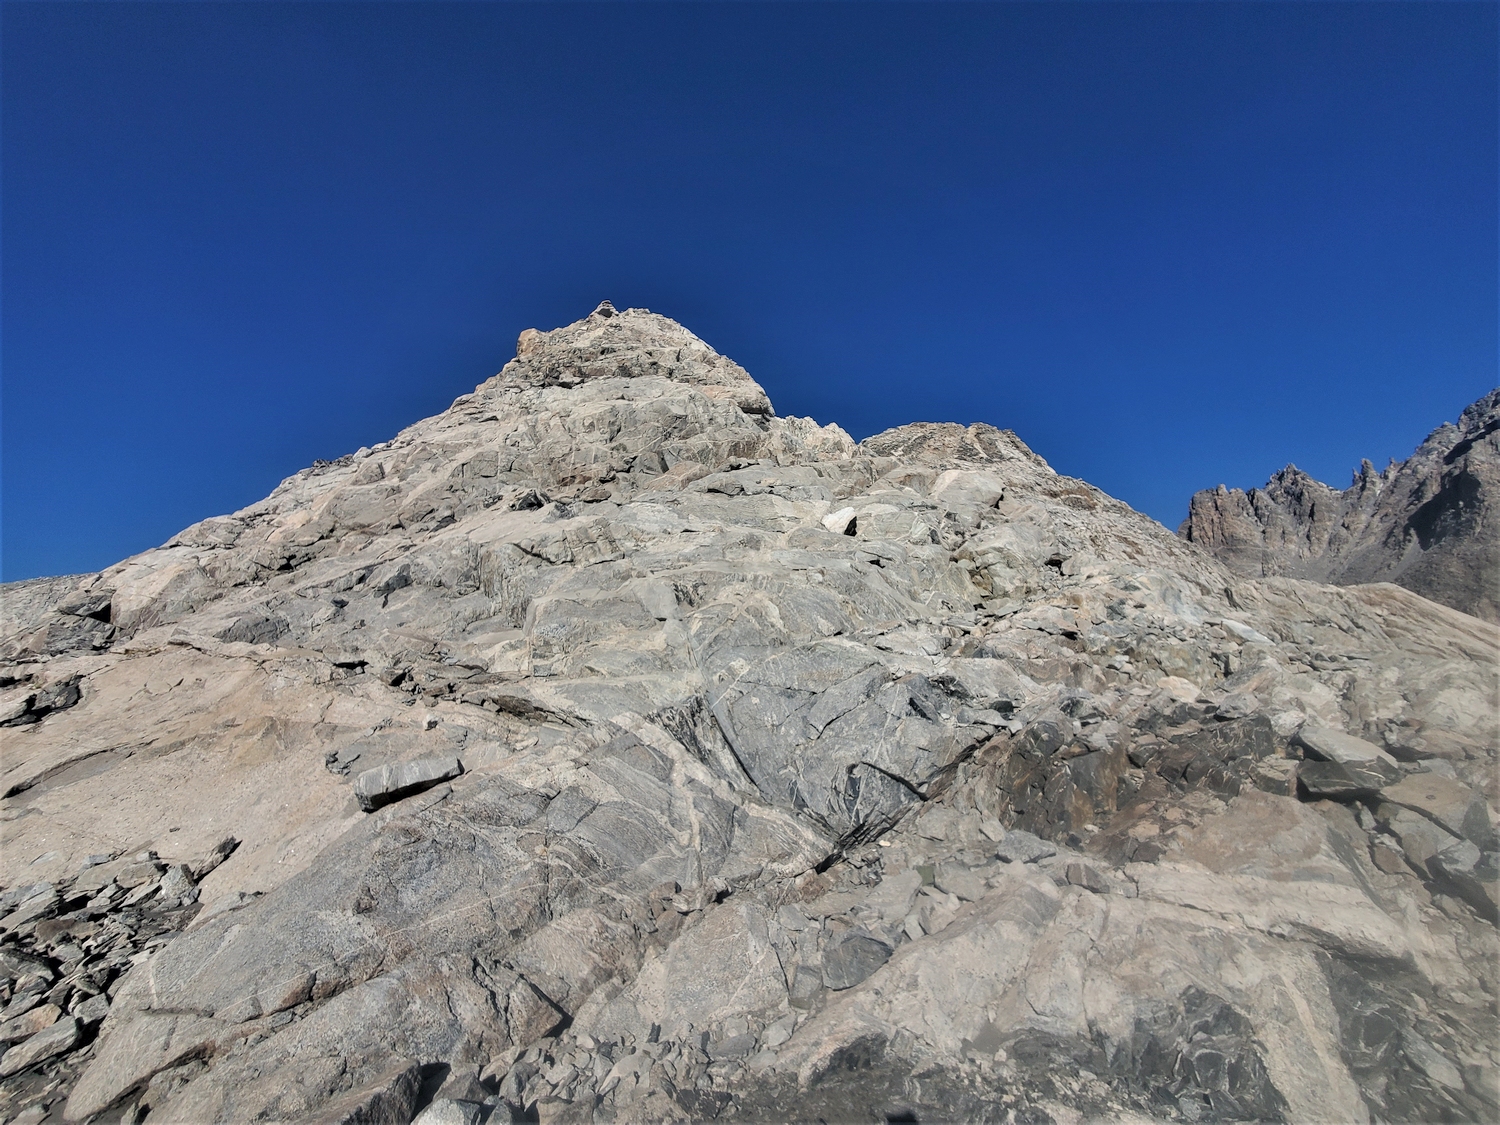
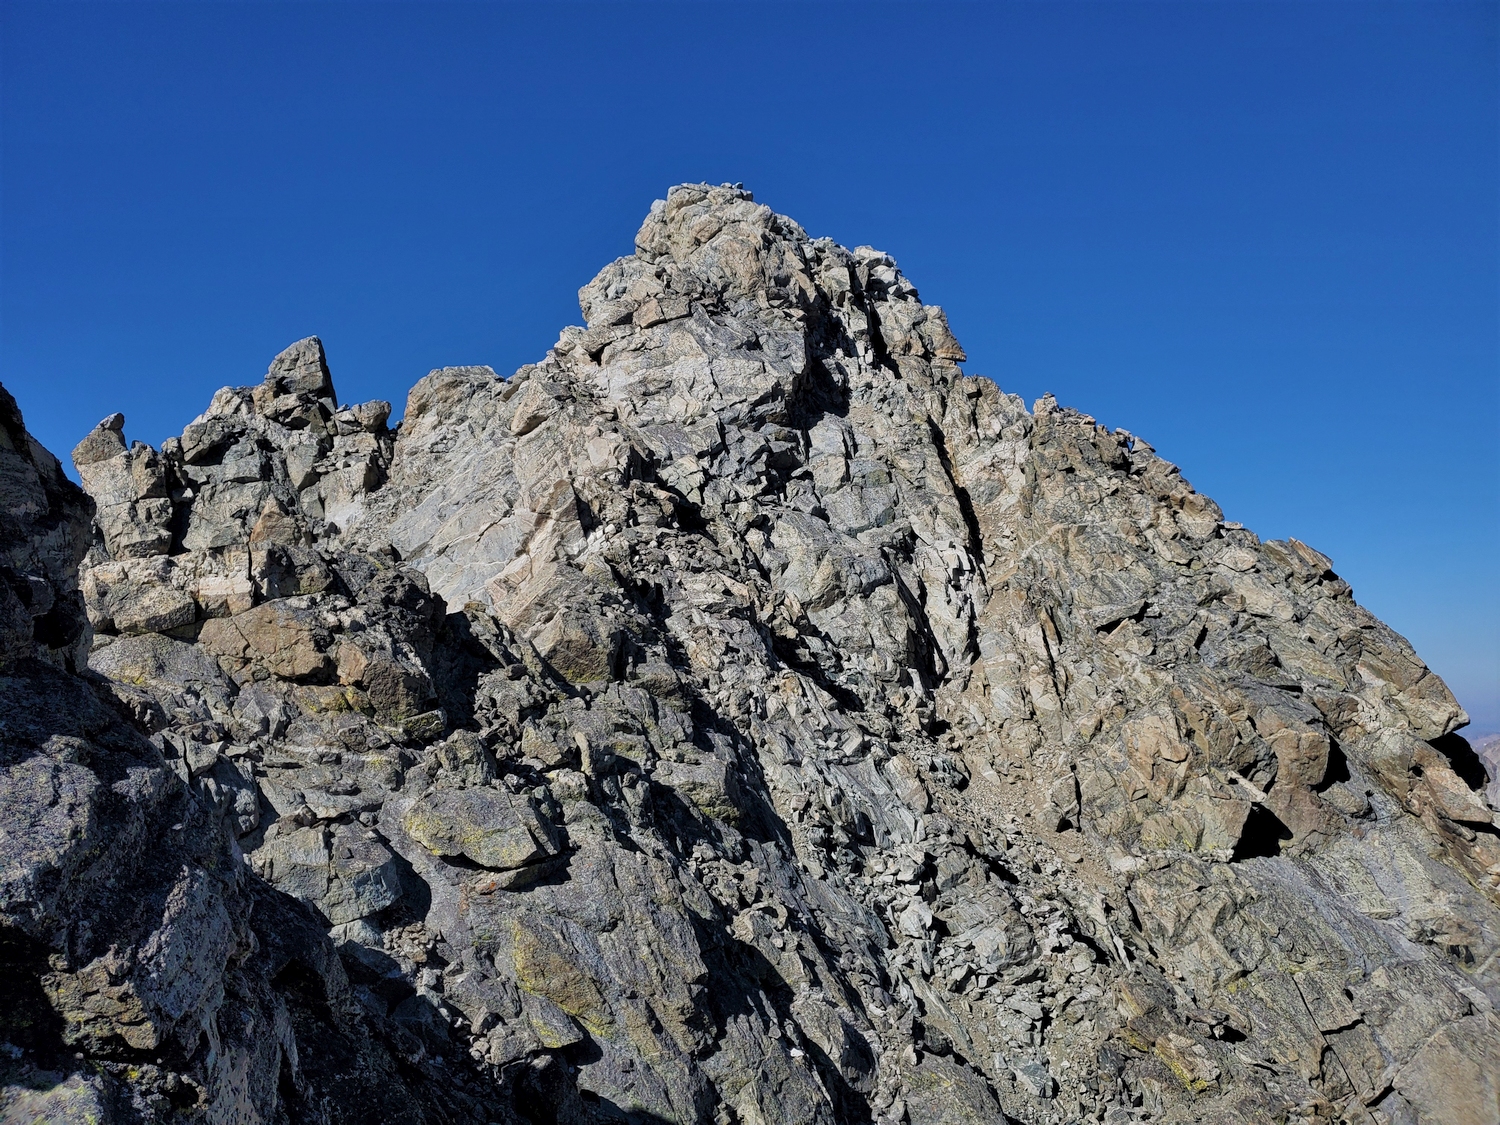
From the break in slope around 12,700 ft., continue up a snow or talus slope to the upper east ridge, which flattens out at 13,300 ft., forming an elegant sidewalk in the sky. Follow the ridge west to the summit. Most of the upper ridge is hiking terrain, but the last few hundred feet involves some class 4 climbing on blocky terrain to bypass gendarmes and surmount the summit pyramid.
Route 2: South Couloirs – Class 4, Moderate Snow
This is the most direct way to climb Mount Helen from Titcomb Basin at a moderate technical grade. From the bench that extends north from Mistake Lake above Lake 10598, climb a left-angling talus slope as described for Mount Sacagawea, obvious from Titcomb Basin when observing the wall between Sacagawea and Helen.
After topping out on the Continental Divide around 12,800 ft., descend north, crossing a snowfield that abuts the eastern edge of the Divide (melts down to ugly moraine in the late season). Head for Helen’s summit, climbing one of several short (200 ft.) couloirs to gain the east ridge just before the summit pyramid.
Mount Helen Map
Mount Helen Panorama
Mount Helen Photos
-
- Mount Helen’s classic profile includes the famous Tower 1 and Tower 2 rock spires on the left, a sharp summit, and a snowy east ridge (2016)
-
- Helen is one of the undisputed monarchs of Titcom Basin, seen here rising above Mistake Lake on a fine July day (2016)
-
- Glacial tarn in the moraine of the Sacagawea Glacier, with Mount Helen in the distance on the right edge of the photo (2016)
-
- An aquamarine pond we discovered while exploring the desolate but stunning high country at the head of the North Fork of Bull Lake Creek; Mount Helen on right edge (2020)
-
- With slow progress through the moraine and waning motivation to climb onwards, this col between Helen and the Three Brothers was our highpoint for today (2016)
-
- Mount Helen’s east ridge rises in a lustrious arc of snow and granite, with the summit just below the moon in the distance just left of center (2020)
-
- Helen (left) and Spearhead (right) above the Helen Glacier; these surface melt streams, while beautiful, are sadly evidence of the glaciers’ rapid decline (2016)
-
- The snout of the Helen Glacier retreats farther every year, and a “bathtub ring” is visible along the sides of the peaks where the glacier used to be much thicker (2016)
-
- The outwash plain below the Helen Glacier is pure rock, as the ground has not been exposed long enough for any plants to start creating soil (2016)
-
- Mount Helen (center) rises above the Helen Glacier and is framed by the Three Brothers (a 12er, on the left) and Turret Peak (a 13er, on the right)
-
- Mount Helen’s northwest side still held a lot of snow this early in the season, seen here from Woodrow Wilson at sunrise (2020)
-
- The west face of Mount Helen rises precipitously out of upper Titcom Basin and is home to classic rock climbing route (2020)
-
- The steepest part of Helen’s west face forms a smooth wall which culminates in the obelisk-shaped subsummit called Tower 1 (2020)
-
- Titcomb Basin is an alpine paradise, seen here on my approach to basecamp the day before climbing Helen, which is visible in the distance directly above the trail (2020)
-
- Sunrise on Mount Helen, as seen from the summit of Spearhead Pinnacle, the hardest Wyoming 13er (2020)
-
- Helen and its eponymous glacier; the east ridge route, which I would climb later in the day, follows the left skyline (2020)
-
- Mount Helen is the first in a series of grand Divide peaks on the western wall of Titcomb Basin, including Sacagawea, Fremont, and Jackson (2020)
-
- Helen exemplifies the mixed snow and rock conditions which prevail in the Wind River mountains (2020)
-
- The summit of Mount Helen has a unique register can showing entries from skiers, rock climbers, and mountaineers of all callings (2020)
-
- Traversing mellow snow slopes near the Continental Divide and enjoying the view of the south side of Mount Helen’s east ridge (2020)
-
- Twilight silhouette of Mount Helen’s distinctive western profile, as seen on my approach to Twin Peaks (2020)
-
- Mount Helen (right) and Spearhead/Forked Tongue Pinnacles (left) as seen from the eastern Twin (2020)
-
- Evening light on Mount Helen as I descend into Titcomb Basin. It’s frustratingly slow going as I wind my way through small rock outcrops and boggy meadows.
-
- Sunset on the eastern wall of Titcomb Basin. From left to right, the peaks are Spearhead, Helen, Sacagawea, and Fremont. The sharp triangular shadows just right of center are from Henderson and American Legion on the west side of Titcomb.
-
- The west wall of Titcomb looks steep and cliffy from afar, but this convenient diagonal ramp is my ticket to the Divide.
-
- The gully I climbed to reach the Divide is close to Sacagawea, but first I need to tag Helen, situated inconveniently far away across a nasty moraine. This old ram skull made a suitable foreground for the desolate view across the Sacagawea moraine to Mount Helen.
-
- I was planning to climb a gully on the southeast side of Helen, but of course it was melted out and looked sketchy, so I diverted to the longer but more guaranteed route up the east ridge. Here, Three Brothers (a 12er) rises from its col with Mount Helen.
-
- The late start and tedious moraine crossing had me feeling pretty demoralized, but the classic scrambling up Helen’s aesthetic east ridge is sufficient to take the edge off my frustration.
-
- Helen’s upper east ridge is a gem. I’m in a hurry though because it’s almost 10 a.m. and I still haven’t gotten my first summit of the day, and the ridge just goes on and on.
-
- At last, the summit is in sight. The final scramble is the route’s crux, requiring a short bit of class 4.
-
- Summit view looking north to Gannett et al. The scree chute in the bottom right corner is Bonney Pass.
-
- In this view south along the Divide from Helen, Sacagawea is the dark triangular peak that blends into the higher ridge of Fremont beyond. The rockfall originated on the shadowed face and cascaded down the gully near the lower end of Sacagawea’s left-hand ridge. This gully also happens to be the only non-technical way to get from the lower valley onto the upper slopes.
DISCLAIMER: Mountain climbing is dangerous. Activities described on this page may lead to serious injury, death, and property damage. This webpage is presented with no warranty express or implied. Pictures and text are for entertainment purposes only. No commercial use allowed; all rights reserved.