Introduction
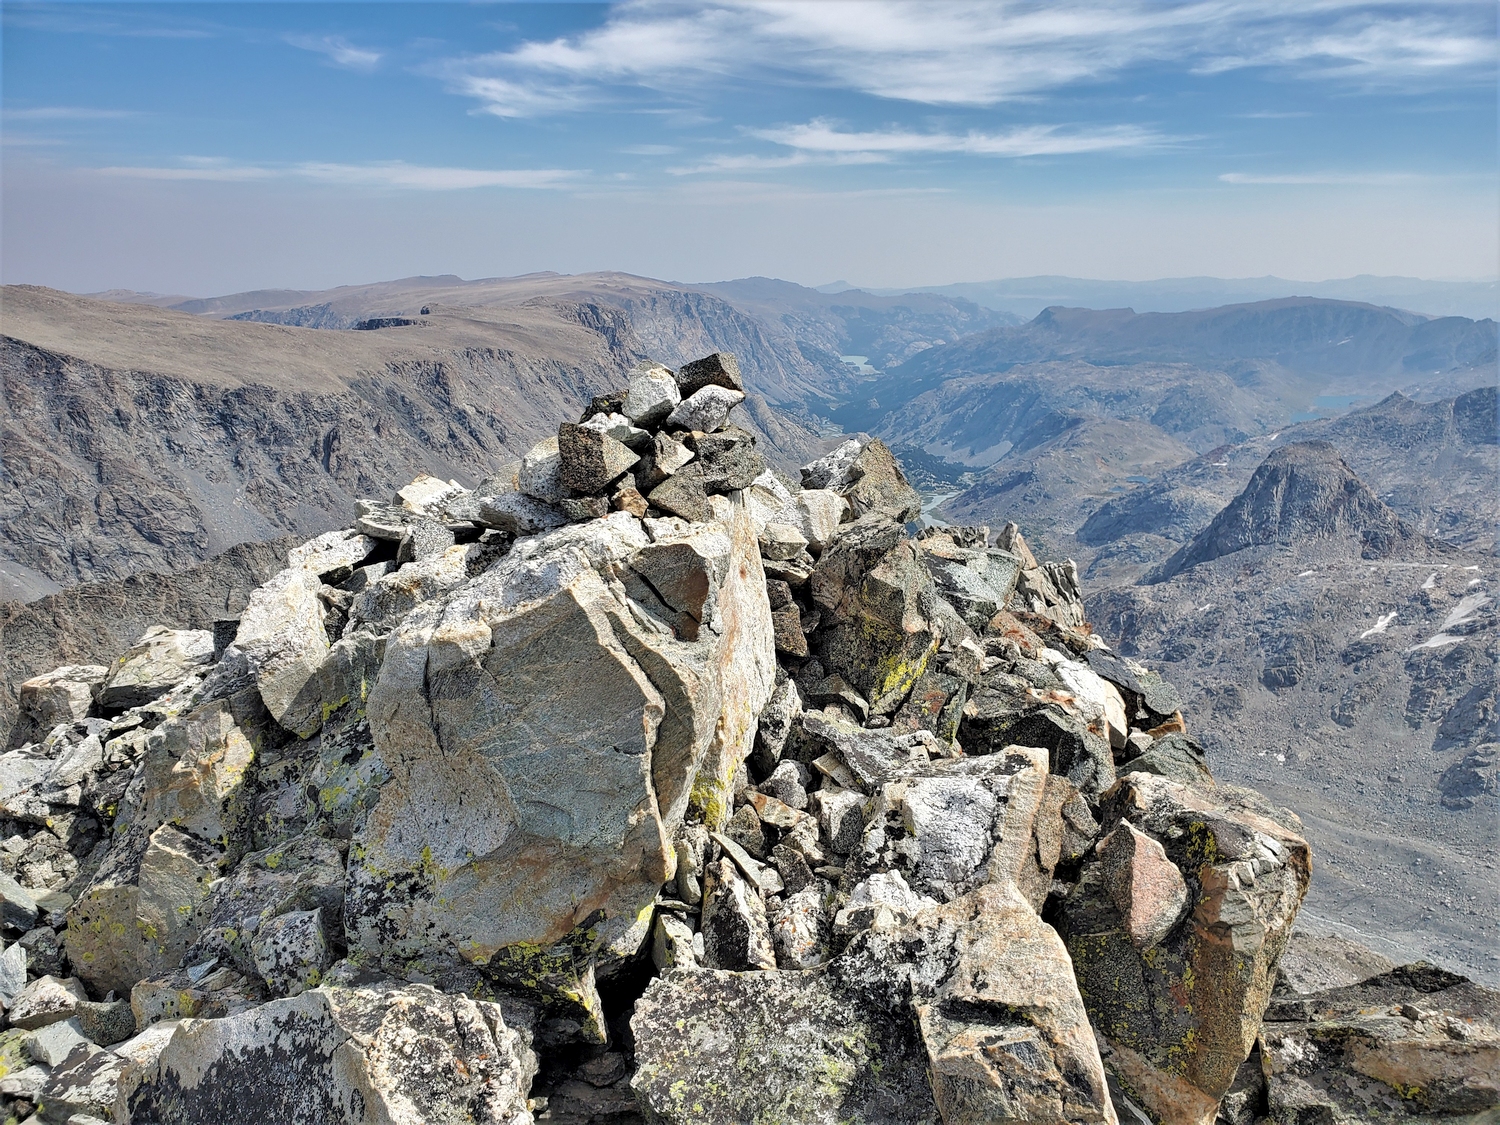
Reclusive, forbidding, and foul-tempered, Turret Peak rarely finds its way onto climbers’ agendas. Most who encounter Turret Peak are happy just to savor the view of its ramparts rising above the Dinwoody or North Fork of Bull Lake Creek, and it is indeed quite the spectacle to behold. Those who seek to climb all of the 13ers, though, must eventually face the beast. Tread cautiously, and savor the summit view—few ever see it.
General Considerations
Turret seems to have much worse rock quality than many of its neighbors. The prevalence of loose rock, coupled with the ever-present exposure, creates a dangerous mix. The author encountered a car-sized slab that shifted under body weight on the west side of the north ridge: beware. That said, Turret is an impressive mountain, and worth climbing. All sides are very steep, and while most faces and ridges have reported ascents, only a few routes have been described in modern times.
Route 1: North Ridge – Class 5.0
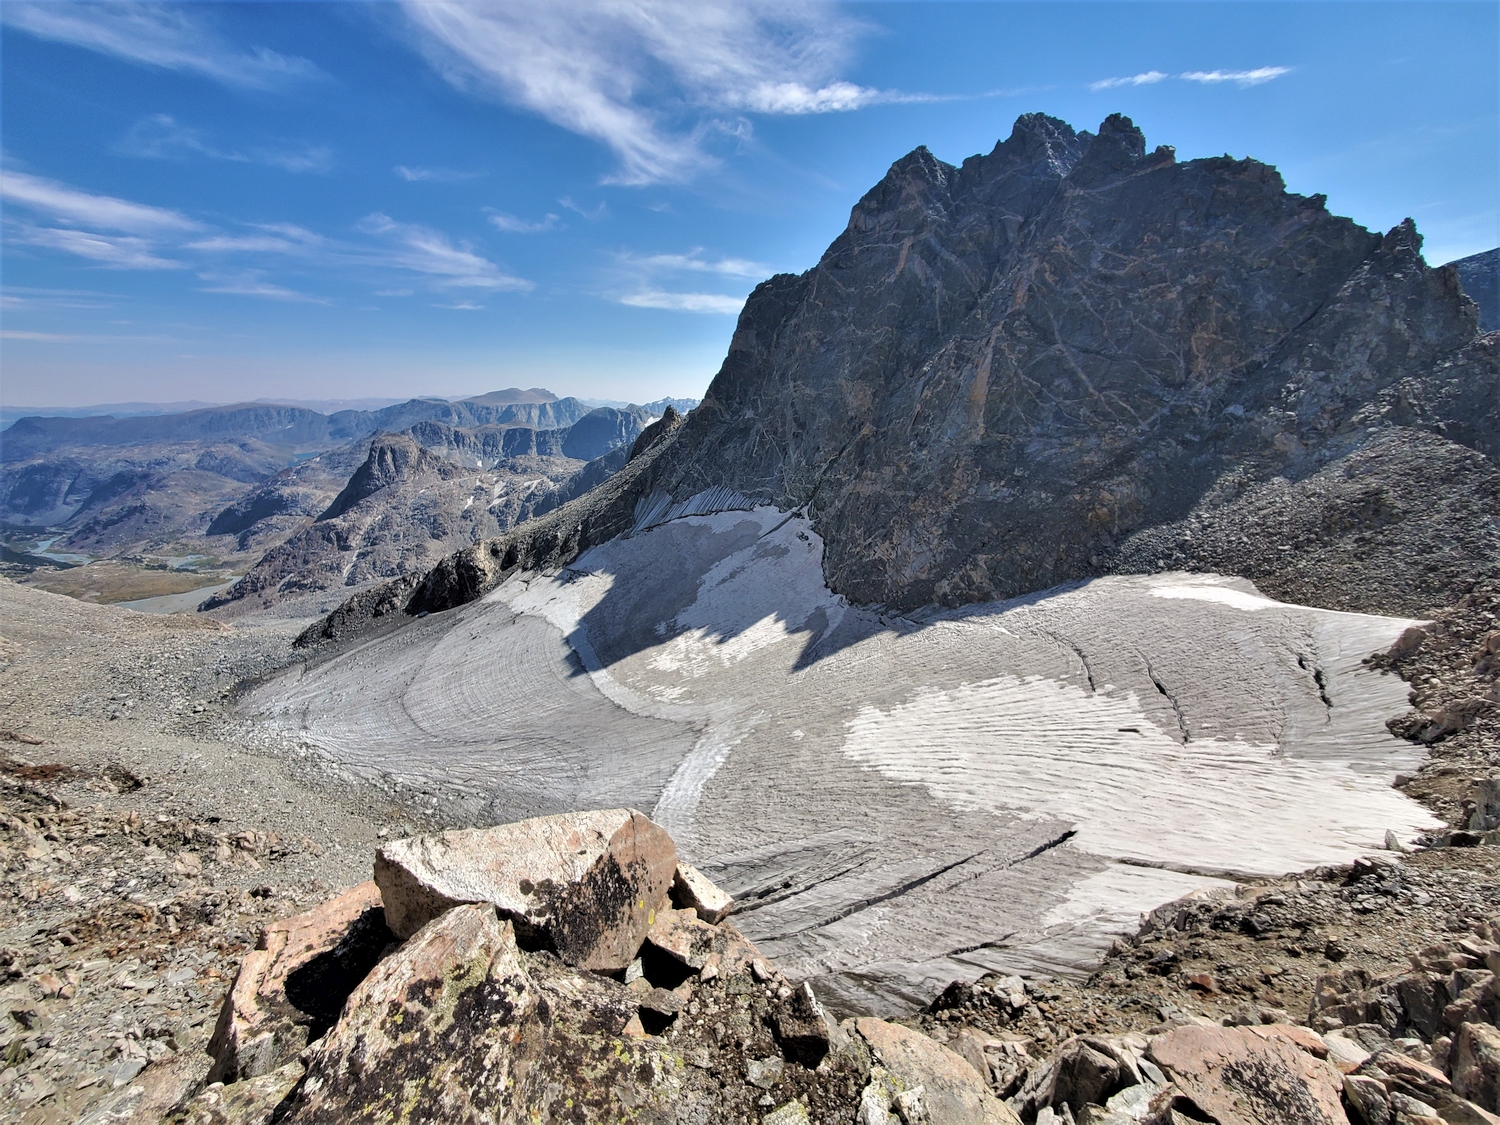
This is Turret’s standard route if it could be said to have one. From the Dinwoody moraine or from the Helen Glacier, climb scree and/or snow to Backpackers Pass. After mid-summer, Backpackers Pass is reachable from the Dinwoody side without crossing any snow.
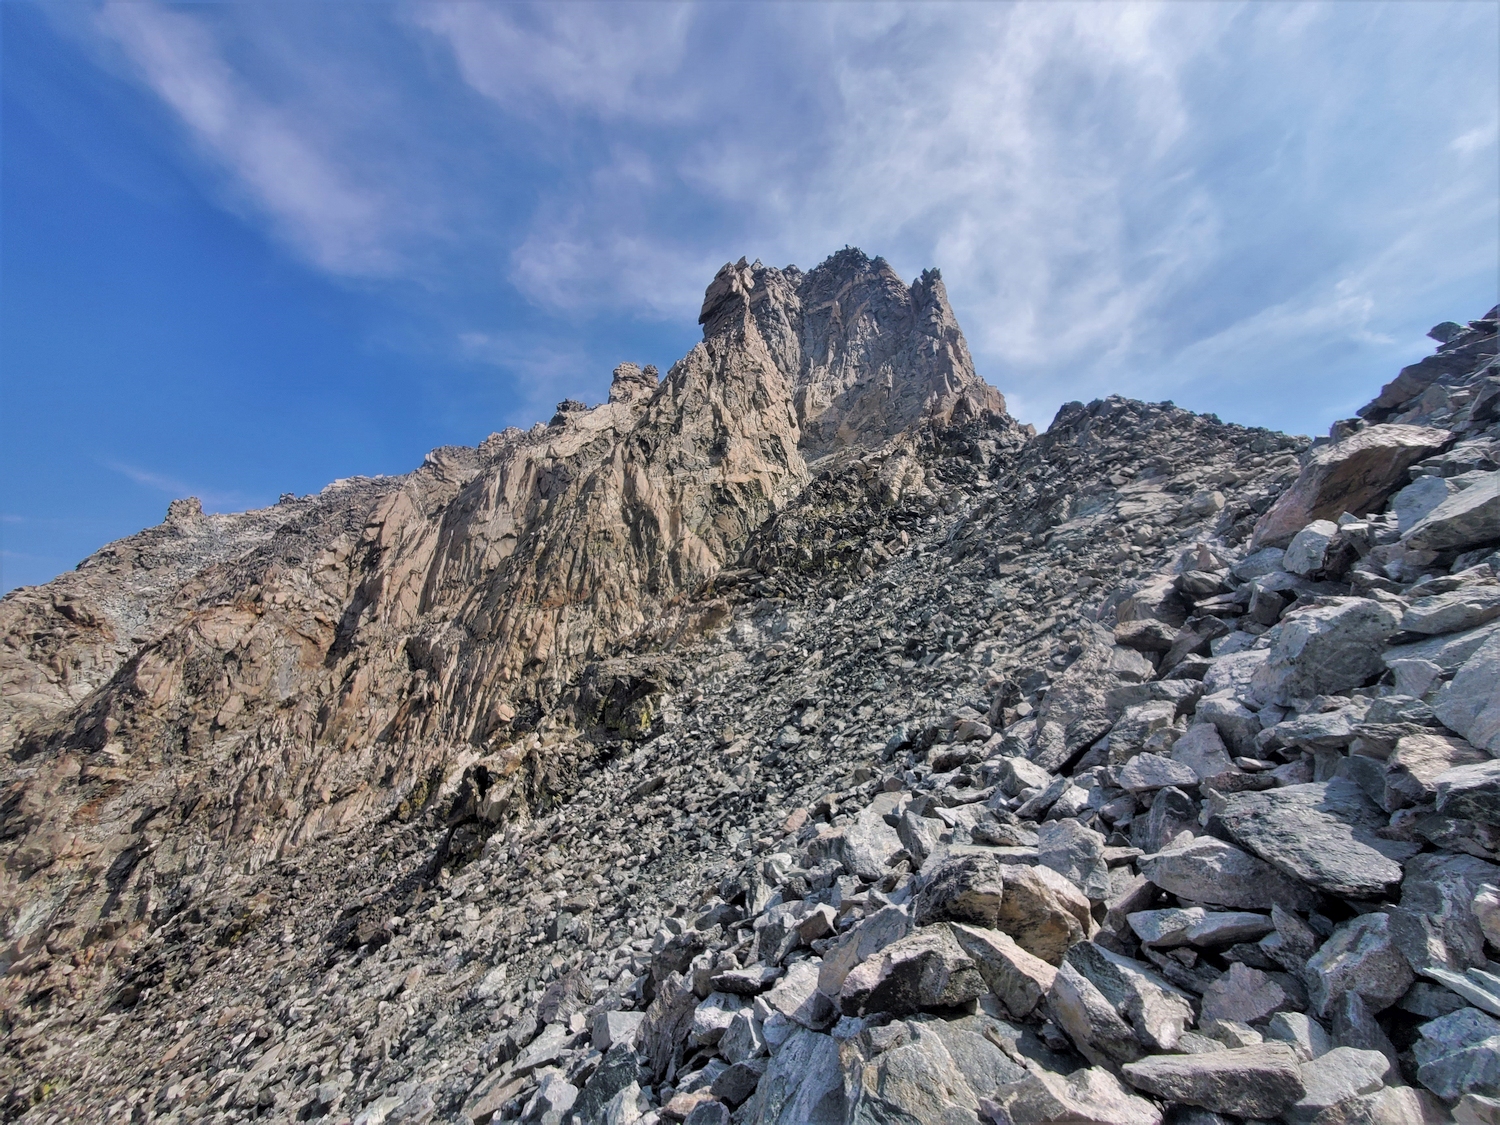
Follow easy terrain up the start of the north ridge. When a large cliff blocks the ridge crest, the route diverges into two variations. The recommended route traverses slabs on the east (Helen Glacier) side of the ridge, substantially below the crest, before engaging a loose scree chute which culminates in a short chimney, ultimately regaining the ridge just above the big cliff.
It is also possible to traverse on the west (Dinwoody Glacier) side of the ridge; this option involves committing moves and much of the rock is unstable. This route variation raises the difficulty to 5.2, and the exposure is greater.
After completing one of these options to gain the upper ridge, the routefinding becomes more flexible. The author’s preferred path traverses the rubble-strewn western slopes substantially below the ridgeline across a series of two broad gullies. Return to the vicinity of the ridge crest at the top of the second gully near a perched block. The final scramble to the summit is beautifully steep but goes with relative ease, as the face is broken up with innumerable cross-cutting ledges.
Route 2: South Ridge – Class 5.7
For those desiring a complicated multi-pitch alpine endeavor, the south ridge awaits. Climbers report starting at Elsie Col, following a couloir, a subsidiary couloir, and finally the ridge itself to reach the southern summit. The northern summit is higher (and has the cairn and register), and it is necessary to perform a short descent and final 5th class traverse to reach it.
Route 3: Western Gullies – Class 5.0
While the routefinding here is even more complicated than Route 1, this route is perhaps a bit easier once snow-free in the late summer. However, it is blocked by snow most of the year, and the underlying rock is quite loose. The difficulty of this route as a snowclimb is unknown.
This route begins at the base of Turret’s west face about 200 ft. below Elsie Col. Assuming the route is dry, look for a broad, shallow, talus-filled gully that leads diagonally to the north on an ascending traverse across Turret’s lower west face. The first section of this gully ends with a short downclimb across a steeper intersecting gully; continue on the north-trending inset ramp as it ascends through loose, blocky terrain (low class 5) to meet Route 1 in a shallow gully above the crux of the west ridge route. Continue to the summit as described for Route 1.